Private Tickets & Invitation-Based Registration
Private tickets are hidden from the public registration page. Only people who receive a direct invitation link can register. This is ideal for VIP access, corporate events, press passes, or any invite-only experience.
How Private Tickets Work
Section titled “How Private Tickets Work”- The ticket is not visible on the public checkout page
- Each invitee receives a unique registration link
- You can send invitations via email, WhatsApp, or both
- Track RSVP status: Accepted, Declined, or Pending
- Optionally combine with the Approval workflow for double verification
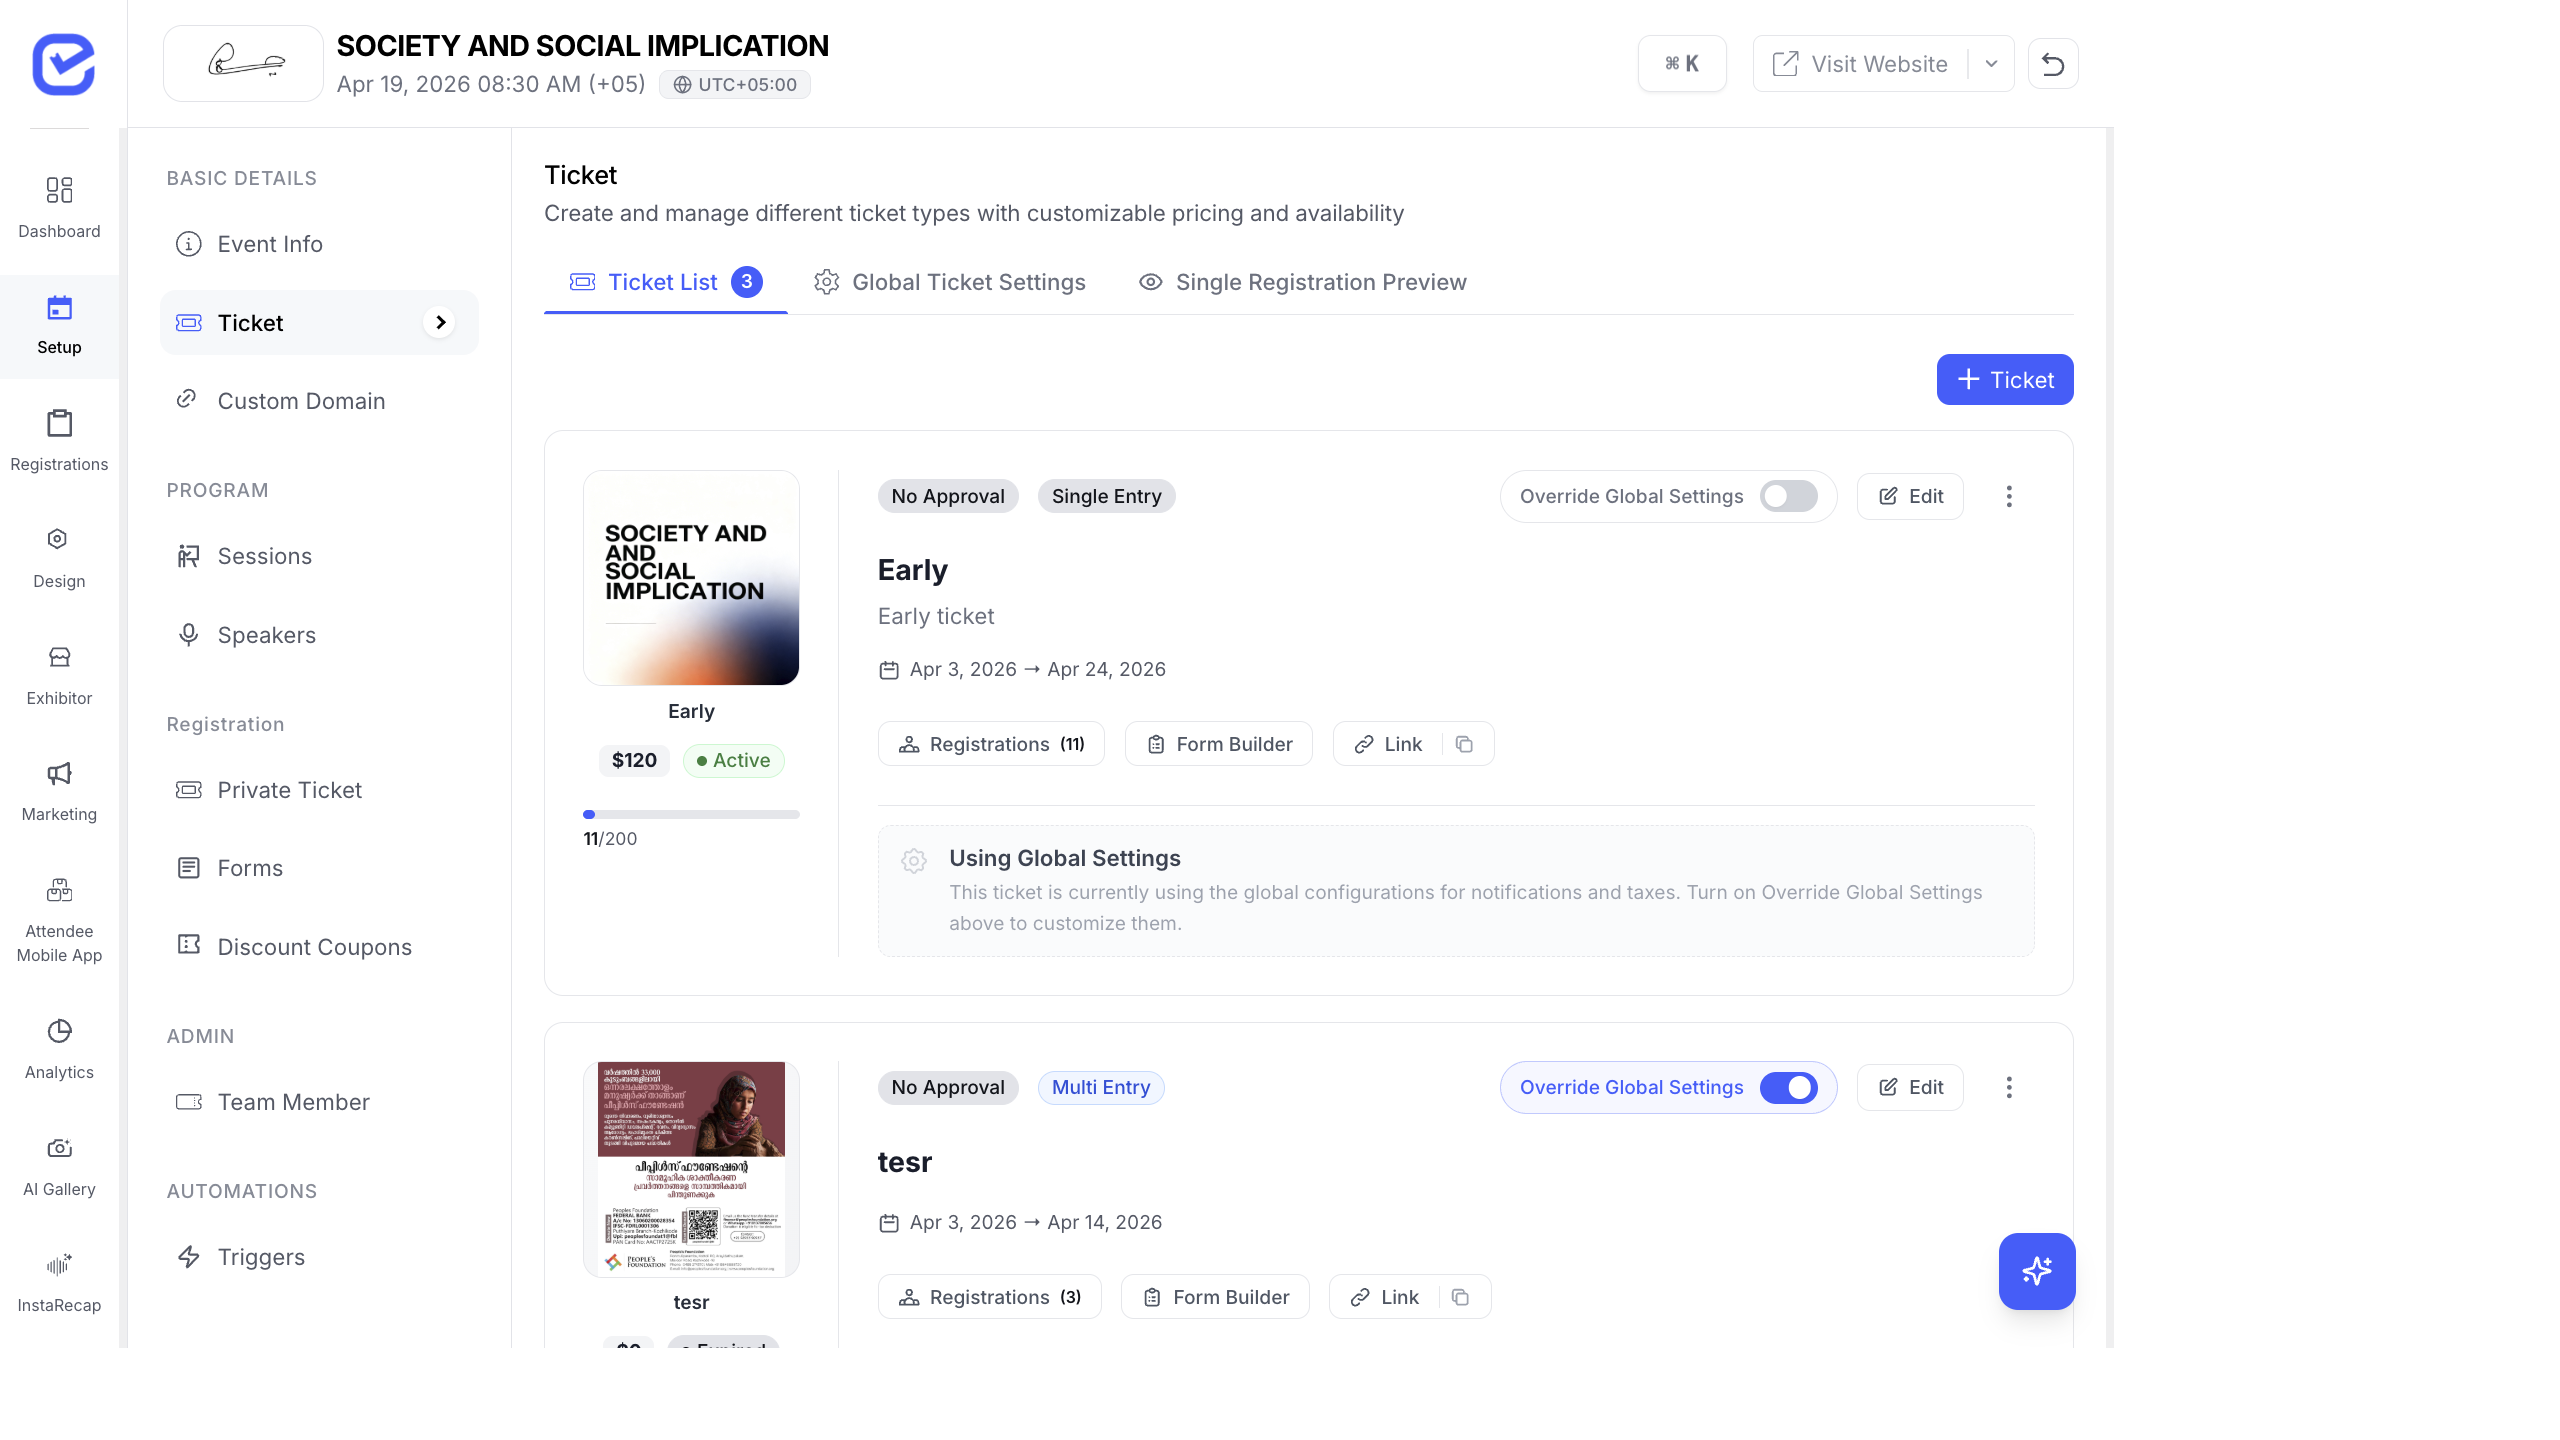
Create a Private Ticket
Section titled “Create a Private Ticket”- Go to Setup → Ticket.
- Click + Ticket to create a new ticket (or edit an existing one).
- In the ticket settings, set the ticket visibility to Private.
- Configure the ticket name, pricing, and dates as usual.
- Click Save.
The ticket card will show an Open RSVP badge indicating it’s a private/invitation-based ticket.
Send Invitations
Section titled “Send Invitations”- Go to Setup → Ticket.
- Find the private ticket and toggle on Override Global Settings.
- Click the Invitations button under NOTIFICATIONS & DELIVERY.
- The Invitation Manager opens.
- Choose how to send invitations:
- Email — send personalized email invitations
- WhatsApp — send via WhatsApp message
- Both — send through both channels
- Add invitees by entering their details or using Bulk Upload with a CSV file.
- Click Send Invitations.
Manage the Private Ticket Page
Section titled “Manage the Private Ticket Page”Go to Setup → Private Ticket in the left sidebar to see a dedicated management view for all your private tickets. From here you can:
- View all private tickets and their invitation counts
- See RSVP metrics (sent, accepted, declined, pending)
- Resend invitations to non-responders
- Add new invitees
Track RSVP Status
Section titled “Track RSVP Status”Each invitation has one of these statuses:
| Status | Meaning |
|---|---|
| Sent | Invitation delivered, no response yet |
| Pending | Invitee opened the link but hasn’t registered |
| Accepted | Invitee completed registration |
| Declined | Invitee explicitly declined the invitation |
Invitation Link Behavior
Section titled “Invitation Link Behavior”When an invitee clicks their invitation link:
- They are taken directly to the registration form for that specific private ticket
- Their name and email may be pre-filled from the invitation data
- They complete the registration form and submit
- If approval is also enabled, the registration enters the approval queue
- If no approval is needed, they receive instant confirmation
Combine with Approval
Section titled “Combine with Approval”For maximum control, you can enable both private tickets and approval:
- Create the ticket as Private (requires invitation link).
- Enable Requires Approval in the ticket’s override settings.
- Invitees register via their unique link → registration enters pending queue → you approve or reject manually.
This is useful when you want to invite a large group but still review each registration individually before confirming.
Common Use Cases
Section titled “Common Use Cases”| Scenario | Setup |
|---|---|
| VIP guest list | Private ticket + no approval (auto-confirm invited guests) |
| Press/media passes | Private ticket + approval (review credentials) |
| Corporate team event | Private ticket + bulk upload CSV of employees |
| Board meeting | Private ticket + WhatsApp invitations |
| Speaker registration | Private ticket with custom form fields (bio, topic, photo) |
The Invitation Experience
Section titled “The Invitation Experience”When you send an invitation, the recipient receives a unique link (/invite/[token]). Clicking this link takes them directly to a registration page pre-scoped to their private ticket — they don’t need to find the ticket themselves.
See Invitation Links & Short URLs for details on how invitation URLs work, and The Registration Experience for the full checkout flow.