Editing & Deleting Events
Editing an Event
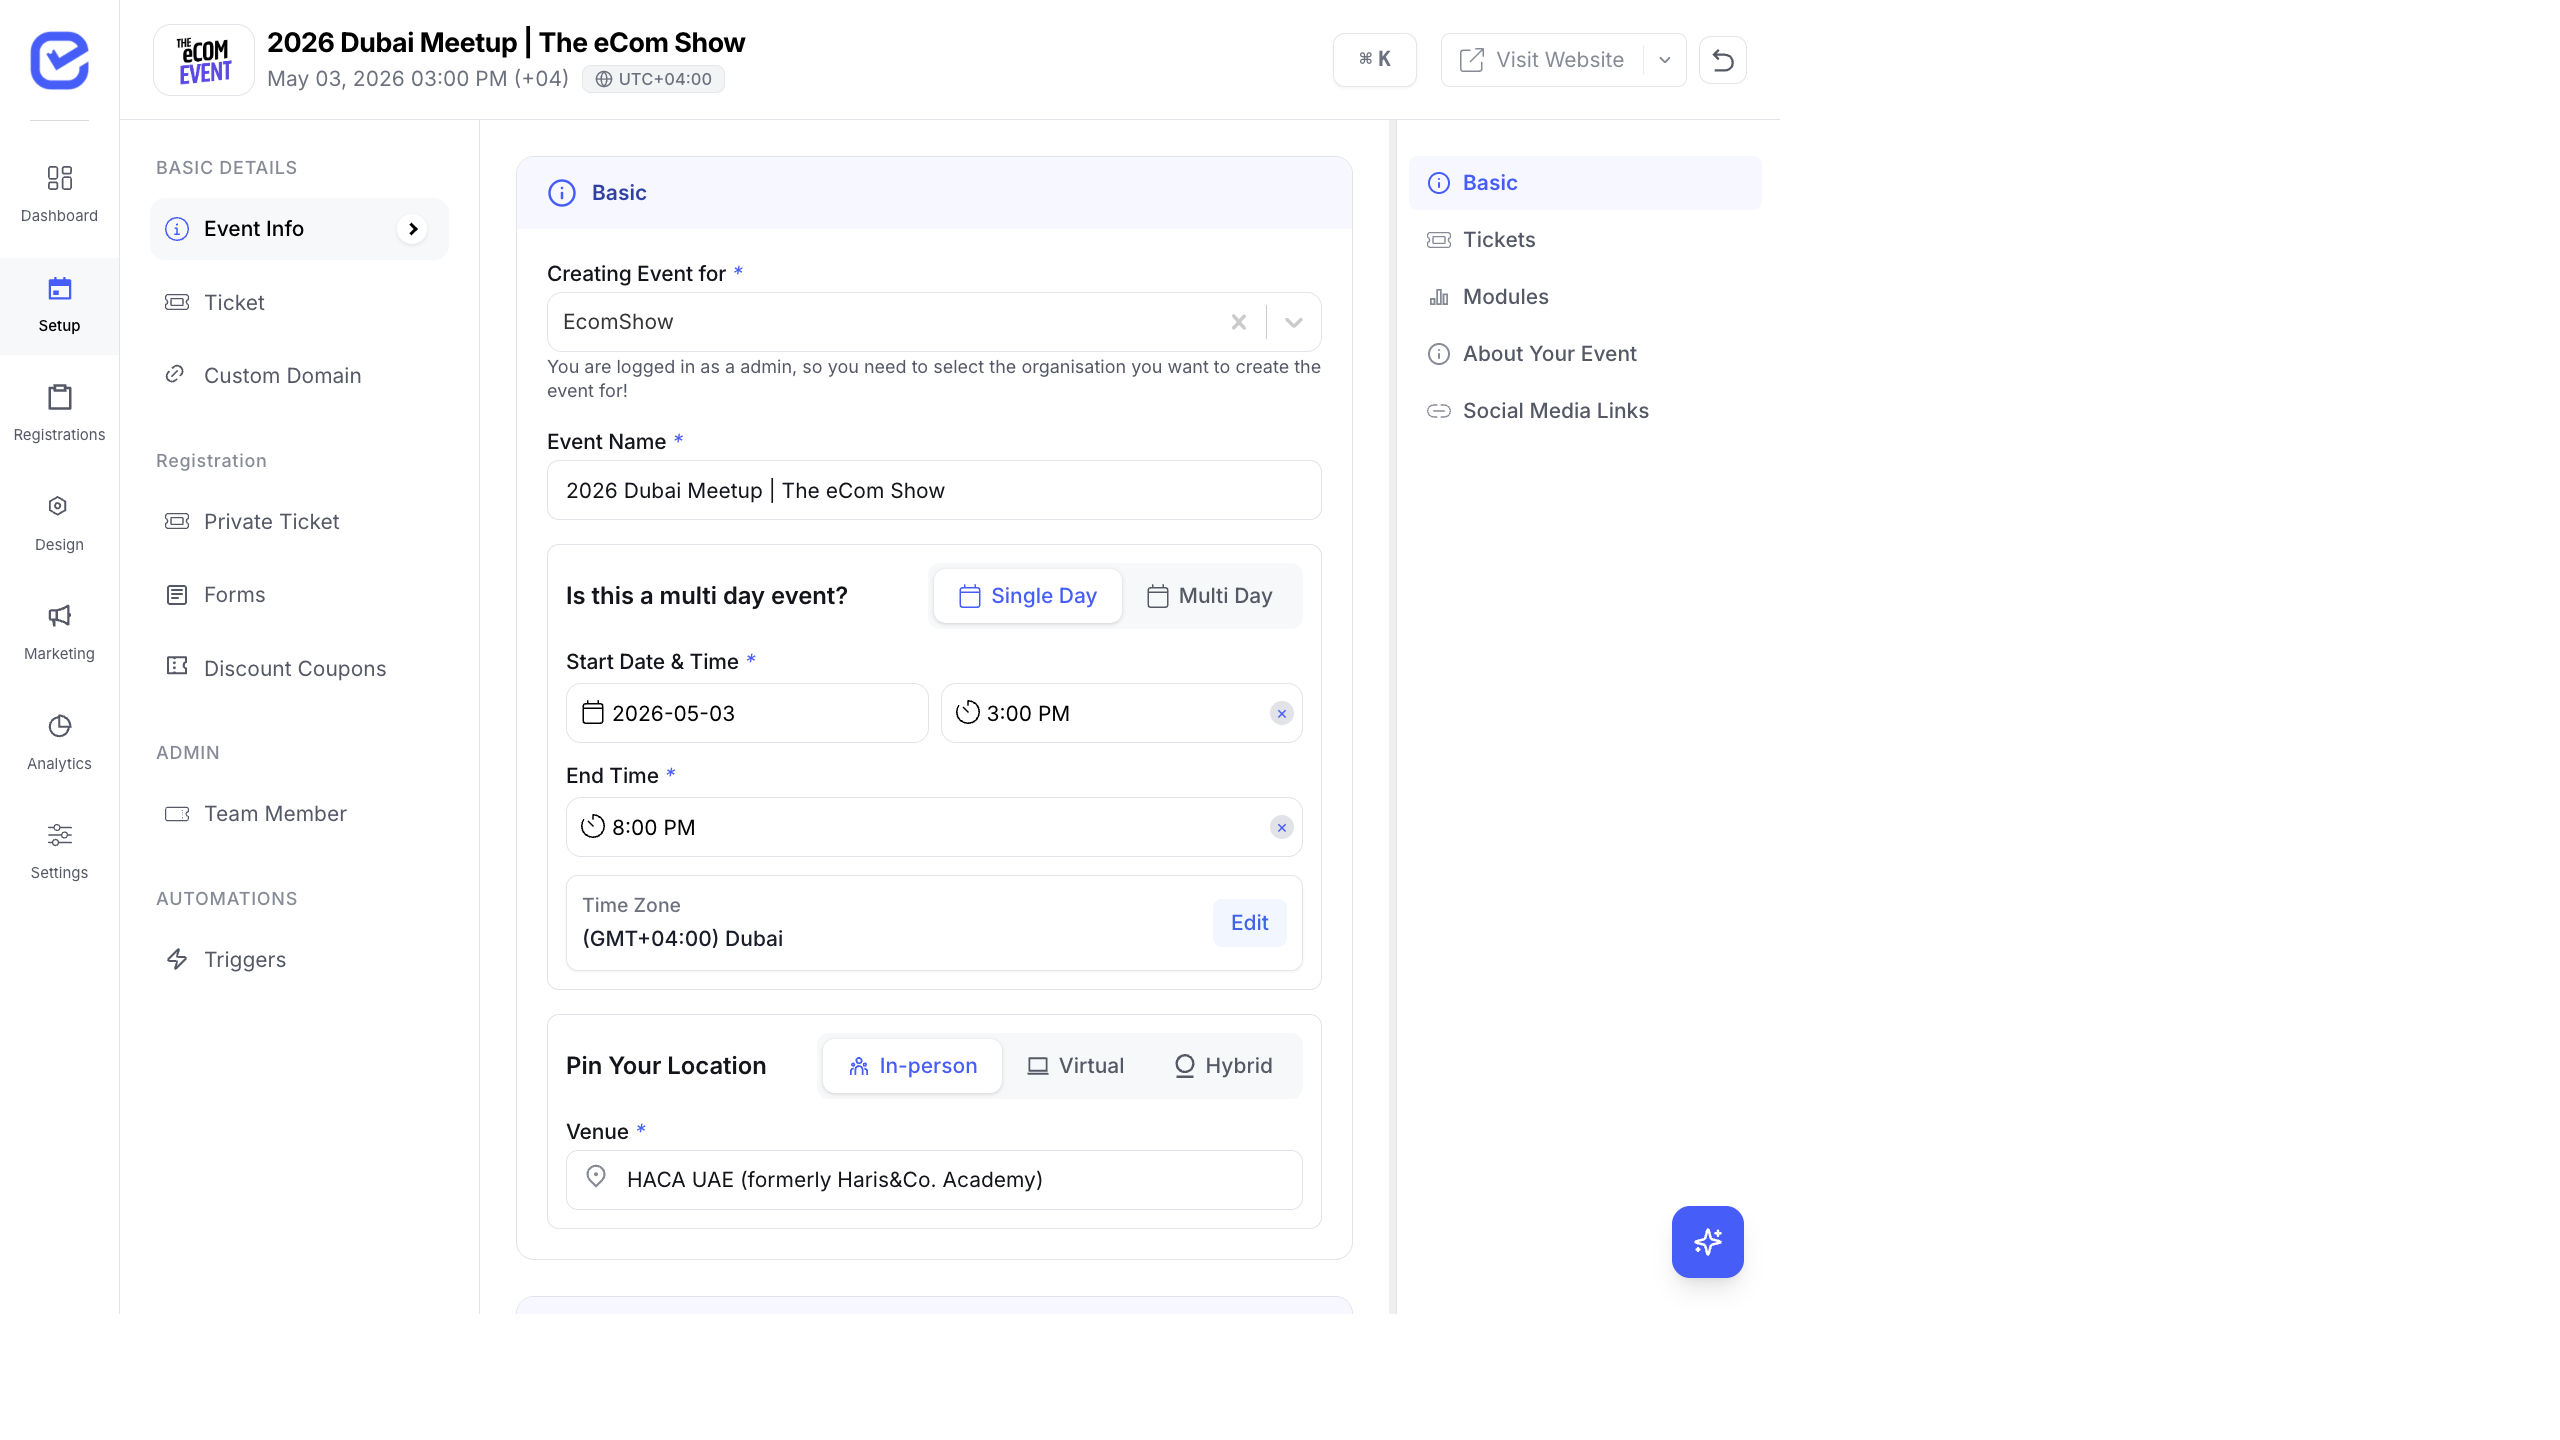
Section titled “Editing an Event”Click any event card on the Events dashboard to open its detail view. From there, go to Setup → Event Info to edit the core details.
Editable Fields
Section titled “Editable Fields”All the fields you configured during event creation can be modified:
- Event Name — update the title (supports multi-language)
- Single Day / Multi-Day — switch between single and multi-day
- Start Date & Time — change the event start
- End Date & Time — change the event end
- Timezone — update the timezone
- Event Type — switch between In-person, Virtual, or Hybrid
- Venue — update the physical address
- Virtual URL — change the meeting link
After making changes, click Save at the bottom of the form.
Additional Setup Sections
Section titled “Additional Setup Sections”The Setup page also provides access to:
| Section | What You Can Edit |
|---|---|
| Ticket | Add, edit, or remove ticket types |
| Custom Domain | Configure a custom domain for the event website |
| Private Ticket | Set up invitation-only ticket access |
| Forms | Build and manage custom registration forms |
| Discount Coupons | Create and manage promo codes |
| Team Member | Add event-level team members |
| Triggers | Configure automation triggers |
Archiving an Event
Section titled “Archiving an Event”Archiving moves an event out of the active view without deleting it. Archived events retain all data.
- On the Events dashboard, find the event card.
- Click the ⋮ (more options) icon on the event card.
- Select Archive.
- The event moves to the Archive tab.
To view archived events, click the Archive tab on the Events dashboard.
To restore an archived event:
- Switch to the Archive tab.
- Click the ⋮ menu on the archived event.
- Select Restore or Unarchive.
Deleting an Event
Section titled “Deleting an Event”- On the Events dashboard, click the ⋮ menu on the event card.
- Select Delete.
- Confirm the deletion in the dialog.
When to Delete vs Archive
Section titled “When to Delete vs Archive”| Action | Use When |
|---|---|
| Archive | The event is over but you need to keep data for reporting, compliance, or reference |
| Delete | The event was a test, duplicate, or is no longer needed at all |