How to Create a Ticket

Tickets define how attendees register for your event. Every event needs at least one ticket. You can create up to 10 ticket types per event.
Access Ticket Management
Section titled “Access Ticket Management”- Open your event from the Events dashboard.
- Click Setup in the left sidebar.
- Click Ticket in the sub-menu.
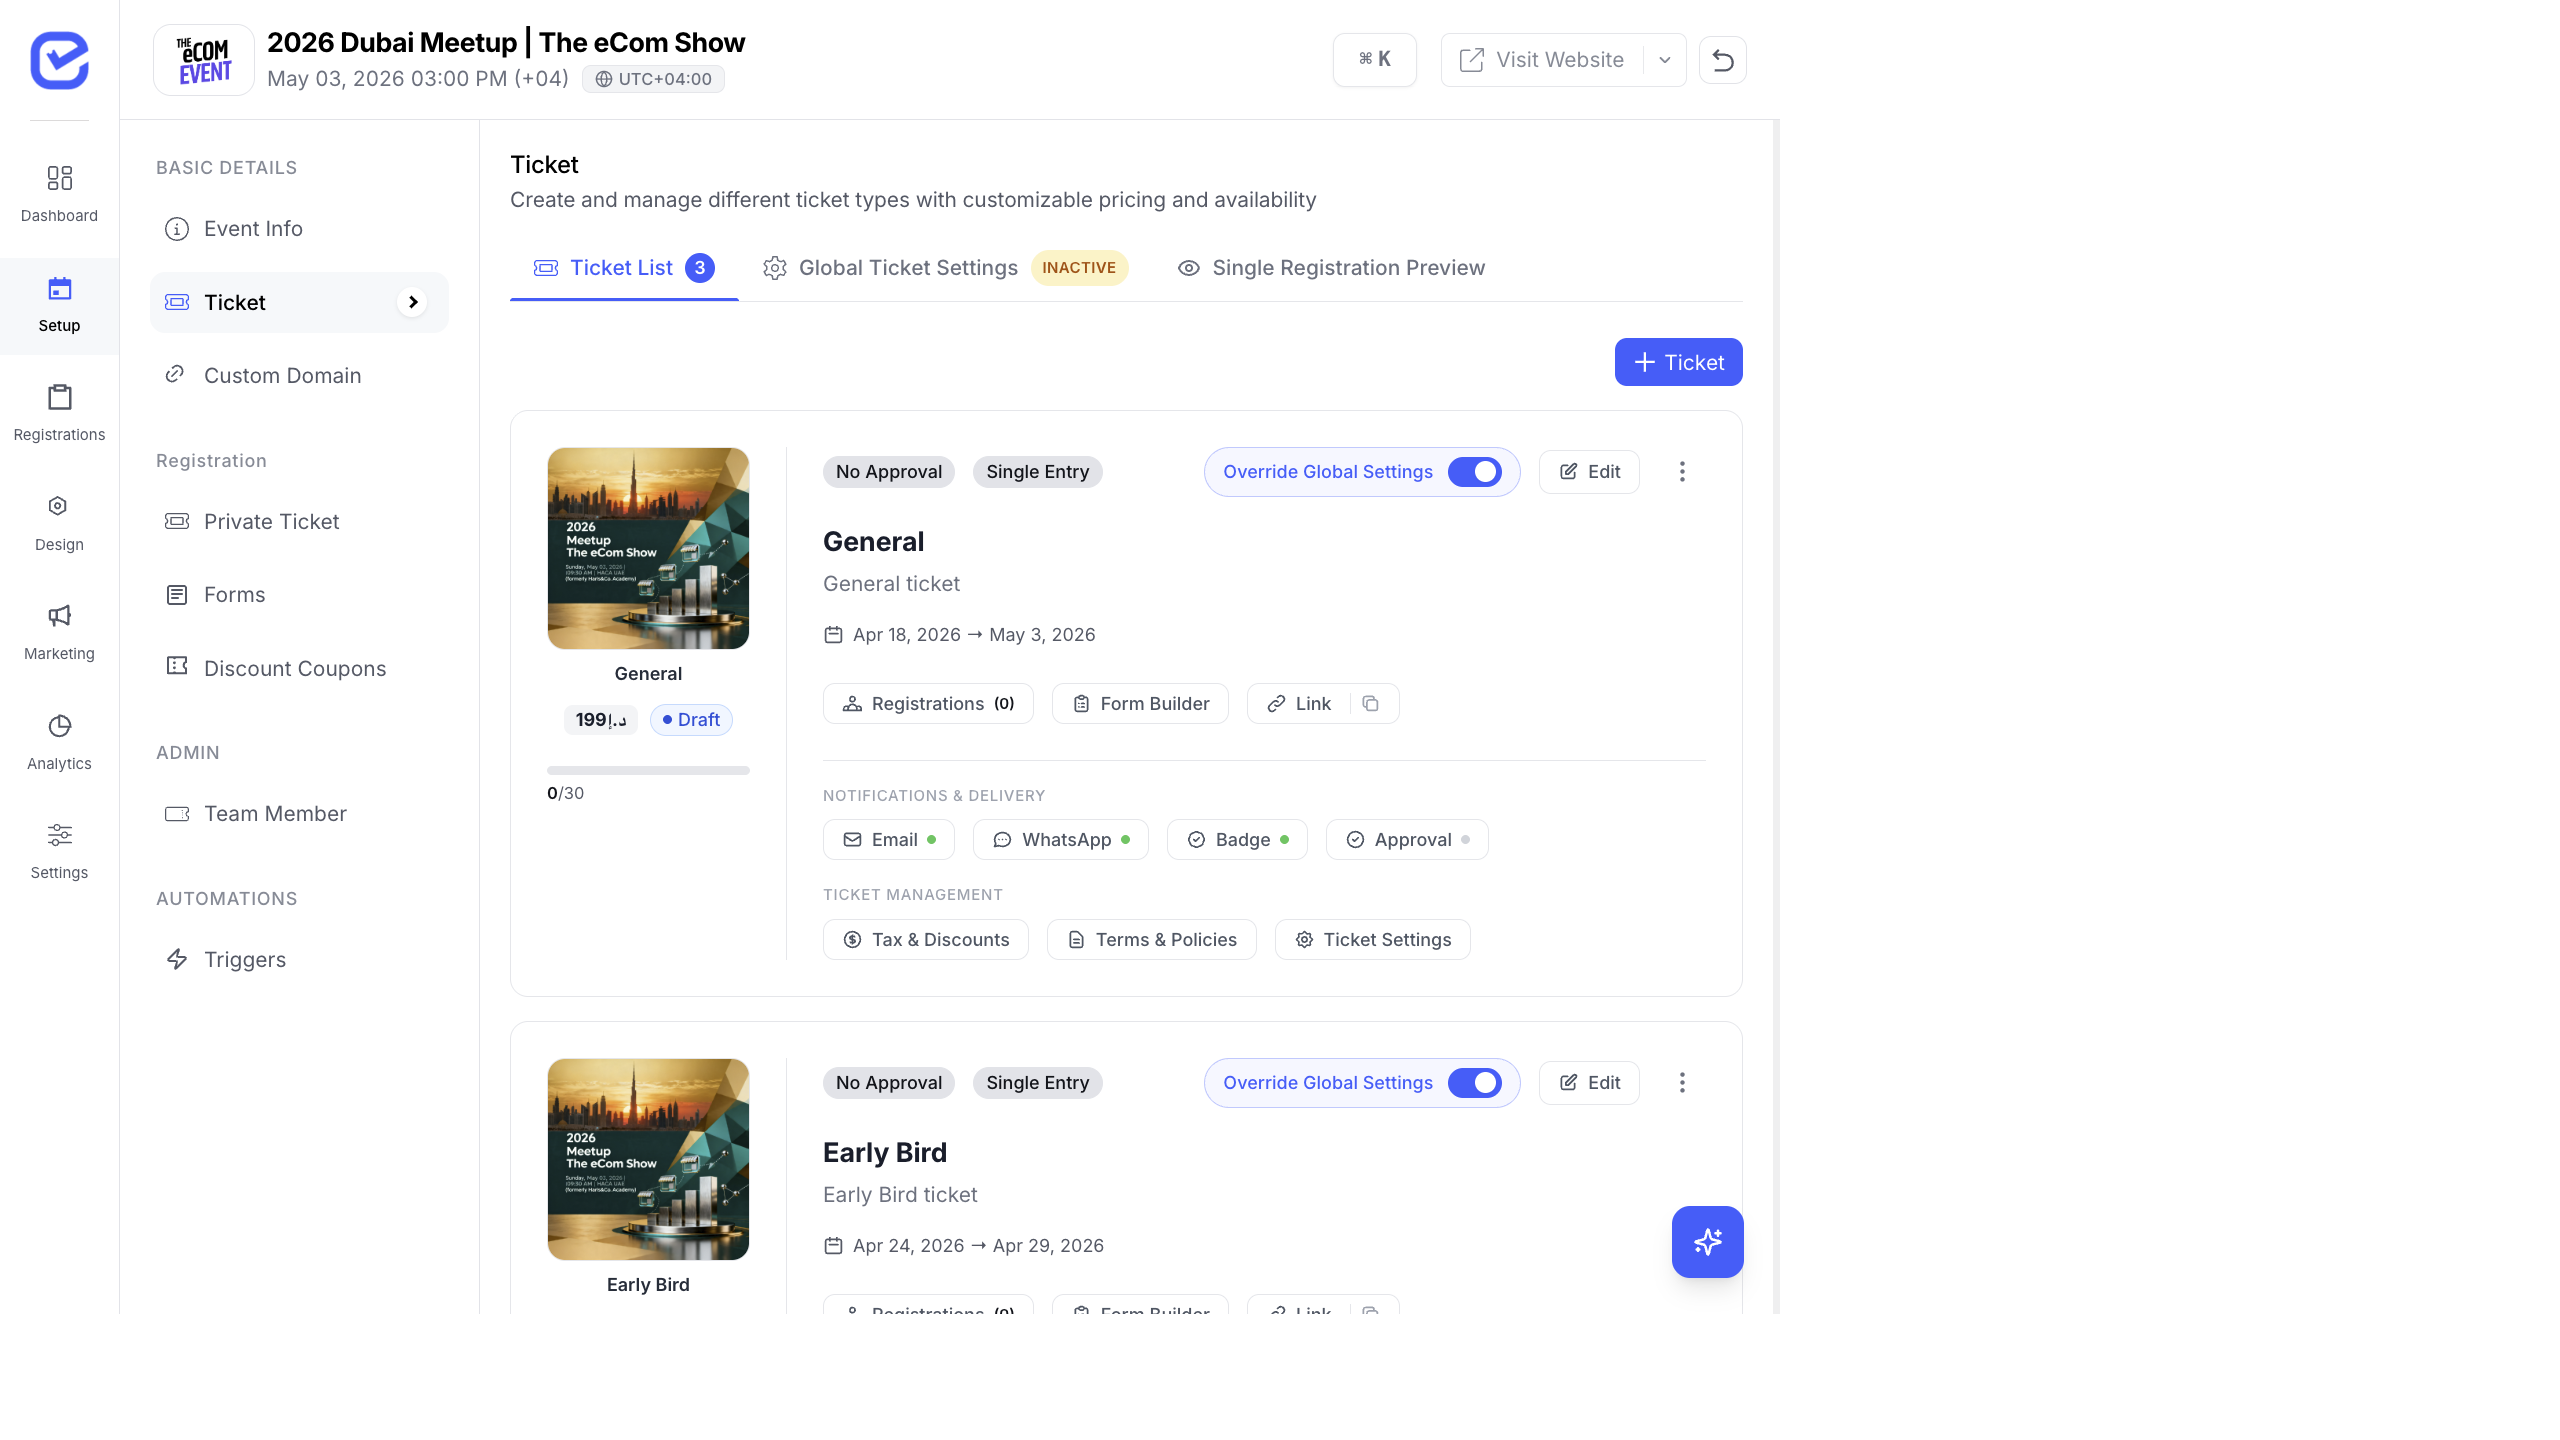
The Ticket page has three tabs:
- Ticket List — all your ticket types
- Global Ticket Settings — default settings applied to all tickets
- Single Registration Preview — preview of the registration form
Create a Ticket
Section titled “Create a Ticket”- Click + Ticket in the top-right corner.
- Fill in the ticket details:
- Ticket Name Required — e.g., “General Admission”, “VIP Pass”, “Early Bird”
- Description — brief description of what’s included
- Start Date — when the ticket goes on sale
- End Date — when the ticket sales close
- Quantity Required — total number of tickets available
- Price — ticket cost (for paid events)
- Click Save.
The new ticket appears in the Ticket List with its status set to Draft.
Ticket Card Overview
Section titled “Ticket Card Overview”Each ticket in the list shows:
| Element | Description |
|---|---|
| Ticket image | Banner thumbnail with ticket name |
| Price & Status | Ticket price and current status (Draft, Active) |
| Registration count | Progress bar showing registrations vs quantity (e.g. 0/30) |
| Tags | No Approval, Single Entry, etc. |
| Override Global Settings | Toggle to use ticket-specific settings |
| Quick Actions | Registrations, Form Builder, Link (copy registration URL) |
Notifications & Delivery
Section titled “Notifications & Delivery”Each ticket card includes toggles for:
- Email — send confirmation email on registration
- WhatsApp — send WhatsApp notification
- Badge — auto-generate badge on registration
- Approval — require admin approval before confirming
Ticket Management
Section titled “Ticket Management”Each card also provides:
- Tax & Discounts — configure tax rates and discount rules
- Terms & Policies — add ticket-specific terms
- Ticket Settings — advanced ticket configuration
Edit a Ticket
Section titled “Edit a Ticket”- Click the Edit (pencil icon) button on the ticket card.
- Update the fields you want to change.
- Click Save.
Delete a Ticket
Section titled “Delete a Ticket”- Click the ⋮ (more options) menu on the ticket card.
- Select Delete.
- Confirm the deletion.
Ticket Registration Link
Section titled “Ticket Registration Link”Every ticket has a unique registration URL. To copy it:
- Click the Link button on the ticket card.
- The URL is copied to your clipboard.
- Share it via email, social media, or your website.
You can also embed the registration form on your website using the embed widget. See the event’s Design section for embed options.
- Early Bird tickets — set an earlier end date than your standard tickets to create urgency
- Limited quantity — use small quantities for VIP or exclusive tickets to create scarcity
- Multiple tiers — create separate tickets for different access levels (General, VIP, Workshop)
- Free + Paid mix — you can have both free and paid tickets in the same event
How Attendees See Your Tickets
Section titled “How Attendees See Your Tickets”Once created, your tickets appear on the event website as interactive ticket cards. Attendees see the ticket name, price (or “Free”), description, and a quantity selector. For a complete walkthrough of what attendees experience during registration, see The Registration Experience.