Setting Up a Payment Gateway
To sell paid tickets, you need to connect a payment gateway to your EventHex account. EventHex supports multiple gateways so you can accept payments from attendees worldwide.
Supported Payment Gateways
Section titled “Supported Payment Gateways”| Gateway | Regions | Currencies |
|---|---|---|
| Razorpay | India, International | INR, USD, and 100+ currencies |
| Stripe | Global (46 countries) | 135+ currencies |
| EventHex Pay | Built-in (default) | Works with supported gateways |
| Offline | Any | Manual payment confirmation |
Connect a Payment Gateway
Section titled “Connect a Payment Gateway”- Sign up at razorpay.com and complete KYC verification.
- In Razorpay Dashboard, go to Settings → API Keys and generate your Key ID and Key Secret.
- In EventHex, go to Settings → Payment Method.
- Select Razorpay as the gateway.
- Enter your Key ID and Key Secret.
- Click Save.
Razorpay supports UPI, credit/debit cards, net banking, wallets, and international payments.
- Sign up at stripe.com and complete account verification.
- In Stripe Dashboard, go to Developers → API Keys and copy your Publishable Key and Secret Key.
- In EventHex, go to Settings → Payment Method.
- Select Stripe as the gateway.
- Enter your Publishable Key and Secret Key.
- Click Save.
Stripe supports cards, Apple Pay, Google Pay, bank transfers, and local payment methods.
- Go to Settings → Payment Method.
- Select Offline as the payment method.
- Configure your bank transfer or manual payment instructions.
- Click Save.
With offline payments, registrations are confirmed manually after you verify the payment. This is useful for wire transfers, cheques, or on-site cash payments.
Test Your Gateway
Section titled “Test Your Gateway”After connecting a gateway:
- Create a test ticket with a small amount (e.g., $1 or ₹10).
- Open the checkout page and complete a test purchase.
- Verify the payment appears in both your EventHex Orders page and your gateway dashboard.
- Process a test refund to confirm the refund flow works.
Multiple Gateways
Section titled “Multiple Gateways”EventHex allows you to configure one active payment gateway per event. If you need different gateways for different events (e.g., Razorpay for India-based events, Stripe for international), configure each event’s payment settings separately.
Payment Flow
Section titled “Payment Flow”When an attendee purchases a paid ticket:
- They select tickets and fill in the registration form
- They click Pay on the checkout page
- The payment gateway modal opens (Razorpay/Stripe)
- They complete the payment using their preferred method
- On success, they are redirected to a confirmation page
- EventHex sends the confirmation email/WhatsApp with their ticket
- The order appears in Registrations → Orders
If the payment fails, the attendee sees an error message and can retry. Failed attempts are logged in the Payment Failures section.
Common Issues
Section titled “Common Issues”| Issue | Solution |
|---|---|
| Payment modal doesn’t open | Check that API keys are entered correctly |
| Payments fail with “authentication error” | Regenerate API keys in the gateway dashboard |
| International payments blocked | Enable international payments in your Razorpay/Stripe settings |
| Currency mismatch | Ensure the event currency matches the gateway’s supported currencies |
| Webhook not updating order status | Verify webhook URL is configured in the gateway dashboard |
Payment Flow on the Event Website
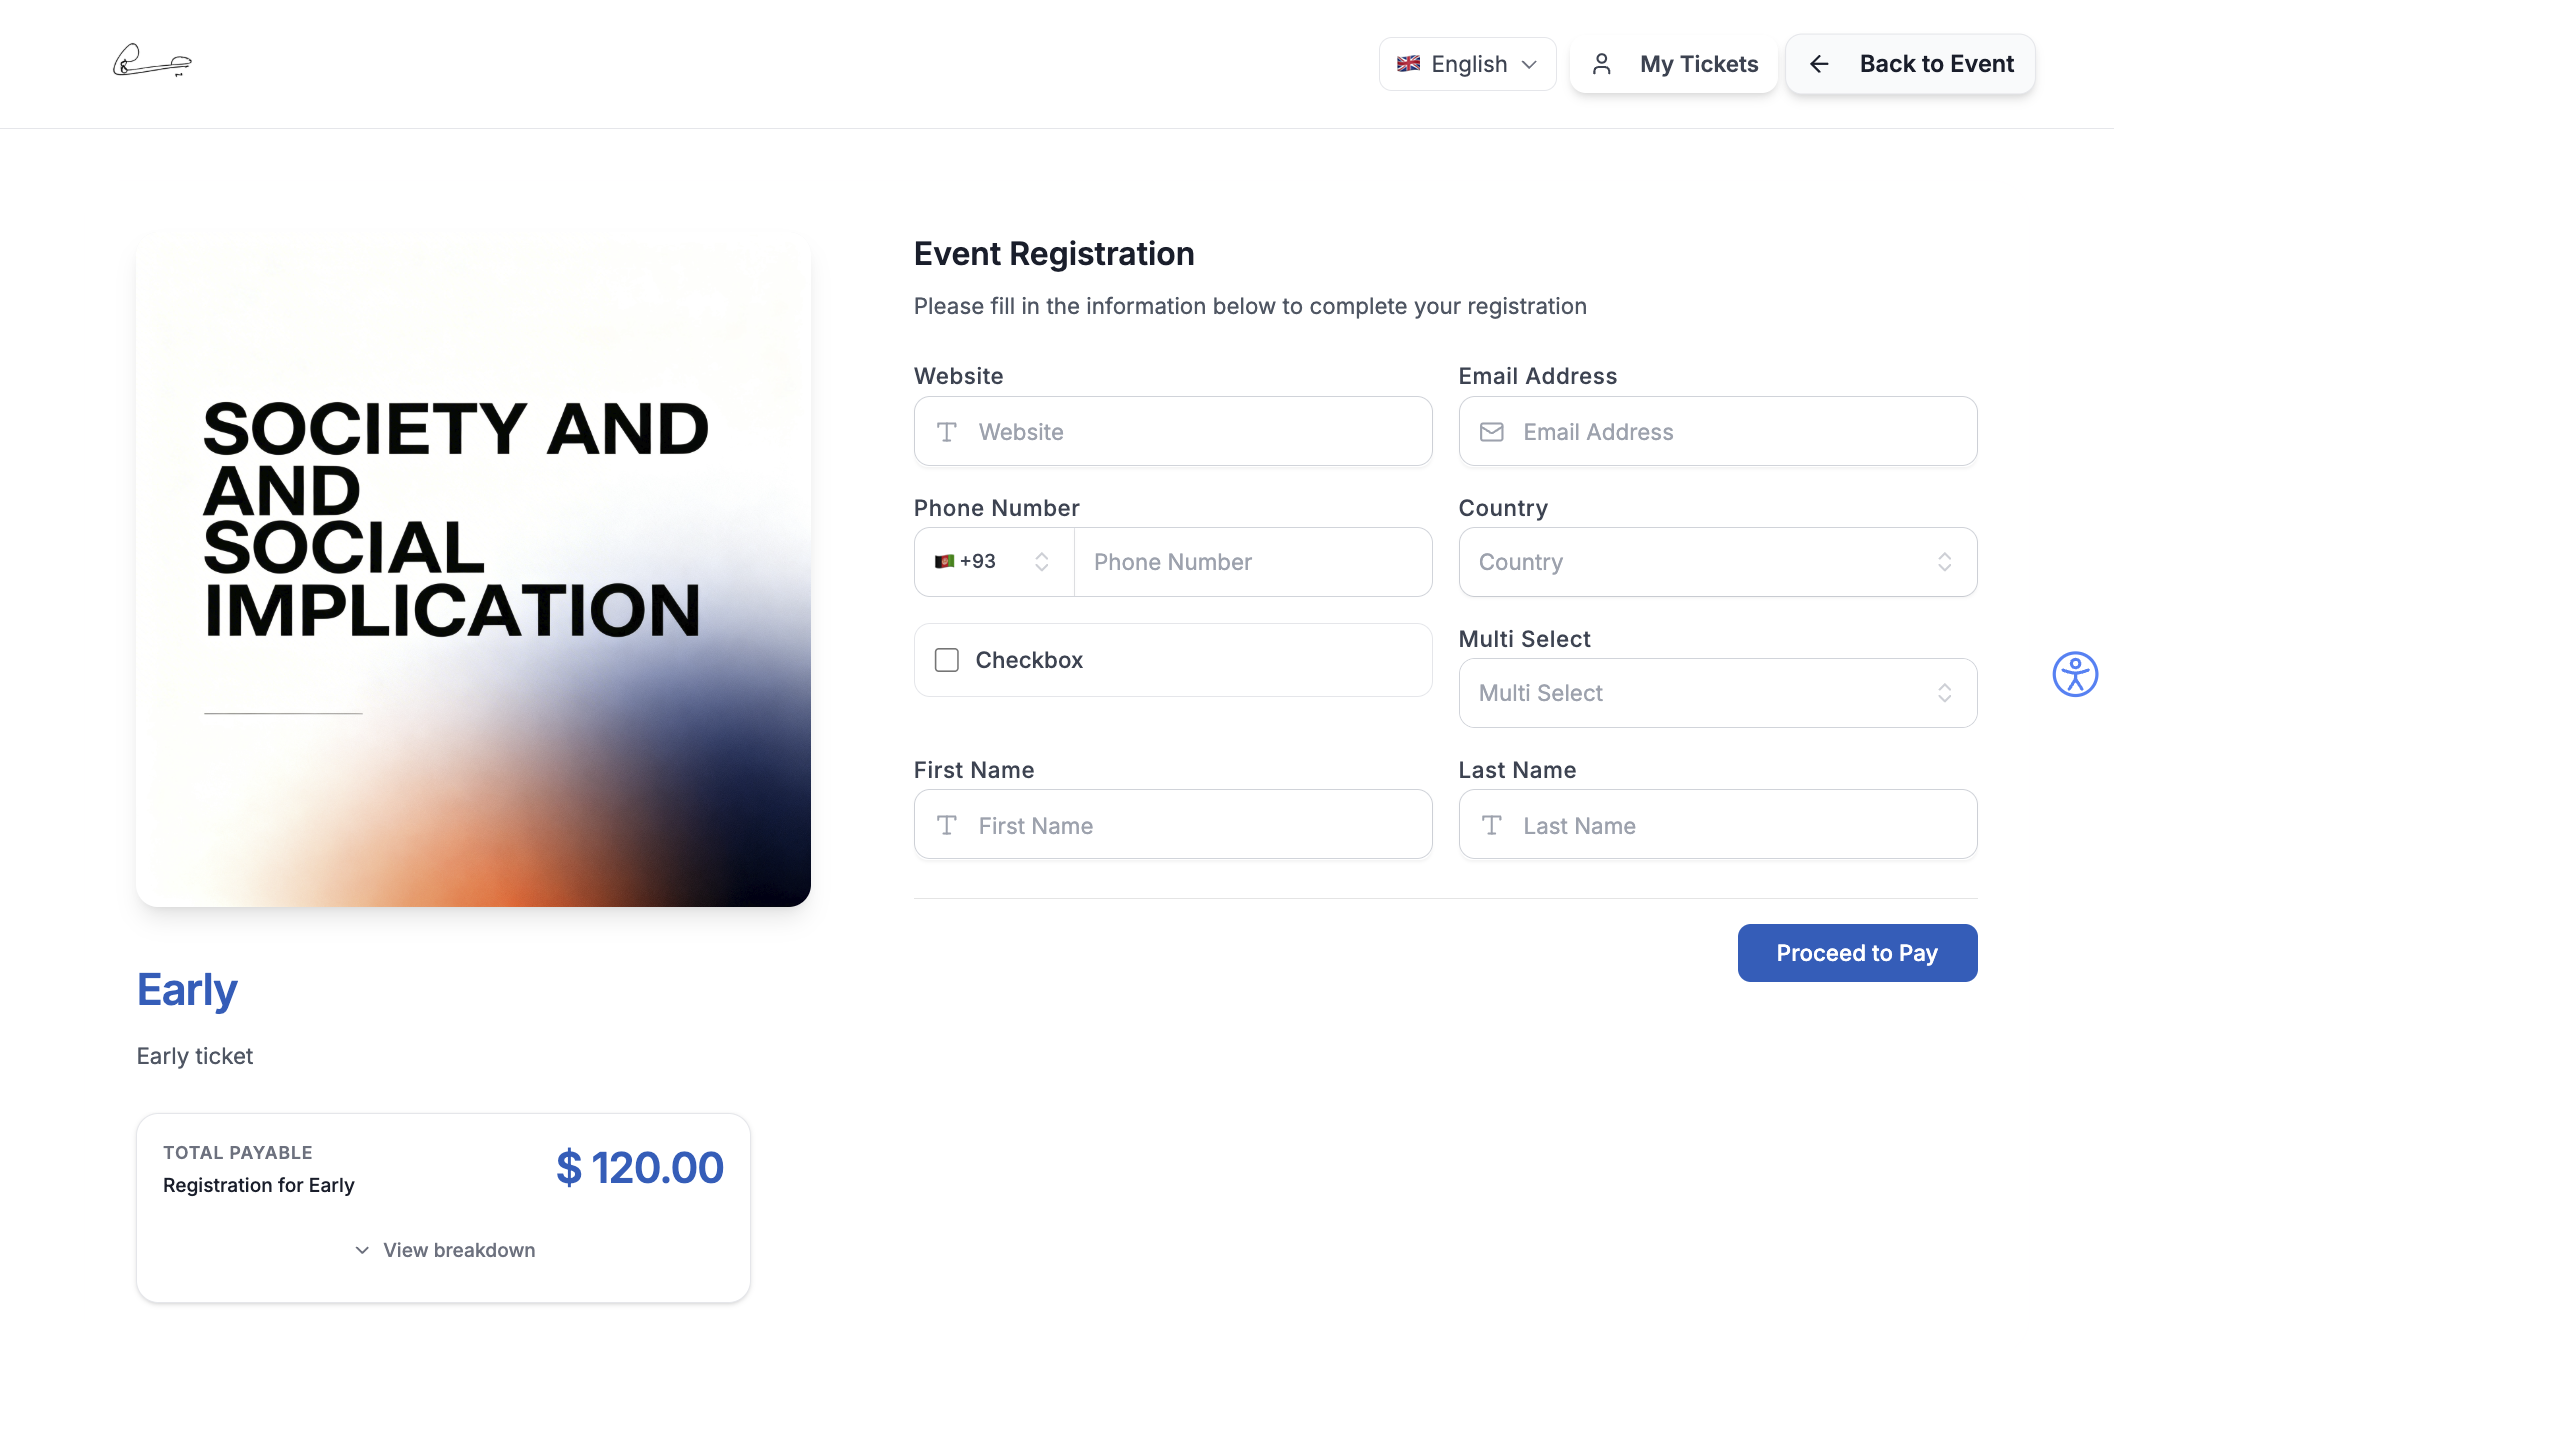
Section titled “Payment Flow on the Event Website”When attendees complete their registration on the event website:
- After filling the registration form, they see the Order Summary with itemized pricing.
- Clicking Pay opens the gateway modal (Razorpay checkout or Stripe Elements).
- On successful payment, attendees are redirected to a confirmation page showing their ticket details and a QR code.
- On cancelled/failed payment, they land on a payment-cancel page with an option to retry.
See The Registration Experience for the complete attendee checkout journey.