Setting Up the Exhibitor Module
The Exhibitor module lets you manage exhibitors, sponsors, and partners for your event. Exhibitors get their own portal to manage their company profile, team members, product catalog, and captured leads.
Access the Exhibitor Module
Section titled “Access the Exhibitor Module”Click Exhibitor in the left sidebar. The sub-menu shows:
- Exhibitor Management — list and manage all exhibitors
- Exhibitor Packages — create exhibitor tiers/packages
- Exhibitor Categories — organize exhibitors by category
- Floor Plans — upload venue floor maps
- Exhibitor Settings — configure portal features
- Announcements — send messages to exhibitors
- FAQ — manage frequently asked questions
Enable the Exhibitor Module
Section titled “Enable the Exhibitor Module”The exhibitor module is enabled at the event level:
- Go to Settings → Display Modules.
- Toggle Exhibitors to On.
- The Exhibitor section appears in the sidebar.
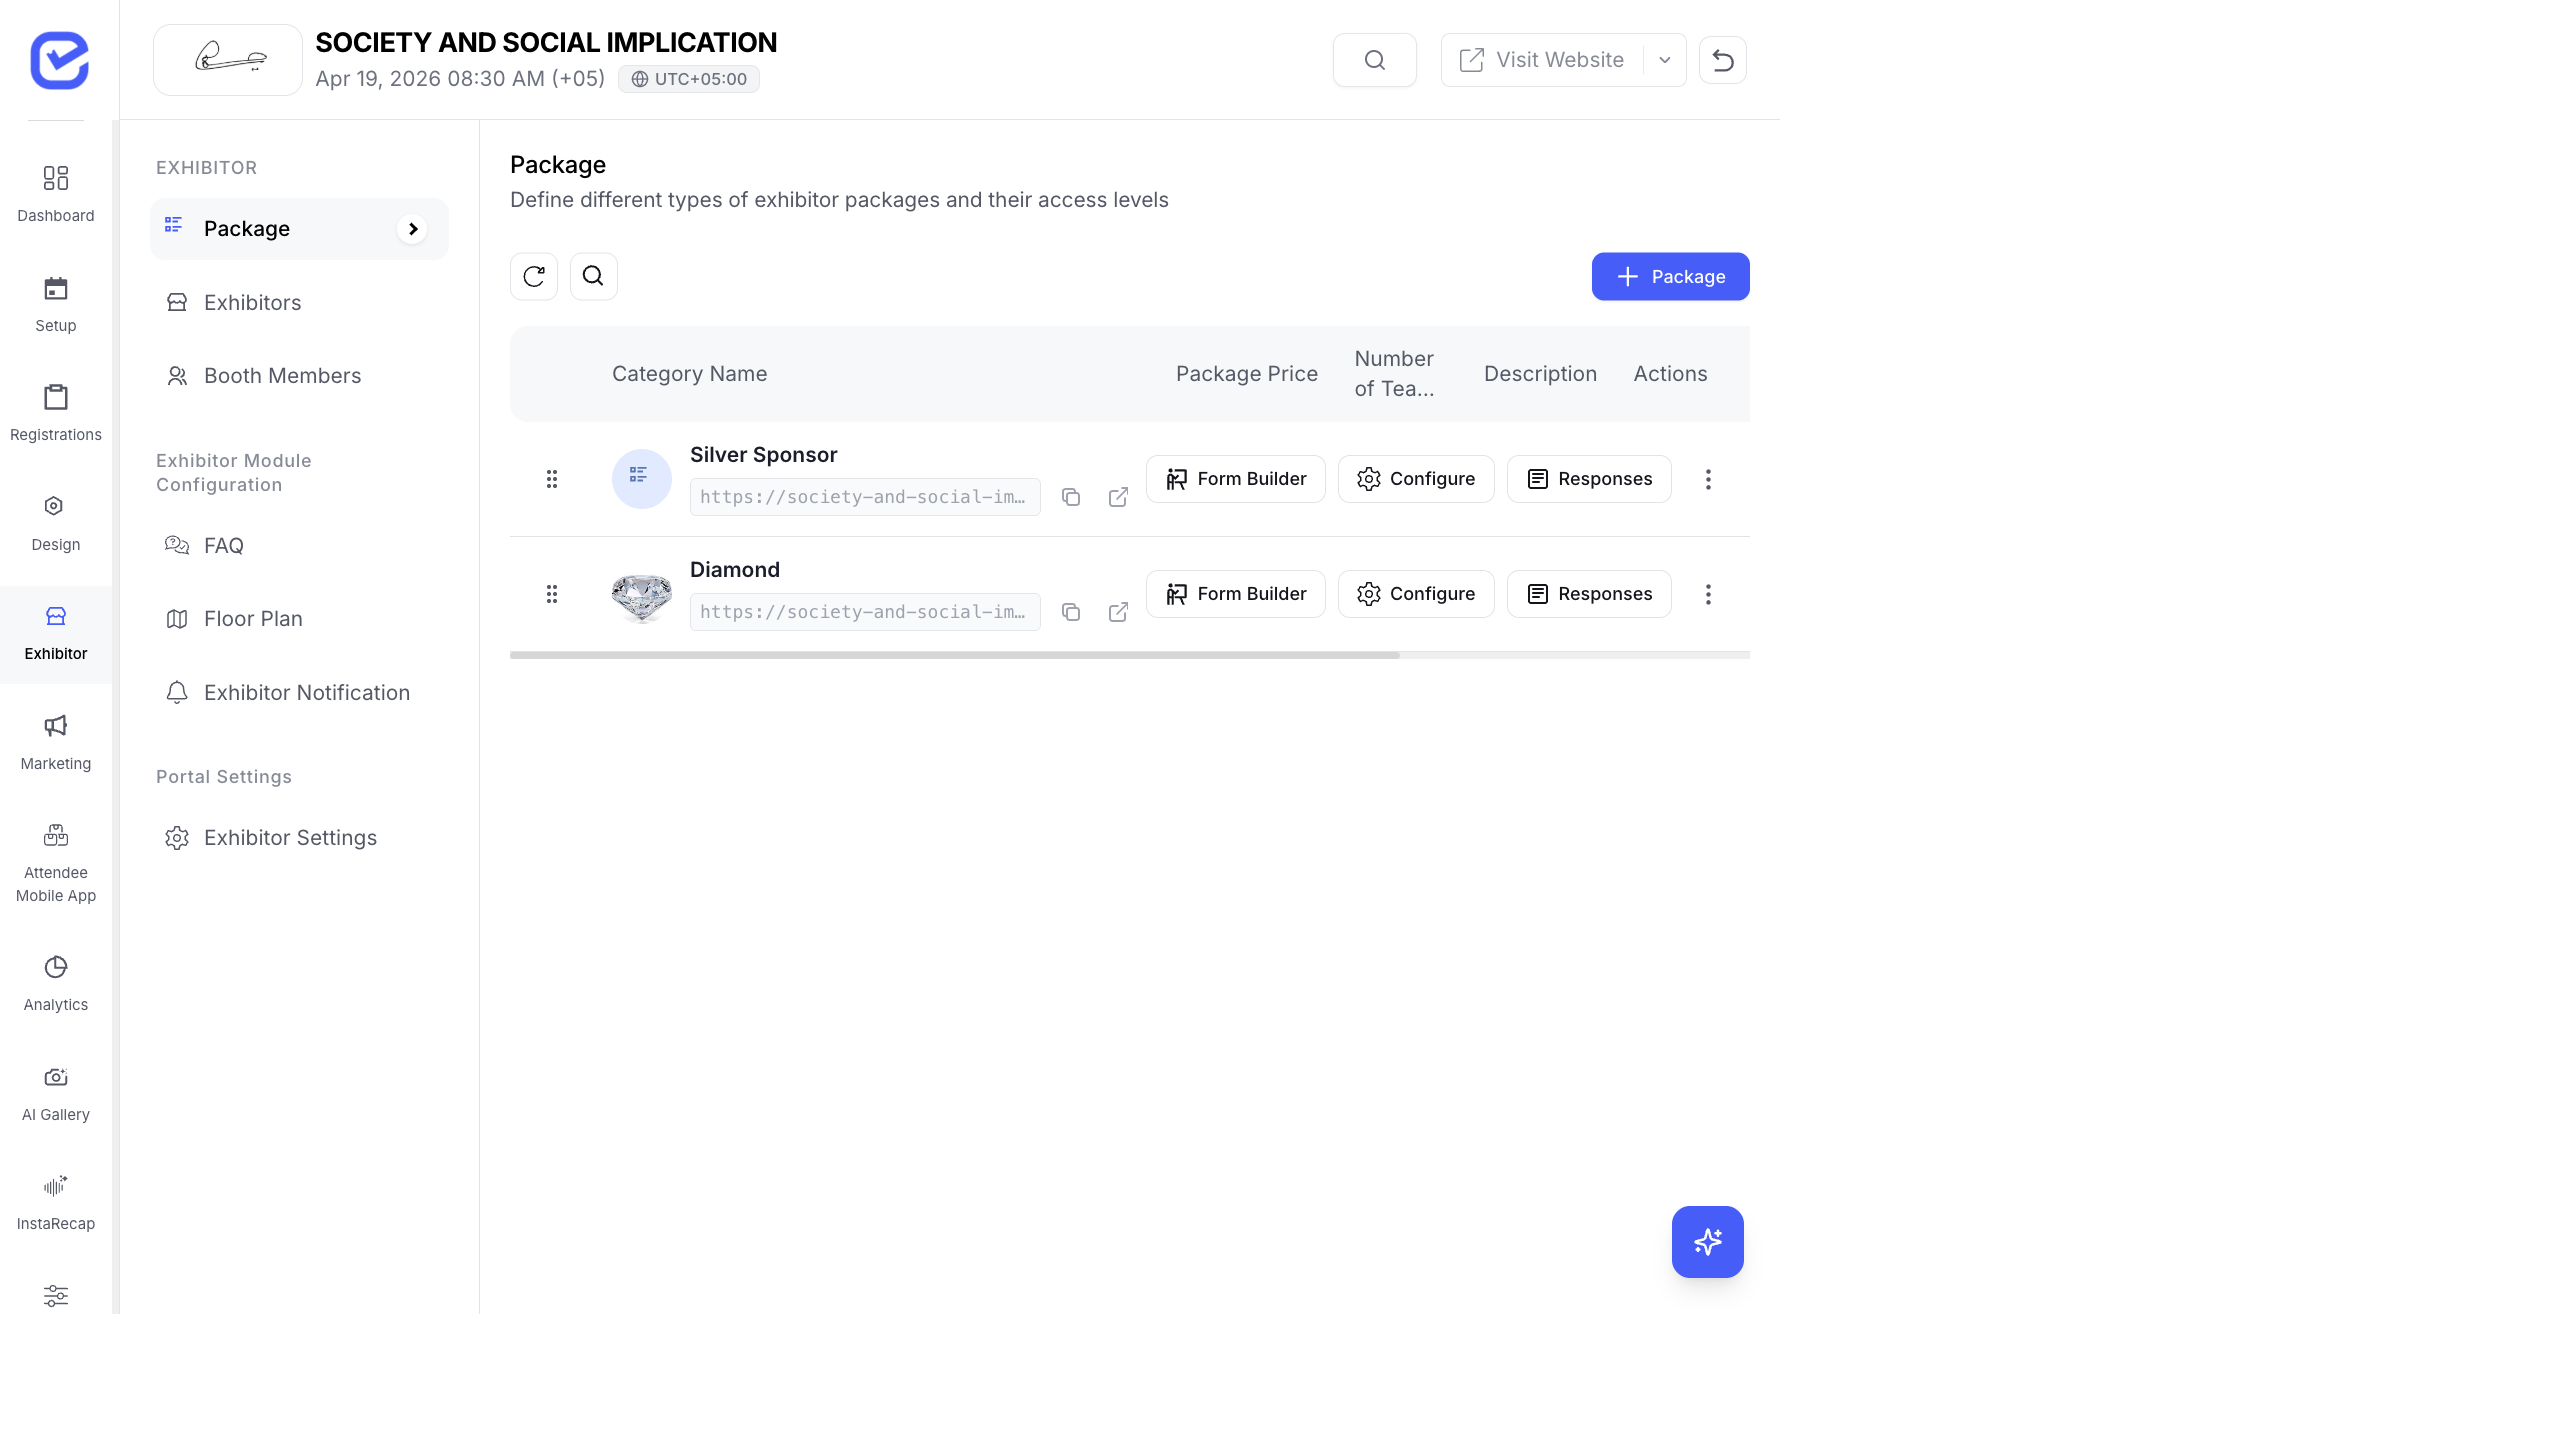
Create an Exhibitor Package
Section titled “Create an Exhibitor Package”Before exhibitors can register, you need at least one package:
- Go to Exhibitor → Exhibitor Packages.
- Click + Add New.
- Fill in the package details:
- Package Title Required — e.g., “Gold Sponsor”, “Standard Booth”, “Startup Table”
- Description — what’s included in this package
- Thumbnail — package image
- URL Slug — custom URL segment for the registration link
- Price Type — Free or Paid
- Price — amount (if paid)
- Number of Exhibitor Passes — how many team members get access
- Maximum Registrations — limit on how many exhibitors can buy this package
- Enable Lead Capture — allow exhibitors to scan and capture attendee leads
- Booth Details — description of the physical booth setup
- Registration Start Date / Deadline — when exhibitors can sign up
- Click Save.
Each package gets its own registration URL that you can share with potential exhibitors. They visit the URL, fill in their company details, and submit their application.
Add an Exhibitor Manually
Section titled “Add an Exhibitor Manually”If an exhibitor contacts you directly instead of registering online:
- Go to Exhibitor → Exhibitor Management.
- Click + Add Exhibitor.
- Fill in:
- Company Name Required
- Company Logo — upload their logo
- Company Description — about the company
- Package/Category — which exhibitor package
- Booth Number — assigned booth location
- Admin Name — contact person (supports first + last name)
- Admin Email — company admin email
- Admin Mobile — used as portal login ID
- Website — company URL
- Send Welcome Notification — toggle to email portal credentials
- Click Save.
Exhibitor Status Flow
Section titled “Exhibitor Status Flow”Every exhibitor goes through a status flow:
| Status | Meaning |
|---|---|
| Pending | Exhibitor submitted application, awaiting your review |
| Approved | You approved them — they get portal access |
| Rejected | You declined their application |
Filter the exhibitor list by status using the tabs at the top: All, Pending, Approved, Rejected.
Configure the Exhibitor Portal
Section titled “Configure the Exhibitor Portal”Go to Exhibitor → Exhibitor Settings to control what exhibitors can do in their portal:
| Module | Toggle | What It Enables |
|---|---|---|
| Lead Capture | On/Off | Exhibitors can scan attendee badges and collect leads |
| Products | On/Off | Exhibitors can showcase their product catalog |
| Team Profile | On/Off | Exhibitors can manage their booth team members |
| Tickets | On/Off | Exhibitors can manage visitor tickets |
| Badge | On/Off | Exhibitors can view and manage badges |
| Analytics | On/Off | Exhibitors see their booth performance metrics |
| FAQ | On/Off | FAQ section visible to exhibitors |
| Company Profile | On/Off | Exhibitors can edit their company info |
Additional settings:
- Privacy Policy and Terms & Conditions URLs or content
- Support Email / Phone — contact info shown in the portal
- Company Name Editable — whether exhibitors can change their company name
- Prevent Duplicate Booth Members — stops the same person from being added twice
- Booth Member Networking — enable networking features for booth staff