Setting Up Check-In & QR Codes
EventHex provides a built-in check-in system using QR codes and the Scanner App. Track who arrived, monitor check-in rates in real time, and manage multiple check-in points.
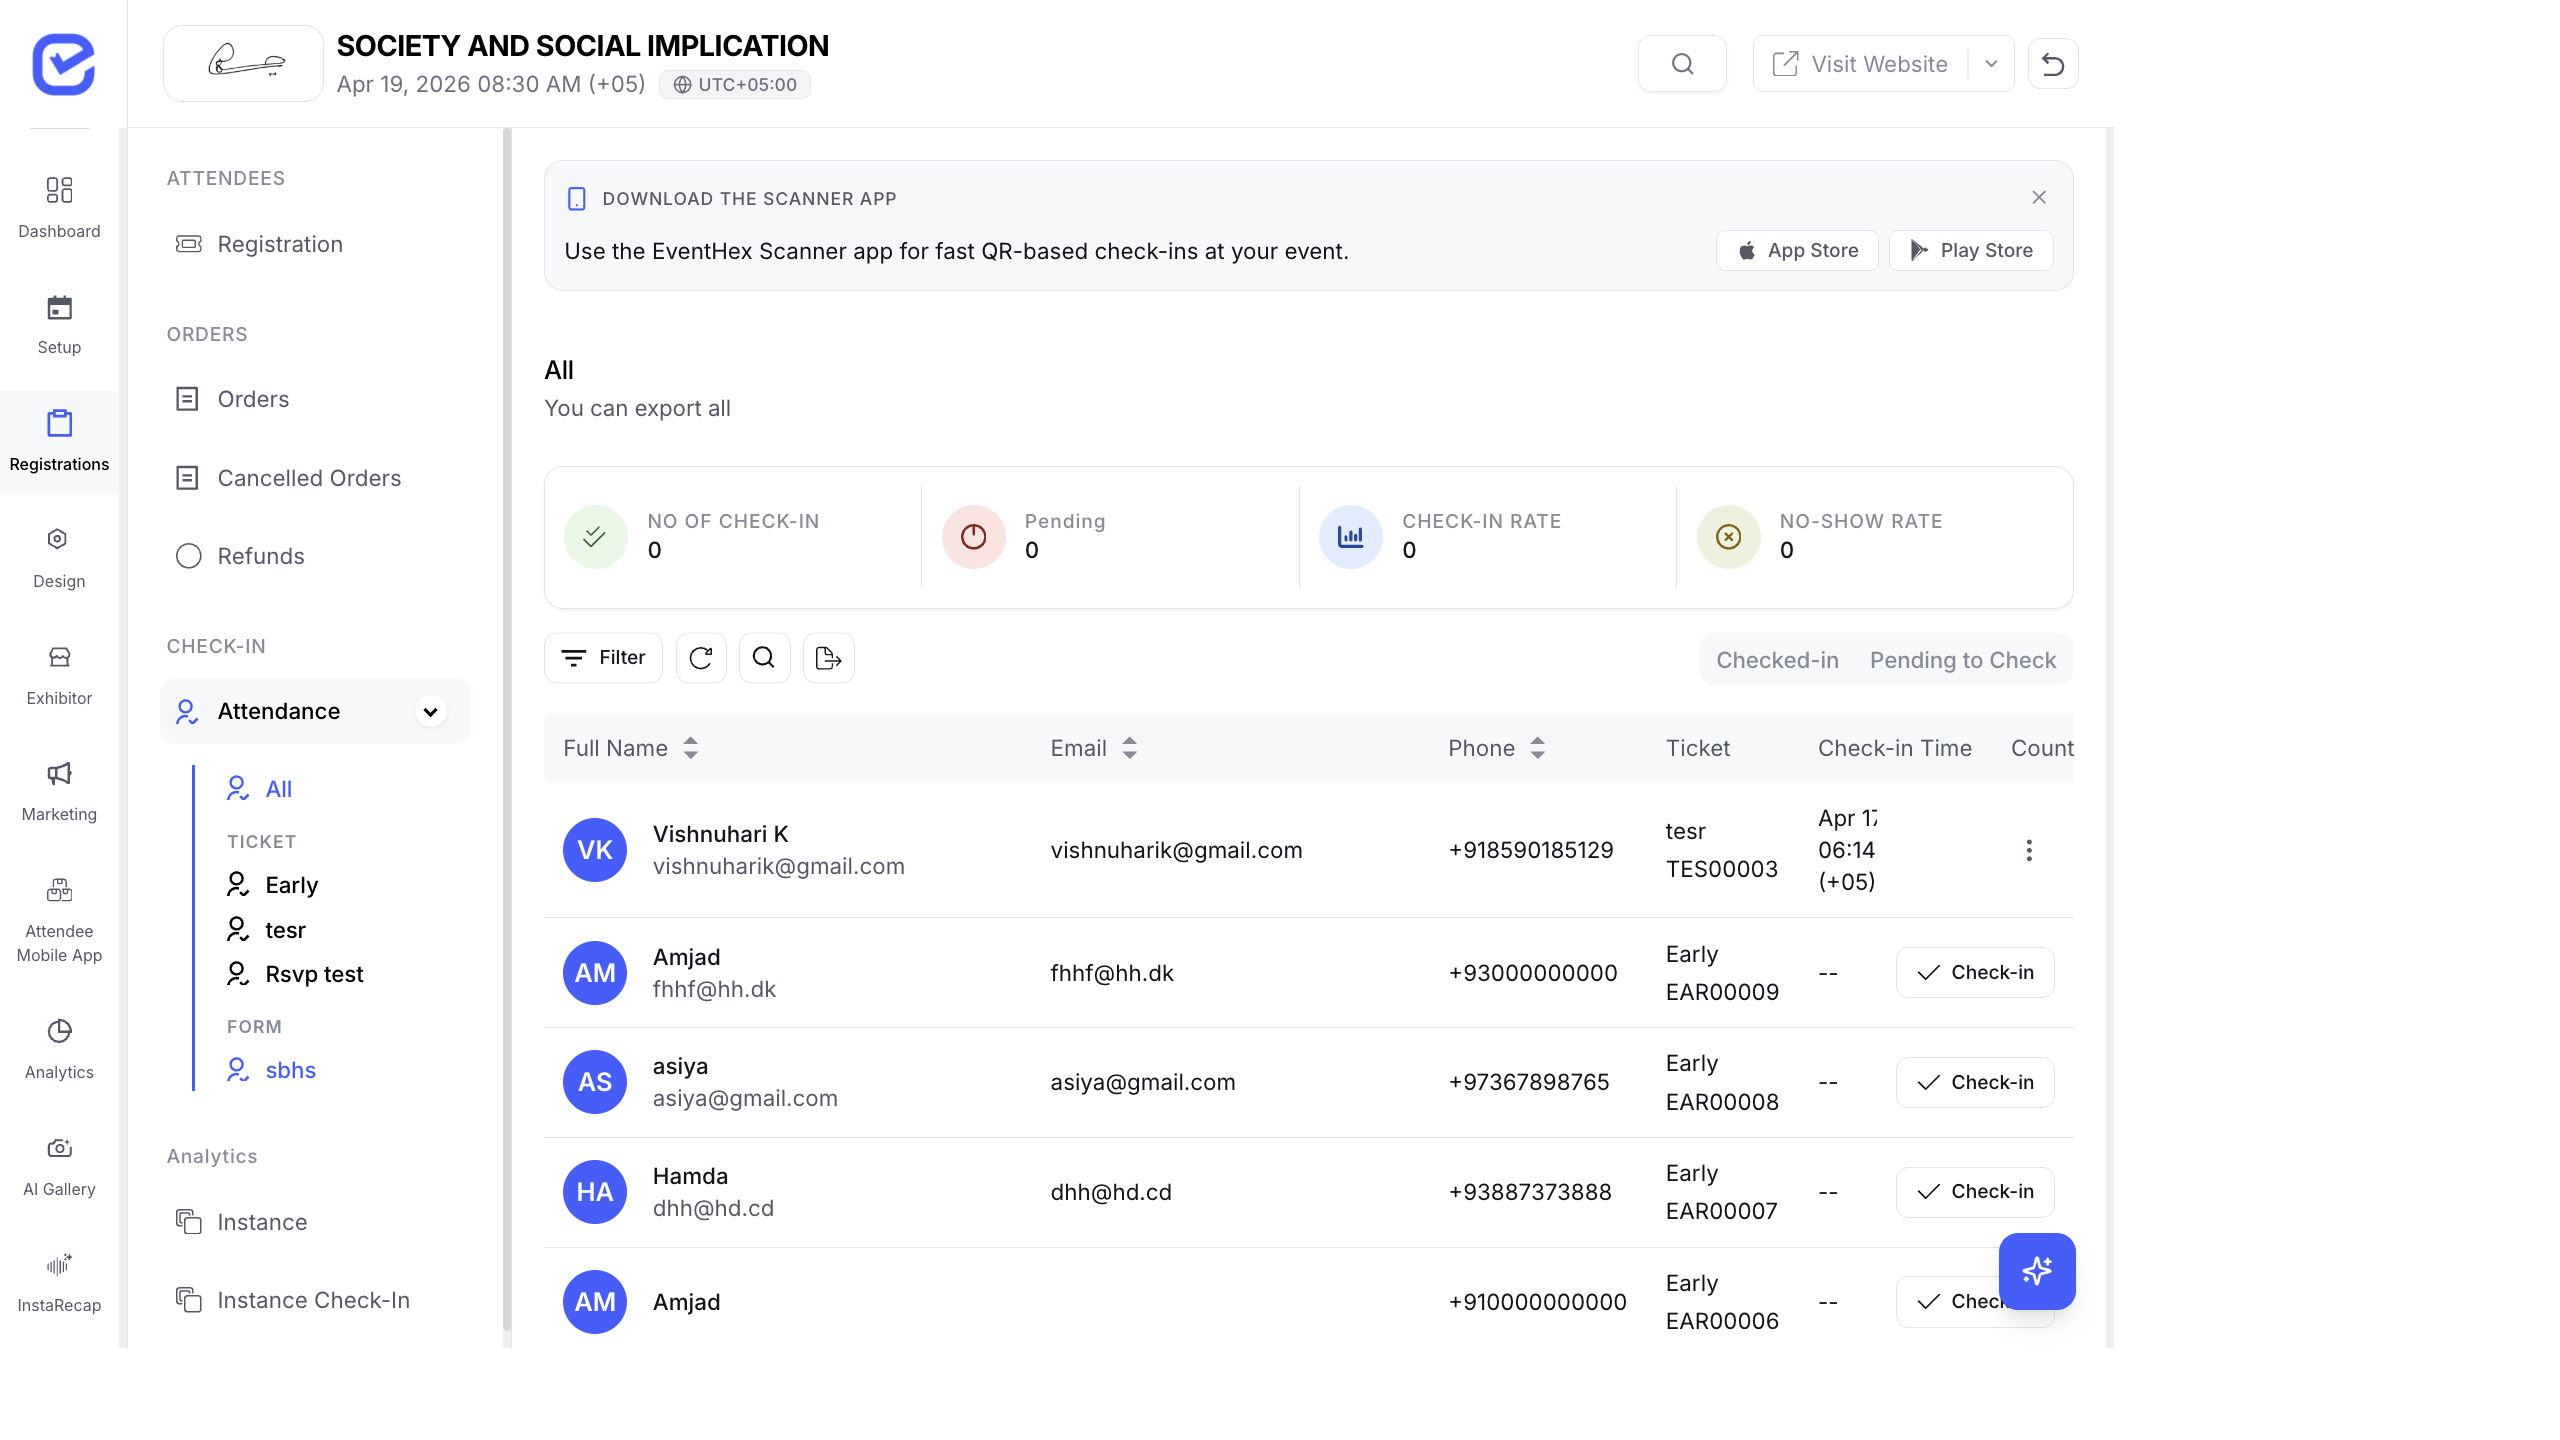
Access Check-In
Section titled “Access Check-In”Go to Attendance → Check-in in the left sidebar.
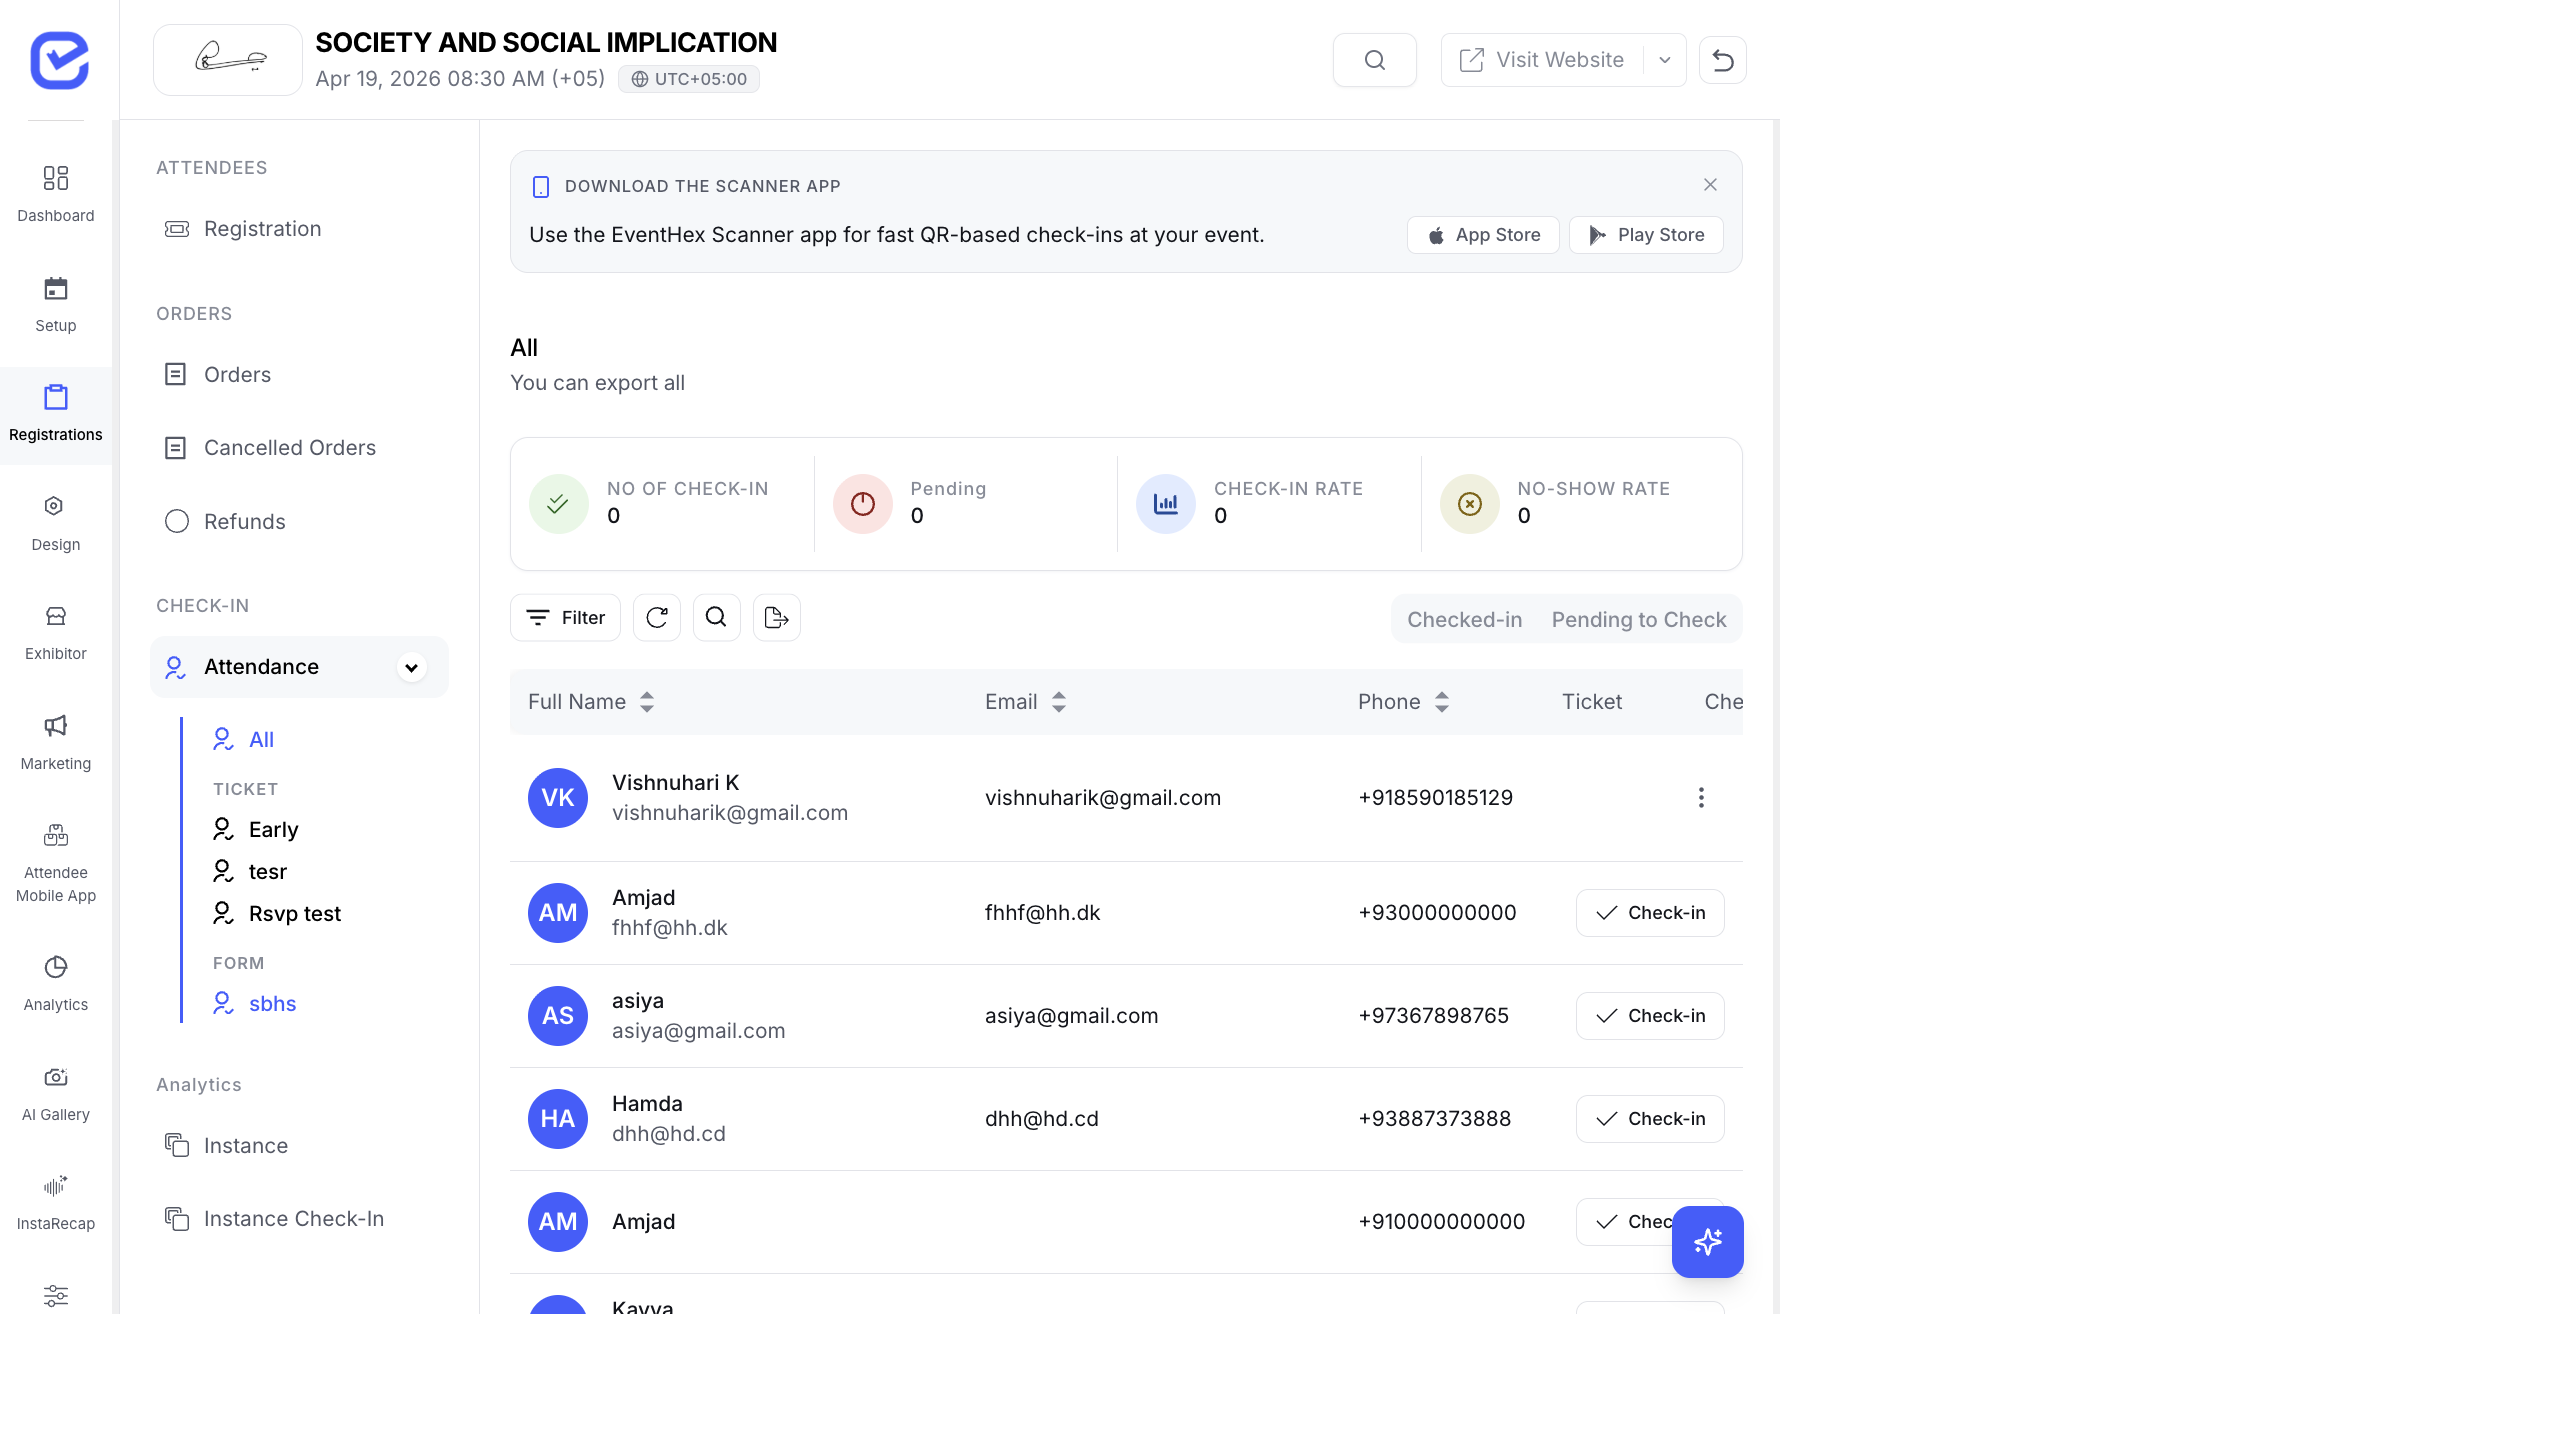
The check-in page shows:
- Attendance KPIs — total check-ins, pending, check-in rate, no-show rate
- Registrations list — each attendee with their check-in status
How QR Codes Work
Section titled “How QR Codes Work”Every registered attendee receives a unique QR code:
- Attendee registers for your event.
- A unique QR code is generated and included in their confirmation email.
- The QR code is also available in the attendee’s digital ticket/badge.
- At the event venue, staff scan the QR code using the EventHex Scanner App.
- The attendee is marked as “Checked In” instantly.
The EventHex Scanner App
Section titled “The EventHex Scanner App”EventHex has a dedicated scanner app for check-in:
| Platform | Download |
|---|---|
| iOS | Available on the App Store |
| Android | Available on the Google Play Store |
Set Up the Scanner App
Section titled “Set Up the Scanner App”- Download the EventHex Scanner App from the App Store or Google Play.
- Log in with your EventHex organizer account.
- Select the event.
- Choose the check-in instance (if you have multiple entry points).
- Point the camera at an attendee’s QR code to scan.
Scanner App Features
Section titled “Scanner App Features”| Feature | Description |
|---|---|
| Fast scan | Scans and validates QR codes in under a second |
| Offline mode | Works without internet — syncs when reconnected |
| Duplicate detection | Alerts if a QR code has already been scanned |
| Attendee details | Shows name, ticket type, and photo after scanning |
| Manual search | Look up attendees by name or email if QR code is unavailable |
Check-In Instances
Section titled “Check-In Instances”Instances let you create multiple check-in points for your event:
- Go to Attendance → Check-in.
- Click Manage Instances.
- Click + Instance to create a new check-in point.
- Name the instance (e.g., “Main Entrance”, “VIP Entrance”, “Session Room A”).
- Assign which ticket types this instance covers.
- Deploy a scanner device for each instance.
Use Cases for Multiple Instances
Section titled “Use Cases for Multiple Instances”| Scenario | Instance Setup |
|---|---|
| Multiple entrances | Main Gate, Side Entrance, VIP Entrance |
| Session check-in | One instance per session room |
| Multi-day event | Day 1 Check-in, Day 2 Check-in |
| Zone access | Exhibition Hall, Conference Area, Workshop Zone |
Manual Check-In
Section titled “Manual Check-In”If the Scanner App isn’t available, check in attendees manually:
- Go to Attendance → Check-in.
- Find the attendee in the list (use search or filters).
- Click the Check In button next to their name.
- The status updates to “Checked In” with a timestamp.
Undo a Check-In
Section titled “Undo a Check-In”If someone was checked in by mistake:
- Find the attendee in the check-in list.
- Click the Undo button next to their checked-in status.
- Their status reverts to “Not Checked In”.
The Event Day App
Section titled “The Event Day App”Check-in is typically performed using the Event Day App — a dedicated web application for on-site staff. The app provides:
- QR Scanner — scan attendee QR codes using the device camera
- Camera Scanner — alternative camera-based scanning for bulk check-in
- Manual Search — look up attendees by name or email for walk-ins
- Badge Printing — trigger badge printing directly after scanning
- Add Member — register walk-in attendees on the spot
- Bulk Print — print badges in bulk for pre-registered attendees
The Event Day App works on tablets, phones, and laptops with a camera.