Managing Exhibitors — Approve, Reject & Organize
Once exhibitors start applying through the registration URL, you’ll need to review and manage their applications. This guide covers the approval workflow, profile management, and booth assignment.
Review Exhibitor Applications
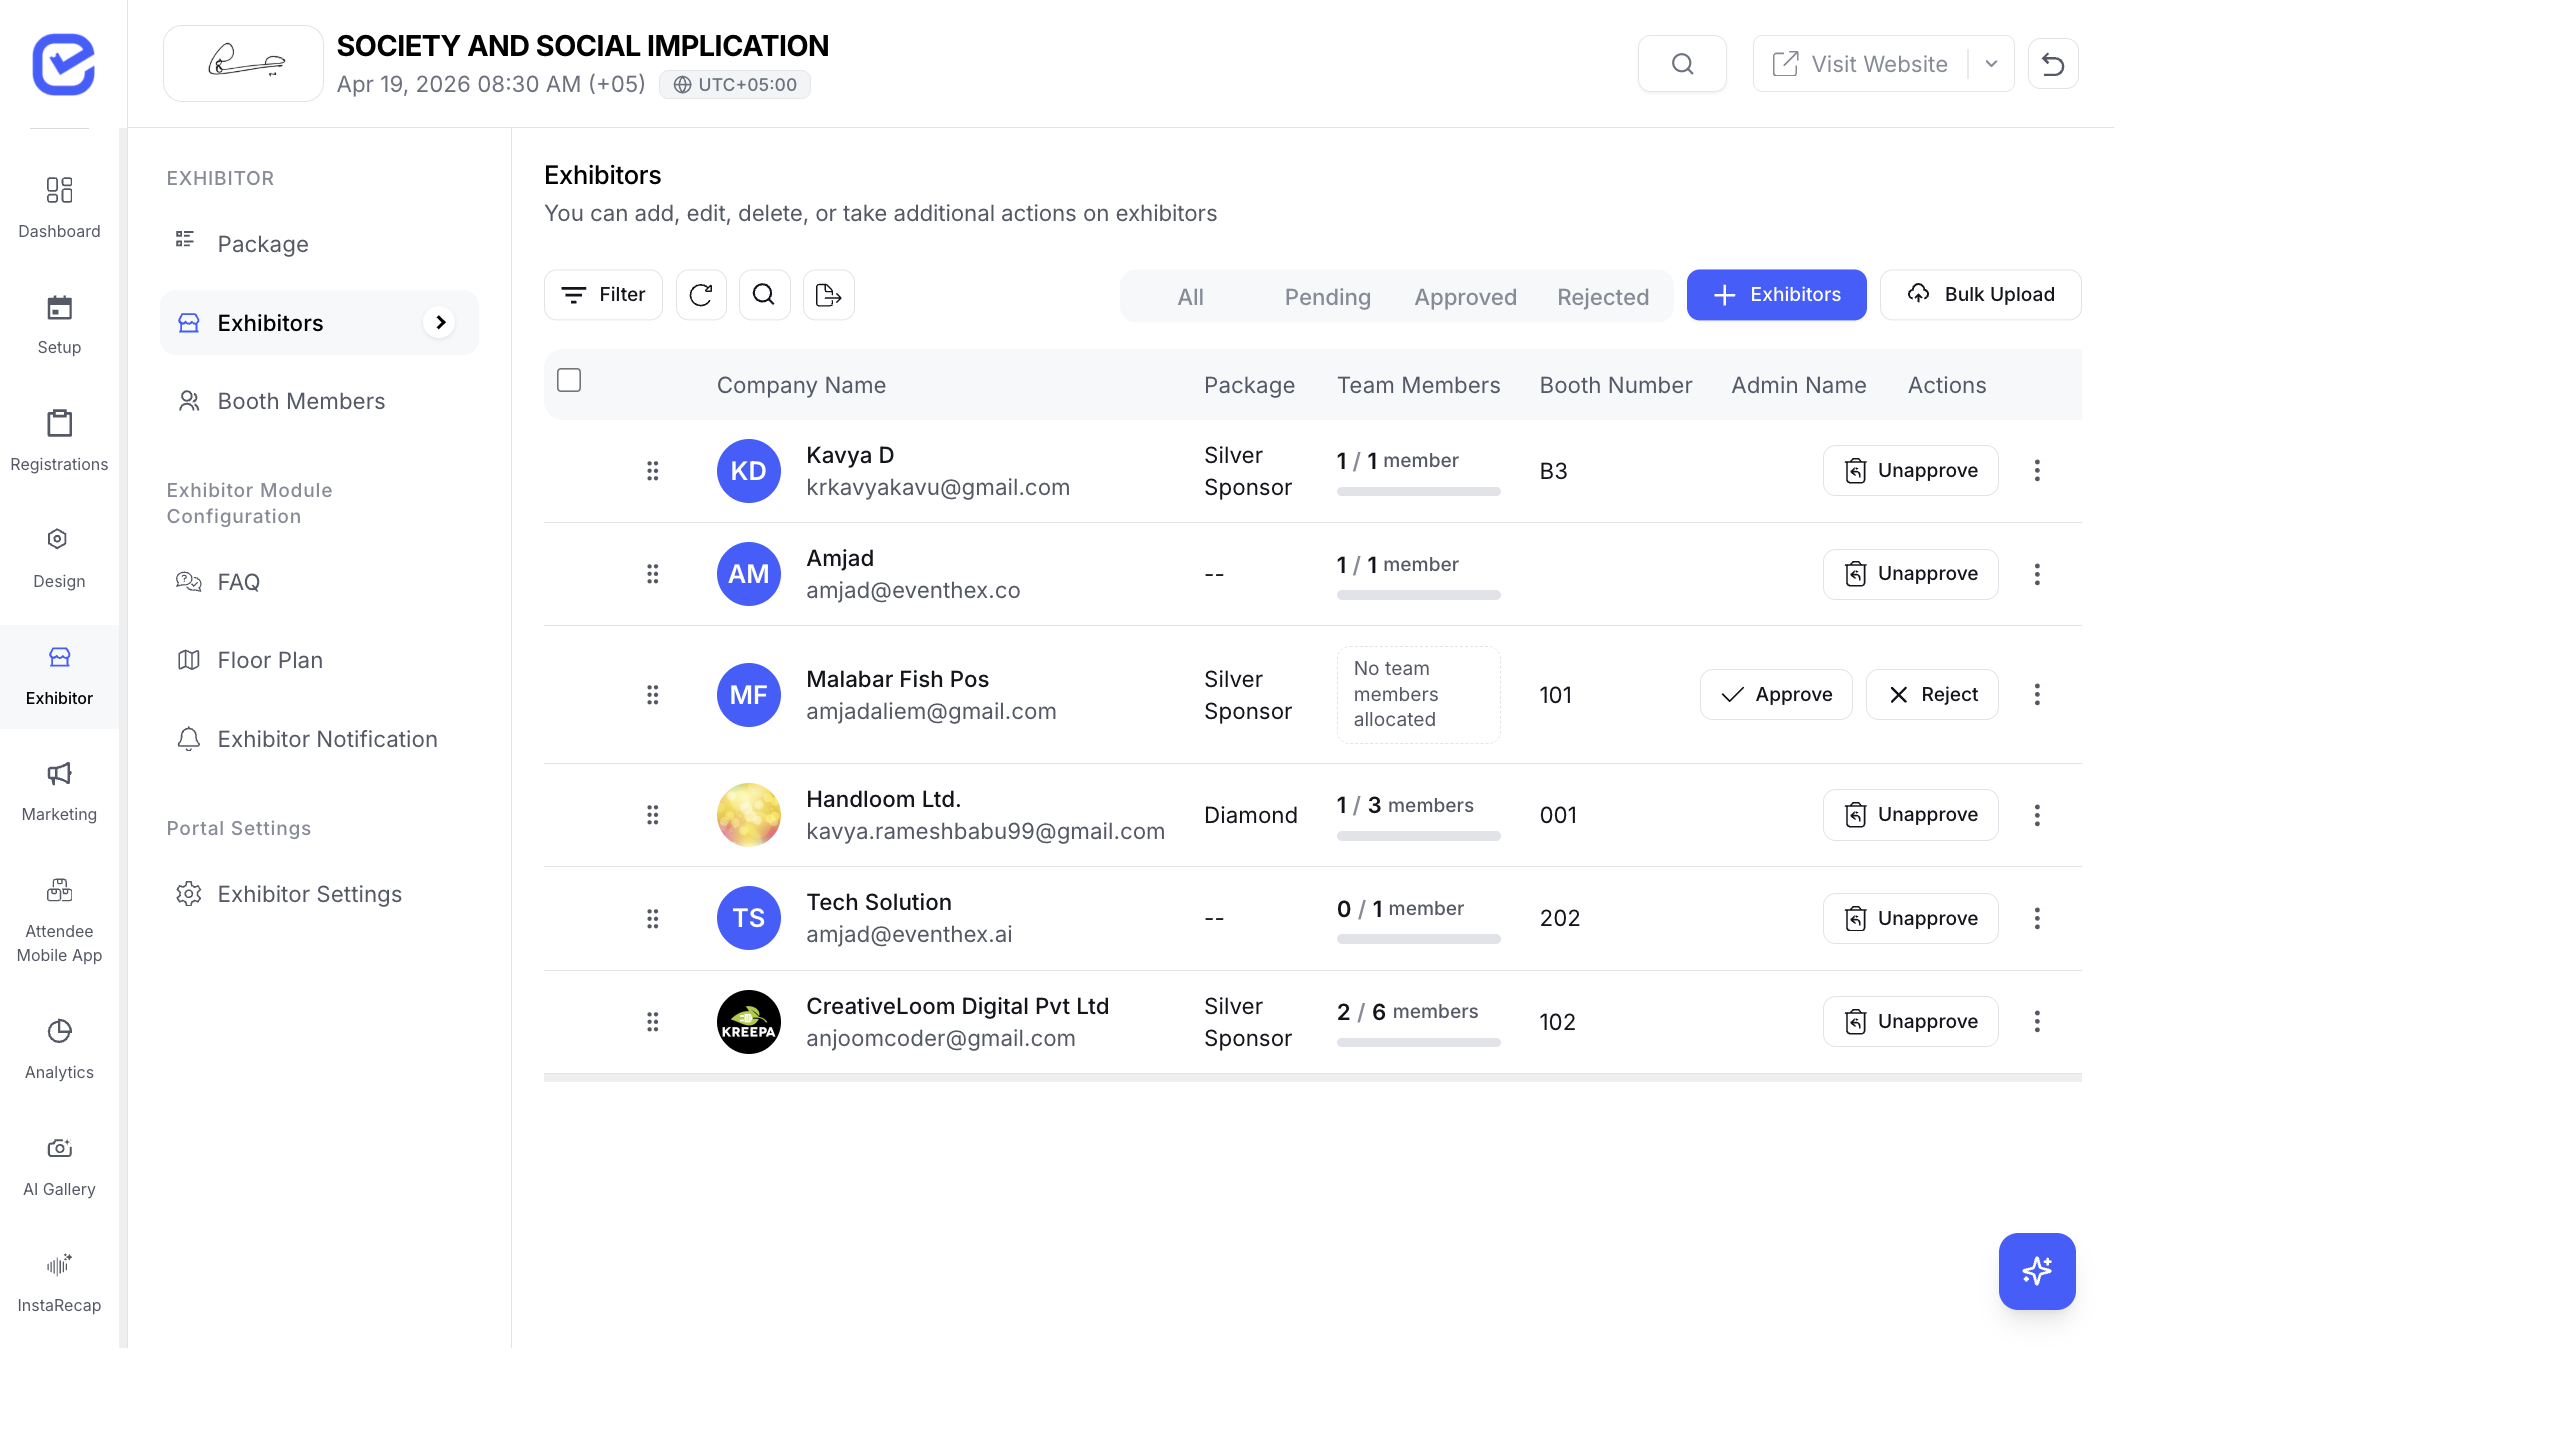
Section titled “Review Exhibitor Applications”- Go to Exhibitor → Exhibitor Management.
- Click the Pending tab to see applications waiting for review.
- Click on an exhibitor row to view their full application:
- Company name and logo
- Contact person details
- Selected package
- Company description and website
- Click Approve to accept or Reject to decline.
When you approve an exhibitor:
- They receive a welcome notification with portal login credentials (if the toggle was enabled)
- Their status changes to Approved
- They can access the Exhibitor Portal
When you reject:
- Their status changes to Rejected
- They cannot access the portal
Edit an Exhibitor’s Profile
Section titled “Edit an Exhibitor’s Profile”Click the edit icon on any exhibitor row to modify:
- Company name, description, and logo
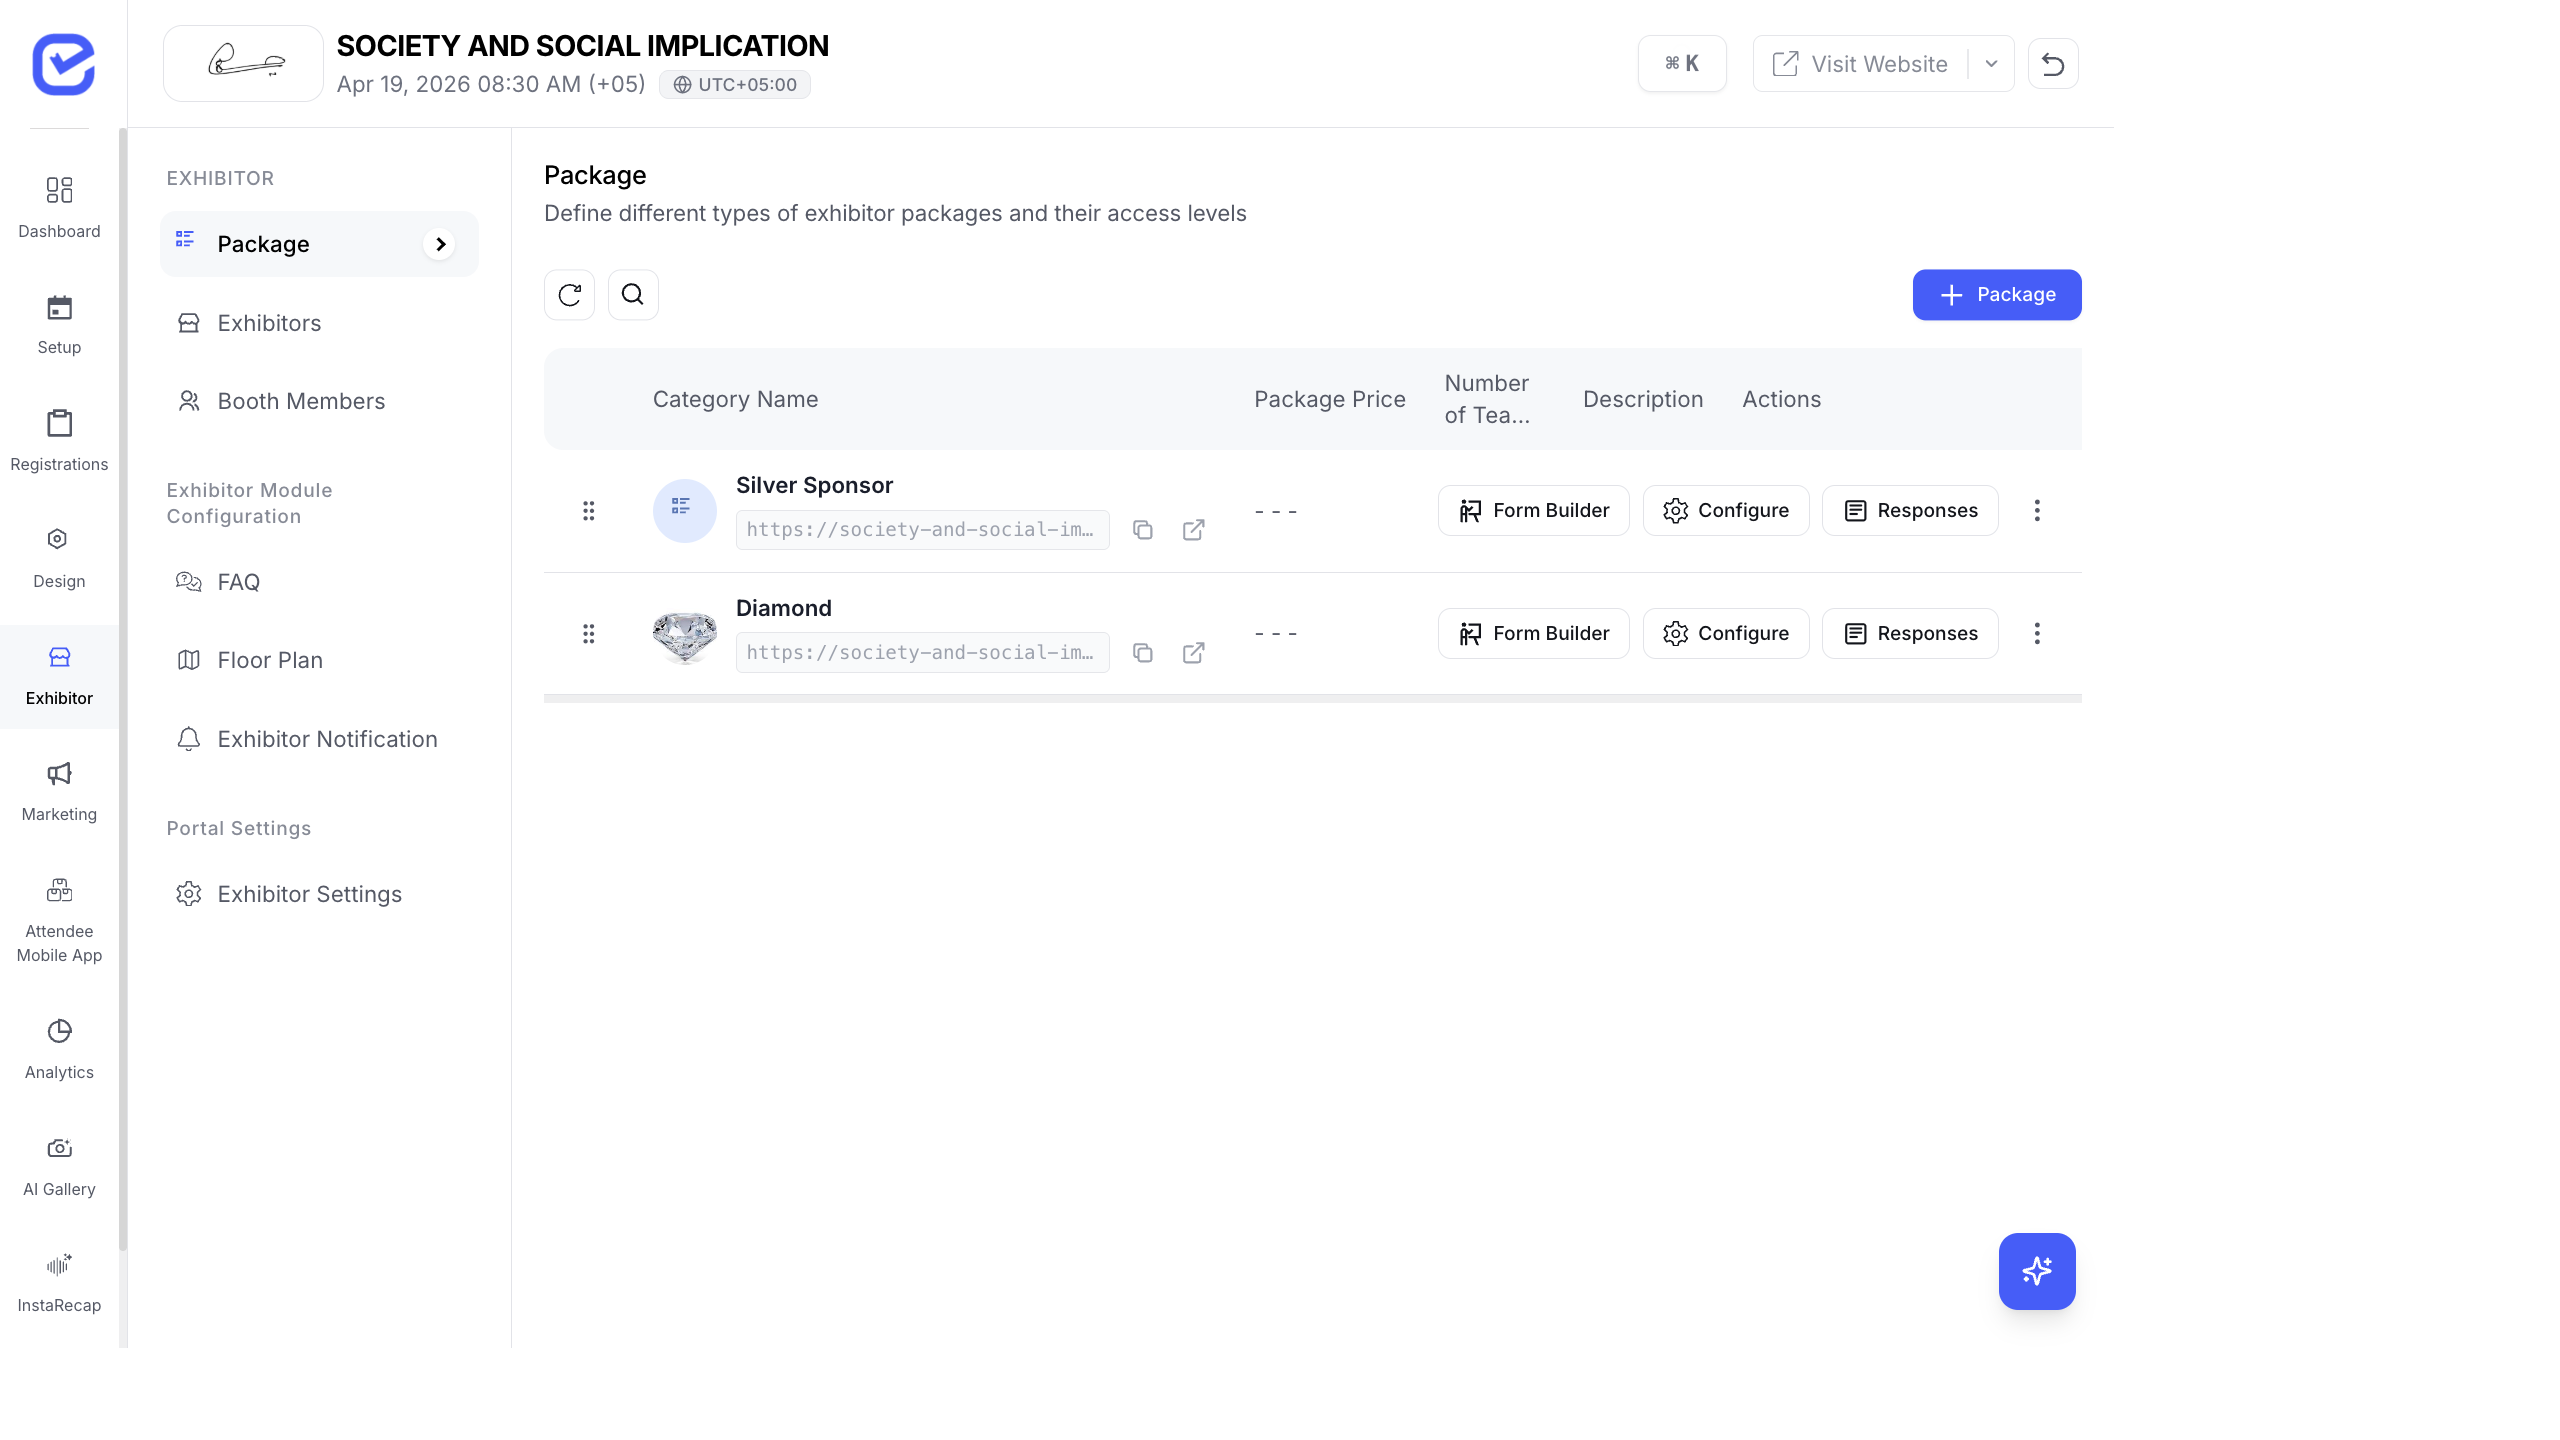
- Package assignment (upgrade/downgrade)
- Booth number (change booth location)
- Contact person details
- Number of passes allocated
- Custom package overrides (toggle Customize Package Allocation to override default pass counts)
- Add admin as booth member toggle
Assign Booth Numbers
Section titled “Assign Booth Numbers”Each exhibitor can be assigned a booth number:
- Edit the exhibitor.
- Enter the Booth Number (e.g., “A-12”, “Hall 2 - Booth 15”).
- Click Save.
Booth numbers appear in the exhibitor list and on the exhibitor’s portal. Cross-reference with your floor plan to ensure correct assignment.
Manage Passes & Team Members
Section titled “Manage Passes & Team Members”Each exhibitor package includes a set number of passes. The exhibitor list shows pass utilization:
- Passes Allocated — how many passes the package includes (e.g., 5)
- Passes Used — how many team members have been registered (e.g., 3/5)
- Team Members — utilization bar showing registered vs. maximum
To adjust pass allocation for a specific exhibitor:
- Edit the exhibitor.
- Toggle Customize Package Allocation.
- Change the Number of Team Members (overrides the package default).
- Toggle Include Complimentary Event Tickets if exhibitor passes include access to event sessions.
- Click Save.
AI-Assisted Exhibitor Profiles
Section titled “AI-Assisted Exhibitor Profiles”When adding or editing an exhibitor, you can auto-fill their profile using AI:
- Open the exhibitor form.
- Click Fetch from LinkedIn (or the AI profile button).
- Paste the company’s LinkedIn URL.
- The system auto-fills company name, description, logo, and contact details.
Delete or Remove an Exhibitor
Section titled “Delete or Remove an Exhibitor”Click the three-dot menu (⋮) on an exhibitor row and select Delete to permanently remove them.
Exhibitor Actions Summary
Section titled “Exhibitor Actions Summary”| Action | Where | Effect |
|---|---|---|
| Approve | Exhibitor row or detail view | Grants portal access, sends credentials |
| Reject | Exhibitor row or detail view | Blocks portal access |
| Edit | Exhibitor row | Modify profile, package, booth |
| Delete | Three-dot menu | Permanently removes exhibitor |
| View | Exhibitor row | Opens full exhibitor profile view |
| Product Catalog | Exhibitor row action | Opens product management for that exhibitor |
| Lead Management | Exhibitor row action | Opens captured leads for that exhibitor |
| QR Code | Exhibitor row action | Generates QR code for the exhibitor |
After Approval
Section titled “After Approval”Once approved, exhibitors receive login credentials and gain access to the Exhibitor Portal — a self-service dashboard where they manage their company profile, booth, products, team members, leads, and more.
See Exhibitor Portal for the full portal guide, and Exhibitor Registration for the self-registration flow.