Multi-Track Scheduling & Session Types
For events with multiple parallel sessions — conferences, summits, or multi-day festivals — use stages (tracks) and session types to organize a structured agenda.
What Are Stages?
Section titled “What Are Stages?”Stages represent the physical or virtual locations where sessions happen simultaneously. Think of them as rooms, halls, or thematic tracks:
- Physical venues: Main Stage, Hall A, Workshop Room 1, Breakout Room
- Virtual: Zoom Room 1, Teams Channel A
- Thematic: Business Track, Technical Track, Design Track, Leadership Track
Create Stages
Section titled “Create Stages”- Go to Settings → Stages (accessible from the sidebar under Settings).
- Click + Stage to add a new stage.
- Enter the Stage Name (supports multi-language).
- Toggle Master Stage if this is the primary/default stage.
- Click Save.
Create as many stages as you need. Common setups:
| Event Type | Stages |
|---|---|
| Single-track conference | 1 stage (Main Stage) |
| Multi-track conference | 3–5 stages (Main Stage, Track A, Track B) |
| Workshop event | 2–4 rooms (Room 1, Room 2, Room 3) |
| Hybrid event | In-Person Stage, Virtual Stage |
Create Session Types
Section titled “Create Session Types”Session types categorize your agenda items and give them color-coded badges:
- Go to Settings → Session Types.
- Click + Session Type to add a new type.
- Enter the Type Name (supports multi-language).
- Toggle Master Session if applicable.
- Click Save.
Each session type gets a distinct color in the timeline view, making it easy to visually distinguish different content formats.
Build a Multi-Track Schedule
Section titled “Build a Multi-Track Schedule”- Create your Stages (one per track/room).
- Create your Session Types (Keynote, Panel, Workshop, etc.).
- Go to Setup → Sessions and click + Add Session.
- For each session, set:
- The Stage — which track it belongs to
- The Session Type — what kind of session it is
- The Start/End Time — when it happens
- Use the Timeline View to see all tracks side by side and spot conflicts.
Timeline View
Section titled “Timeline View”The Timeline view is a Gantt-style chart that shows:
- Horizontal axis: time slots throughout the day
- Vertical axis: stages/tracks
- Color-coded blocks: sessions positioned by start/end time
Key features:
- Drag and drop: move sessions between time slots (snaps to 5-minute intervals)
- Multi-day tabs: switch between “Day 1”, “Day 2”, etc.
- Current time indicator: shows the current time on the timeline
- Visual conflict detection: overlapping sessions on the same stage are immediately visible
Assign Sessions to Stages
Section titled “Assign Sessions to Stages”When creating or editing a session:
- Open the session form.
- Select a Stage from the dropdown.
- Set the Start Time and End Time.
- Click Save.
If you don’t assign a stage, the session appears in an “Unassigned” section on the timeline.
Multi-Day Events
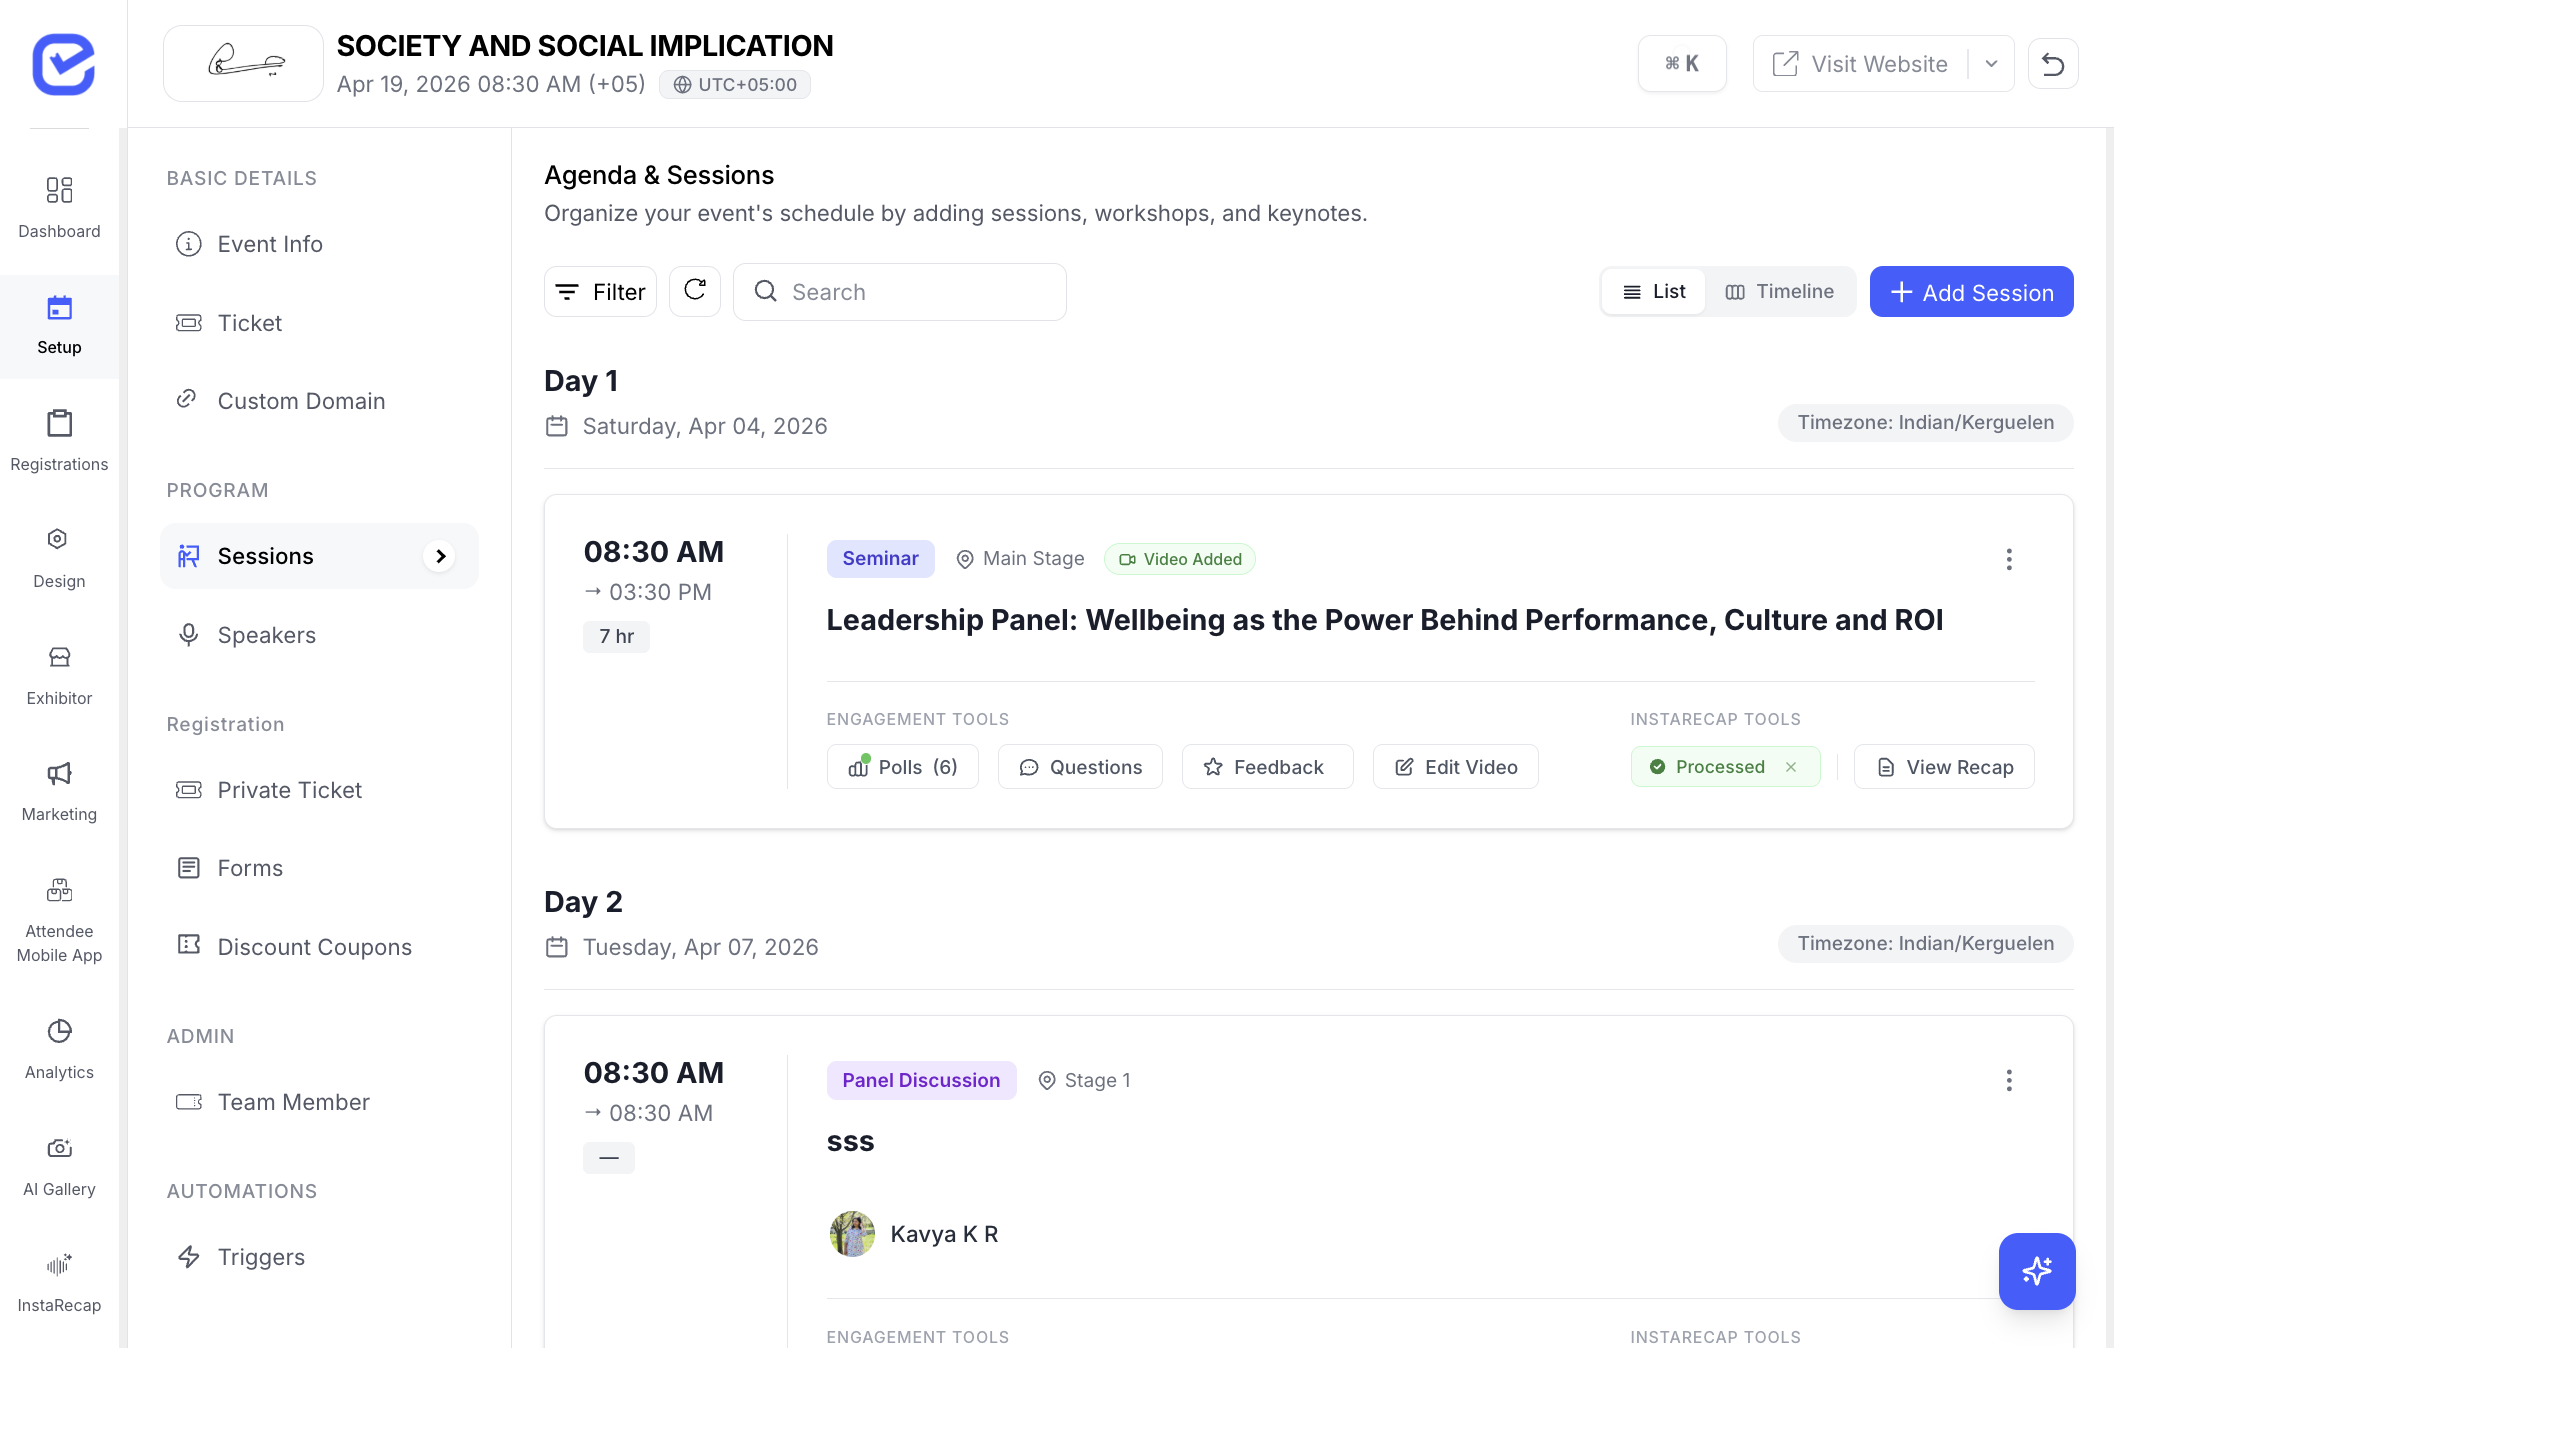
Section titled “Multi-Day Events”EventHex automatically groups sessions by date:
- Day 1 — Saturday, Apr 04, 2026
- Day 2 — Tuesday, Apr 07, 2026
- Day 3 — Wednesday, Apr 08, 2026
The day labels are generated from the session dates. You don’t need to manually create “days” — just set the correct date and time on each session.
Agenda Display on Event Website
Section titled “Agenda Display on Event Website”The agenda appears on your event website through the Sessions Widget:
- Go to Design → Page Builder.
- Add a Sessions Widget to your event page.
- Configure the display options:
- Style: list, grid, or timeline
- Filter by type: show only specific session types
- Group by: day, stage, or type
- Show speakers: display speaker photos on session cards
On the event website, the multi-track agenda allows attendees to filter by stage to focus on a specific track. In the Attendee Mobile App, they can bookmark sessions across tracks to build a personalized schedule.