Organization Settings
Organization settings control your company profile, branding, and payment configuration. These apply across all events under your organization.
Access Organization Settings
Section titled “Access Organization Settings”- Click Organization in the left sidebar.
- Select your organization from the list.
- The settings page opens with a right-side navigation panel.
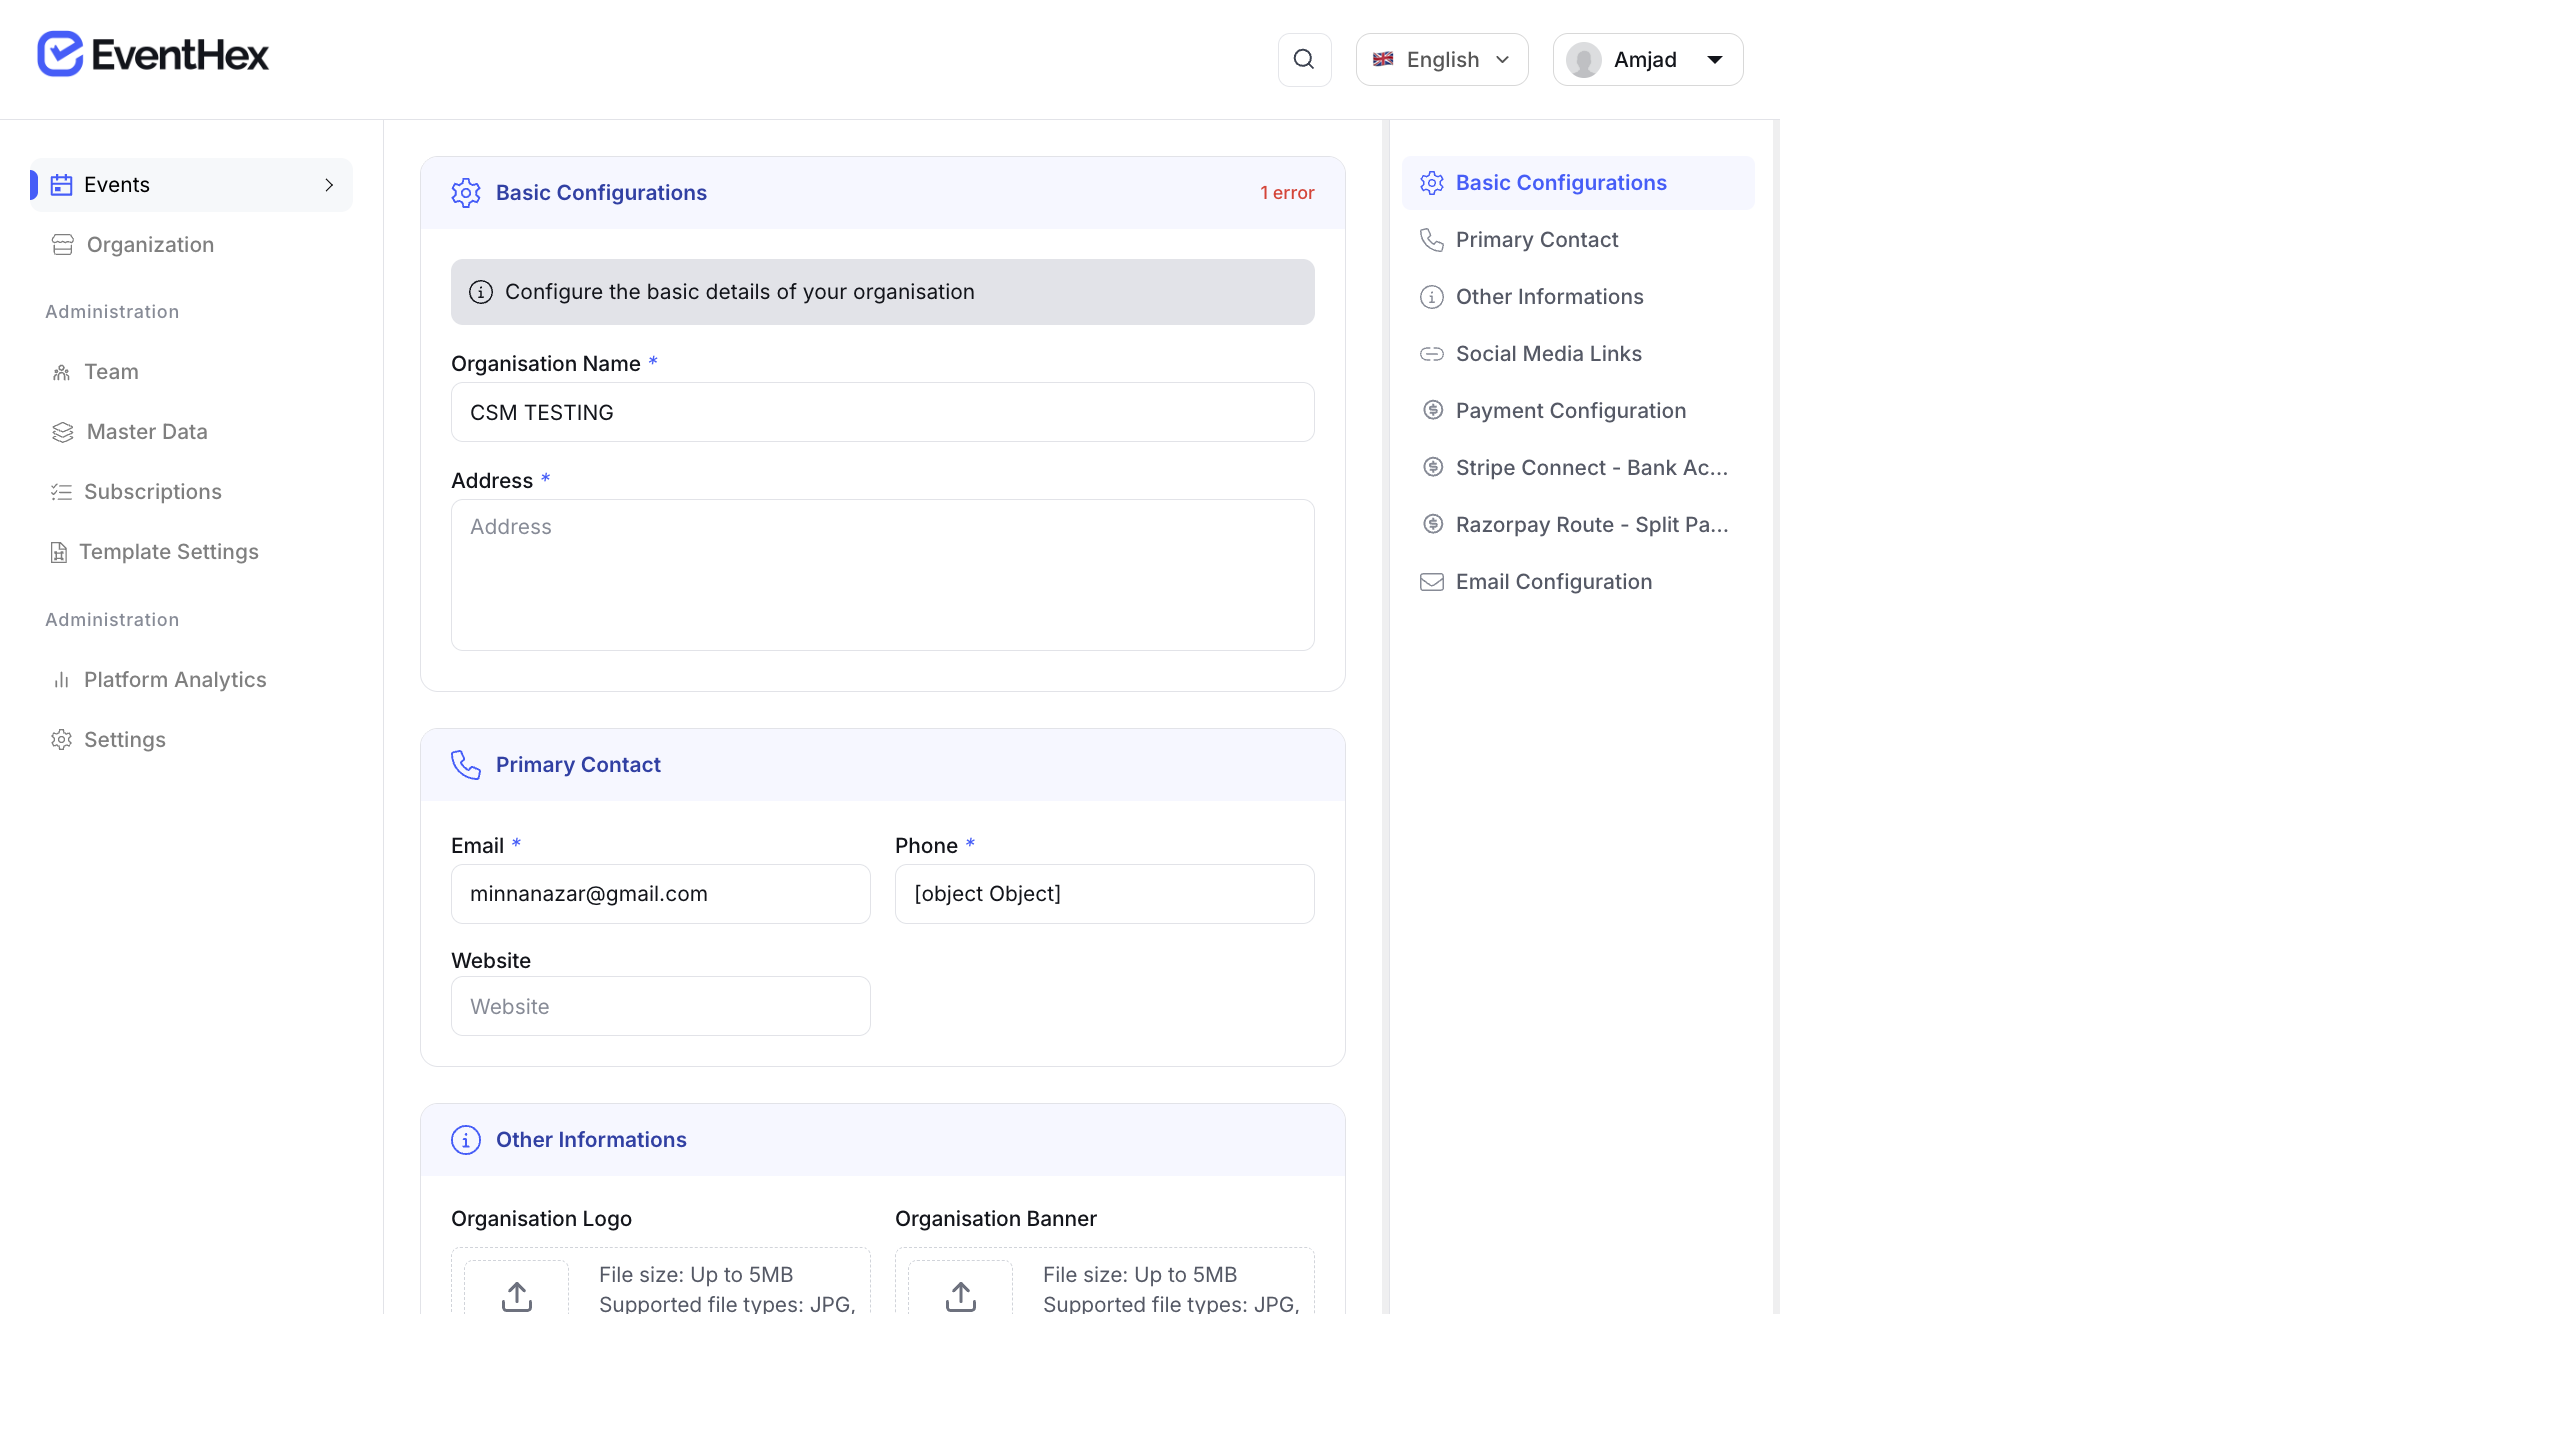
Basic Configurations
Section titled “Basic Configurations”| Field | Description |
|---|---|
| Organisation Name Required | Your company or organization name |
| Address Required | Physical address displayed on invoices and event pages |
Primary Contact
Section titled “Primary Contact”| Field | Description |
|---|---|
| Email Required | Primary contact email for the organization |
| Phone Required | Contact phone number |
| Website | Organization website URL |
Other Informations
Section titled “Other Informations”Organization Logo
Section titled “Organization Logo”Your logo appears on event pages, emails, and badges.
- Max size: 5 MB
- Formats: JPG, JPEG, PNG, GIF, WEBP
Organization Banner
Section titled “Organization Banner”A banner image for your organization’s profile page.
- Max size: 5 MB
- Formats: JPG, JPEG, PNG, GIF, WEBP
Social Media Links
Section titled “Social Media Links”Add links to your social media profiles. These appear on event pages and communications:
- X (Twitter)
- YouTube
Payment Configuration
Section titled “Payment Configuration”Connect payment gateways to accept paid registrations:
Stripe Connect
Section titled “Stripe Connect”Link your Stripe account to process international payments. Click Connect with Stripe and follow the Stripe onboarding flow.
Razorpay Route (Split Payments)
Section titled “Razorpay Route (Split Payments)”Configure Razorpay for split payment routing if you use the Indian payment ecosystem.
Email Configuration
Section titled “Email Configuration”Configure the email sender settings for all event communications:
- Sender Name — the “From” name on emails (e.g., “EventHex Team”)
- Sender Email — the “From” address
- Reply-To Email — where replies go
Saving Changes
Section titled “Saving Changes”Click Save at the bottom of any section to persist your changes. The page auto-scrolls to the next section after saving.