Advocacy Posters
Advocacy posters let attendees generate personalized “I Am Attending” graphics with their name, photo, and event branding — ready to share on LinkedIn, Instagram, and X (Twitter). It’s free word-of-mouth marketing powered by your attendees.
How Advocacy Posters Work
Section titled “How Advocacy Posters Work”- You (the organizer) design poster templates using the built-in canvas builder.
- After registration, attendees get a link to generate their personalized poster.
- The system fills in their name, photo, ticket type, company, and designation.
- Attendees download and share the poster on social media.
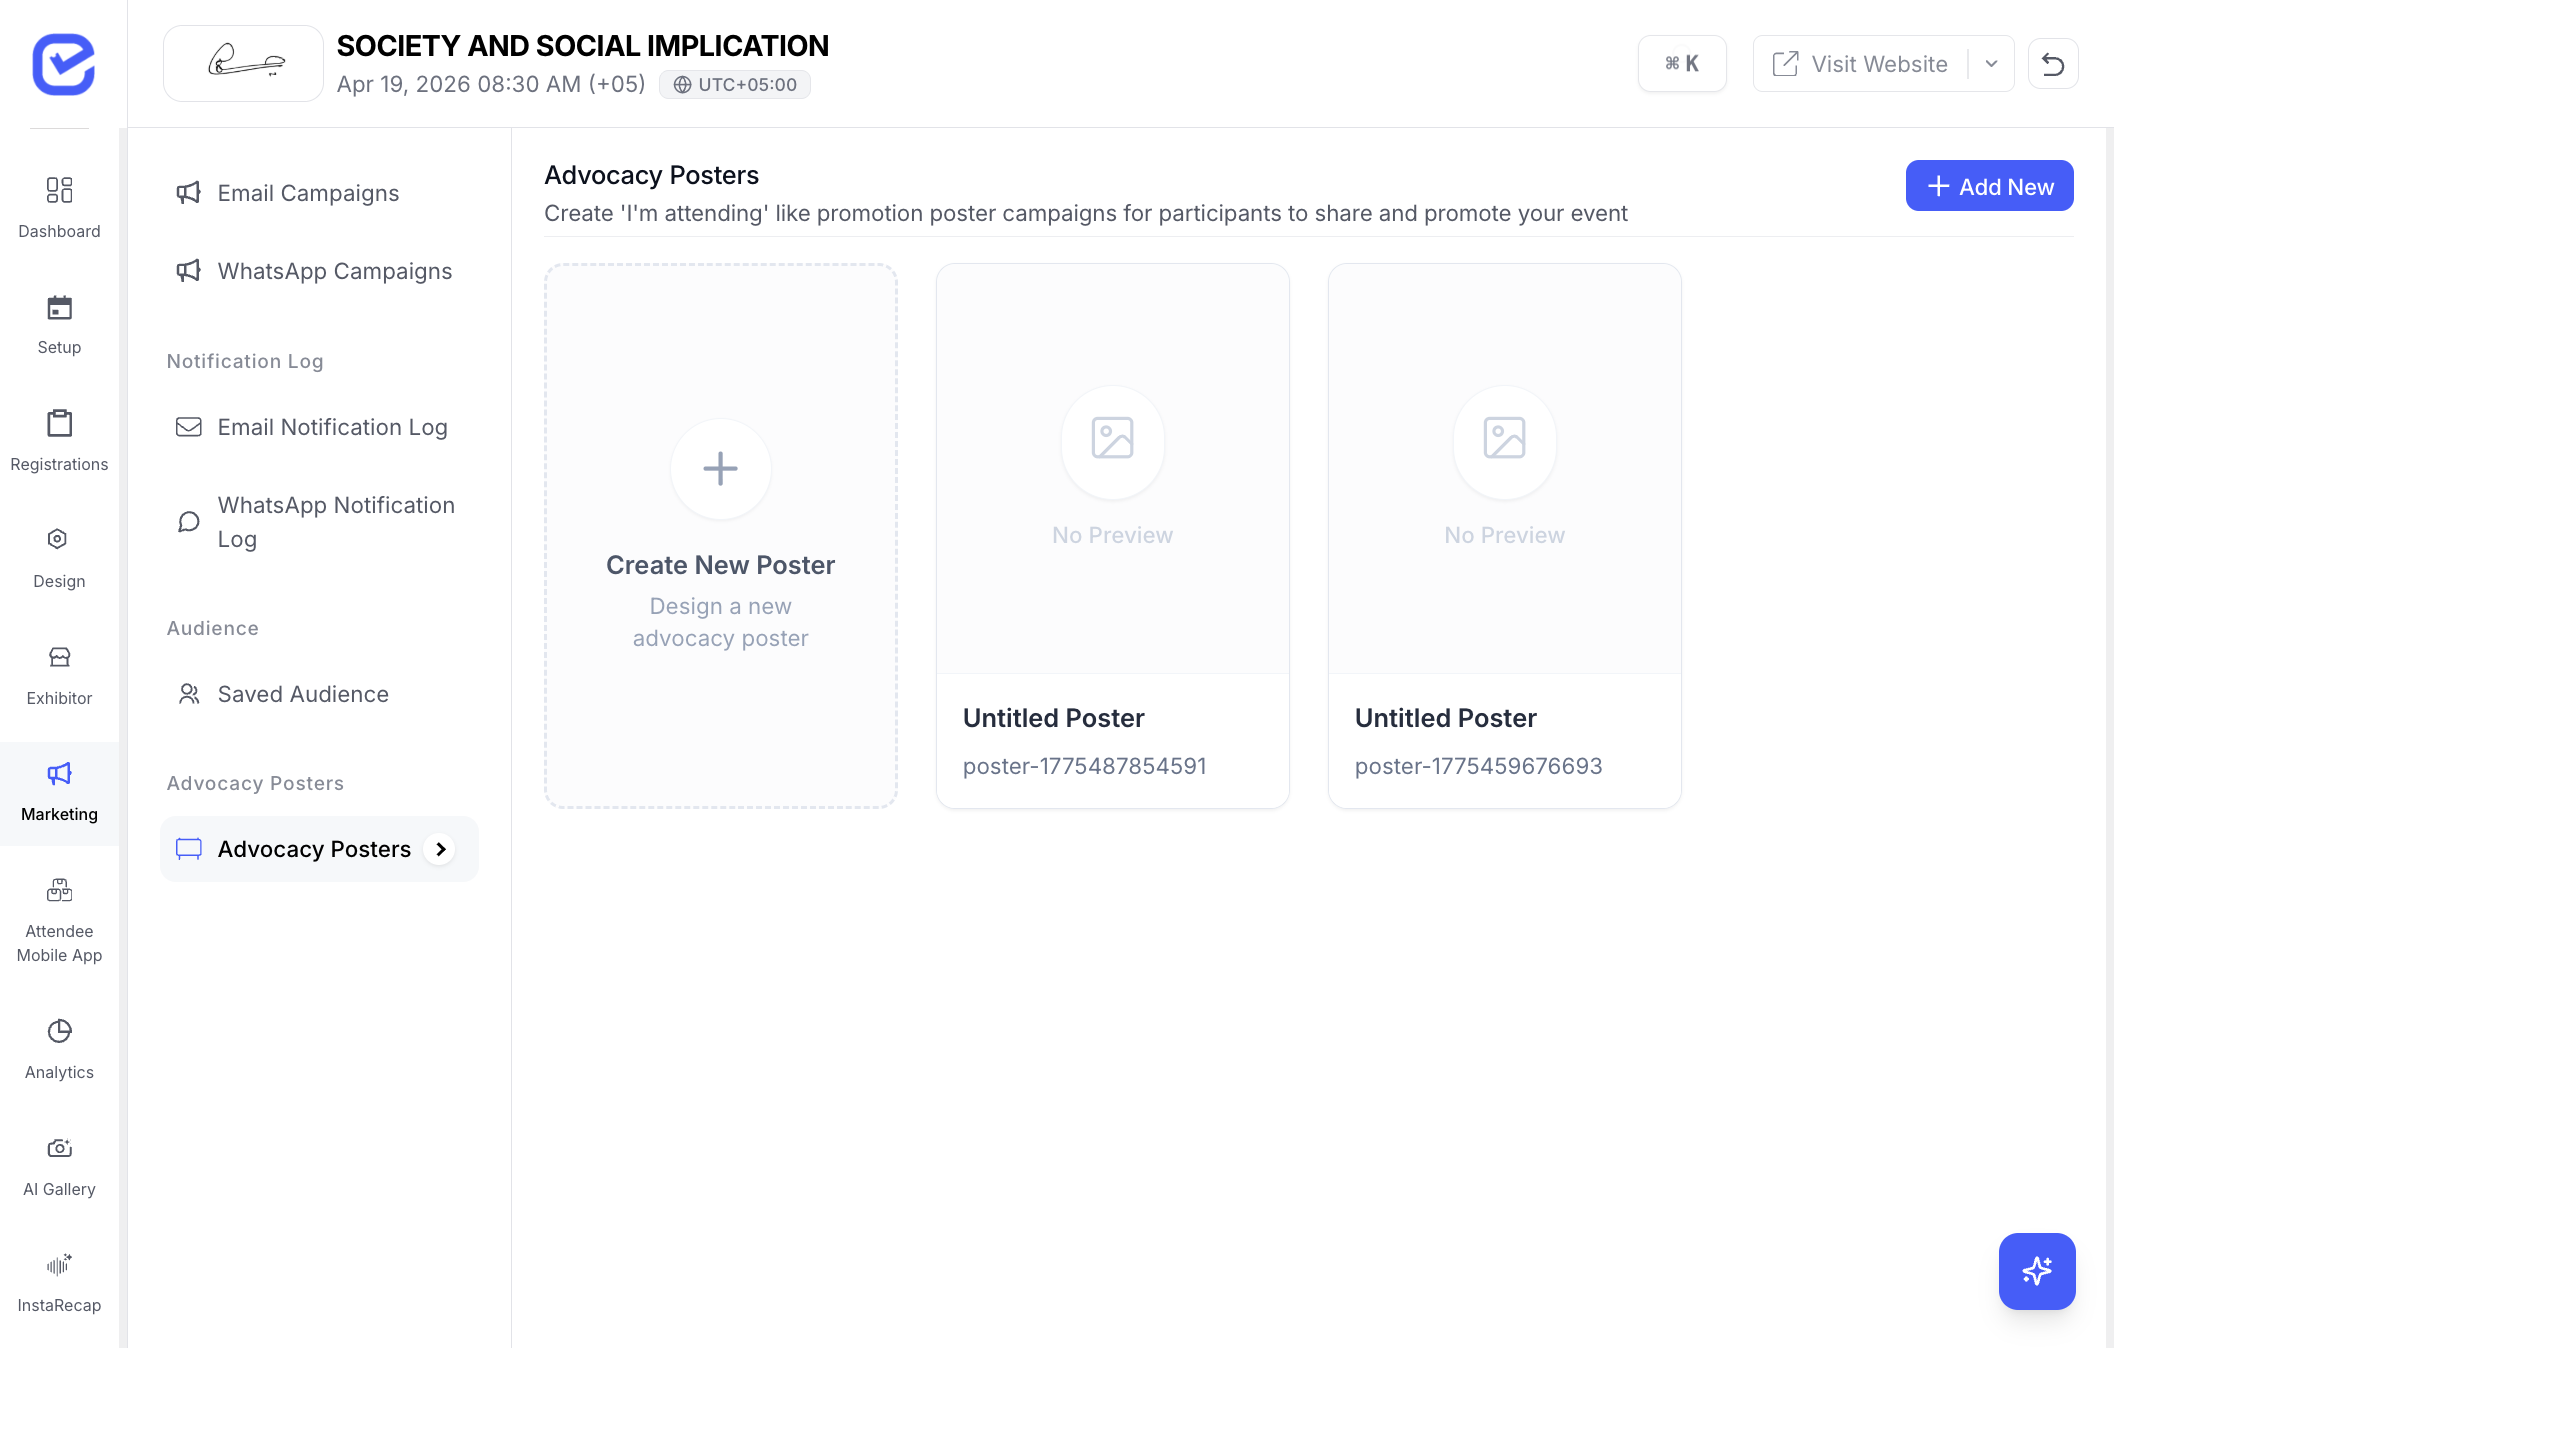
Create a Poster Template
Section titled “Create a Poster Template”- Go to Marketing → Advocacy Posters.
- Click + New Poster.
- The canvas builder opens.
Canvas Builder Elements
Section titled “Canvas Builder Elements”The poster builder is a drag-and-drop canvas where you layer elements:
| Element | What It Does |
|---|---|
| Background | Set a background color, image, or texture |
| Text | Add text labels — static text or dynamic fields |
| Image | Add images — logos, decorations, or dynamic attendee photo |
| QR Code | Add a QR code (event URL, registration link) |
Dynamic Text Fields
Section titled “Dynamic Text Fields”Text elements can pull data from the attendee’s registration:
| Variable | Displays |
|---|---|
| Name | Attendee’s full name |
| Event Name | Your event’s name |
| Ticket Name | The ticket type they purchased |
| Designation | Their job title |
| Company | Their company name |
| Custom Text | Any static text you type |
Dynamic Images
Section titled “Dynamic Images”Image elements can be:
- Profile Photo — the attendee’s registration photo (if collected)
- Logo — your event or sponsor logo
- Custom Image — any uploaded image
Pre-Built Textures
Section titled “Pre-Built Textures”The builder includes background textures to add visual interest:
- Concentric arcs
- Diagonal stripes
- Dot grids
- Gradient overlays
- Geometric patterns
Layers Panel
Section titled “Layers Panel”The right panel shows all elements as layers. You can:
- Reorder layers — drag to change which elements appear on top
- Show/hide layers — toggle visibility for precise editing
- Select layers — click a layer to select and edit it on the canvas
Edit Element Properties
Section titled “Edit Element Properties”Click any element on the canvas to adjust:
- Position — X and Y coordinates (drag on canvas or enter exact values)
- Size — width and height
- Font — font family, size, weight, color (for text elements)
- Opacity — transparency level
- Rotation — angle
Preview & Publish
Section titled “Preview & Publish”- Click Preview to see the poster with sample data filled in.
- Check that all dynamic fields render correctly.
- Click Save to publish the template.
How Attendees Use It
Section titled “How Attendees Use It”After registration, attendees can access the poster generator:
- Attendee clicks the “Create Your Poster” link (shared via email, QR code, or event website).
- Their name, photo, and details auto-fill into the template.
- They click Download to save the image.
- They share it on their social media profiles.
The system tracks download count per poster template so you can measure engagement.
Best Practices
Section titled “Best Practices”- Design for social media — use 1:1 (square) for Instagram, 16:9 (landscape) for LinkedIn and X (Twitter). Create multiple templates for different platforms.
- Keep text readable — use large, bold fonts for names. The poster will be viewed on phone screens.
- Include your event hashtag — add a static text element with your event hashtag (e.g., #TechConf2025) so attendees include it when sharing.
- Use brand colors — match the poster to your event branding so all shared images look cohesive.
- Feature sponsor logos — add sponsor logos to the poster template. Sponsors love seeing their brand shared thousands of times on social media.
- Create multiple templates — offer 2–3 different designs so attendees can pick their favorite.
How Attendees Access Posters
Section titled “How Attendees Access Posters”Attendees encounter advocacy posters in several ways:
- After Registration — a poster CTA appears on the registration success page, inviting attendees to “Share that you’re attending”
- Poster Share Page — each poster has a unique shareable URL at
/poster/s/[token]where attendees can personalize and download their poster - Email Links — include the poster link in confirmation or reminder emails
See Campaign Landing Pages for more on poster sharing and tracking.