Form Builder — Customizing Registration Fields
The Form Builder lets you customize exactly what information you collect from attendees when they register. Every ticket has its own form, and you can also create standalone forms for surveys, feedback, or lead capture.
Two Types of Forms
Section titled “Two Types of Forms”EventHex has two form systems:
| Type | Purpose | Where to Find |
|---|---|---|
| Ticket Form | Attached to a specific ticket — collects data during registration | Setup → Ticket → (ticket card) → Form Builder |
| Standalone Form | Independent form with its own URL — for surveys, feedback, lead capture | Setup → Forms |
Open the Form Builder
Section titled “Open the Form Builder”- Go to Setup → Ticket.
- Find the ticket you want to customize.
- Click the Form Builder button on the ticket card.
- The drag-and-drop form editor opens.
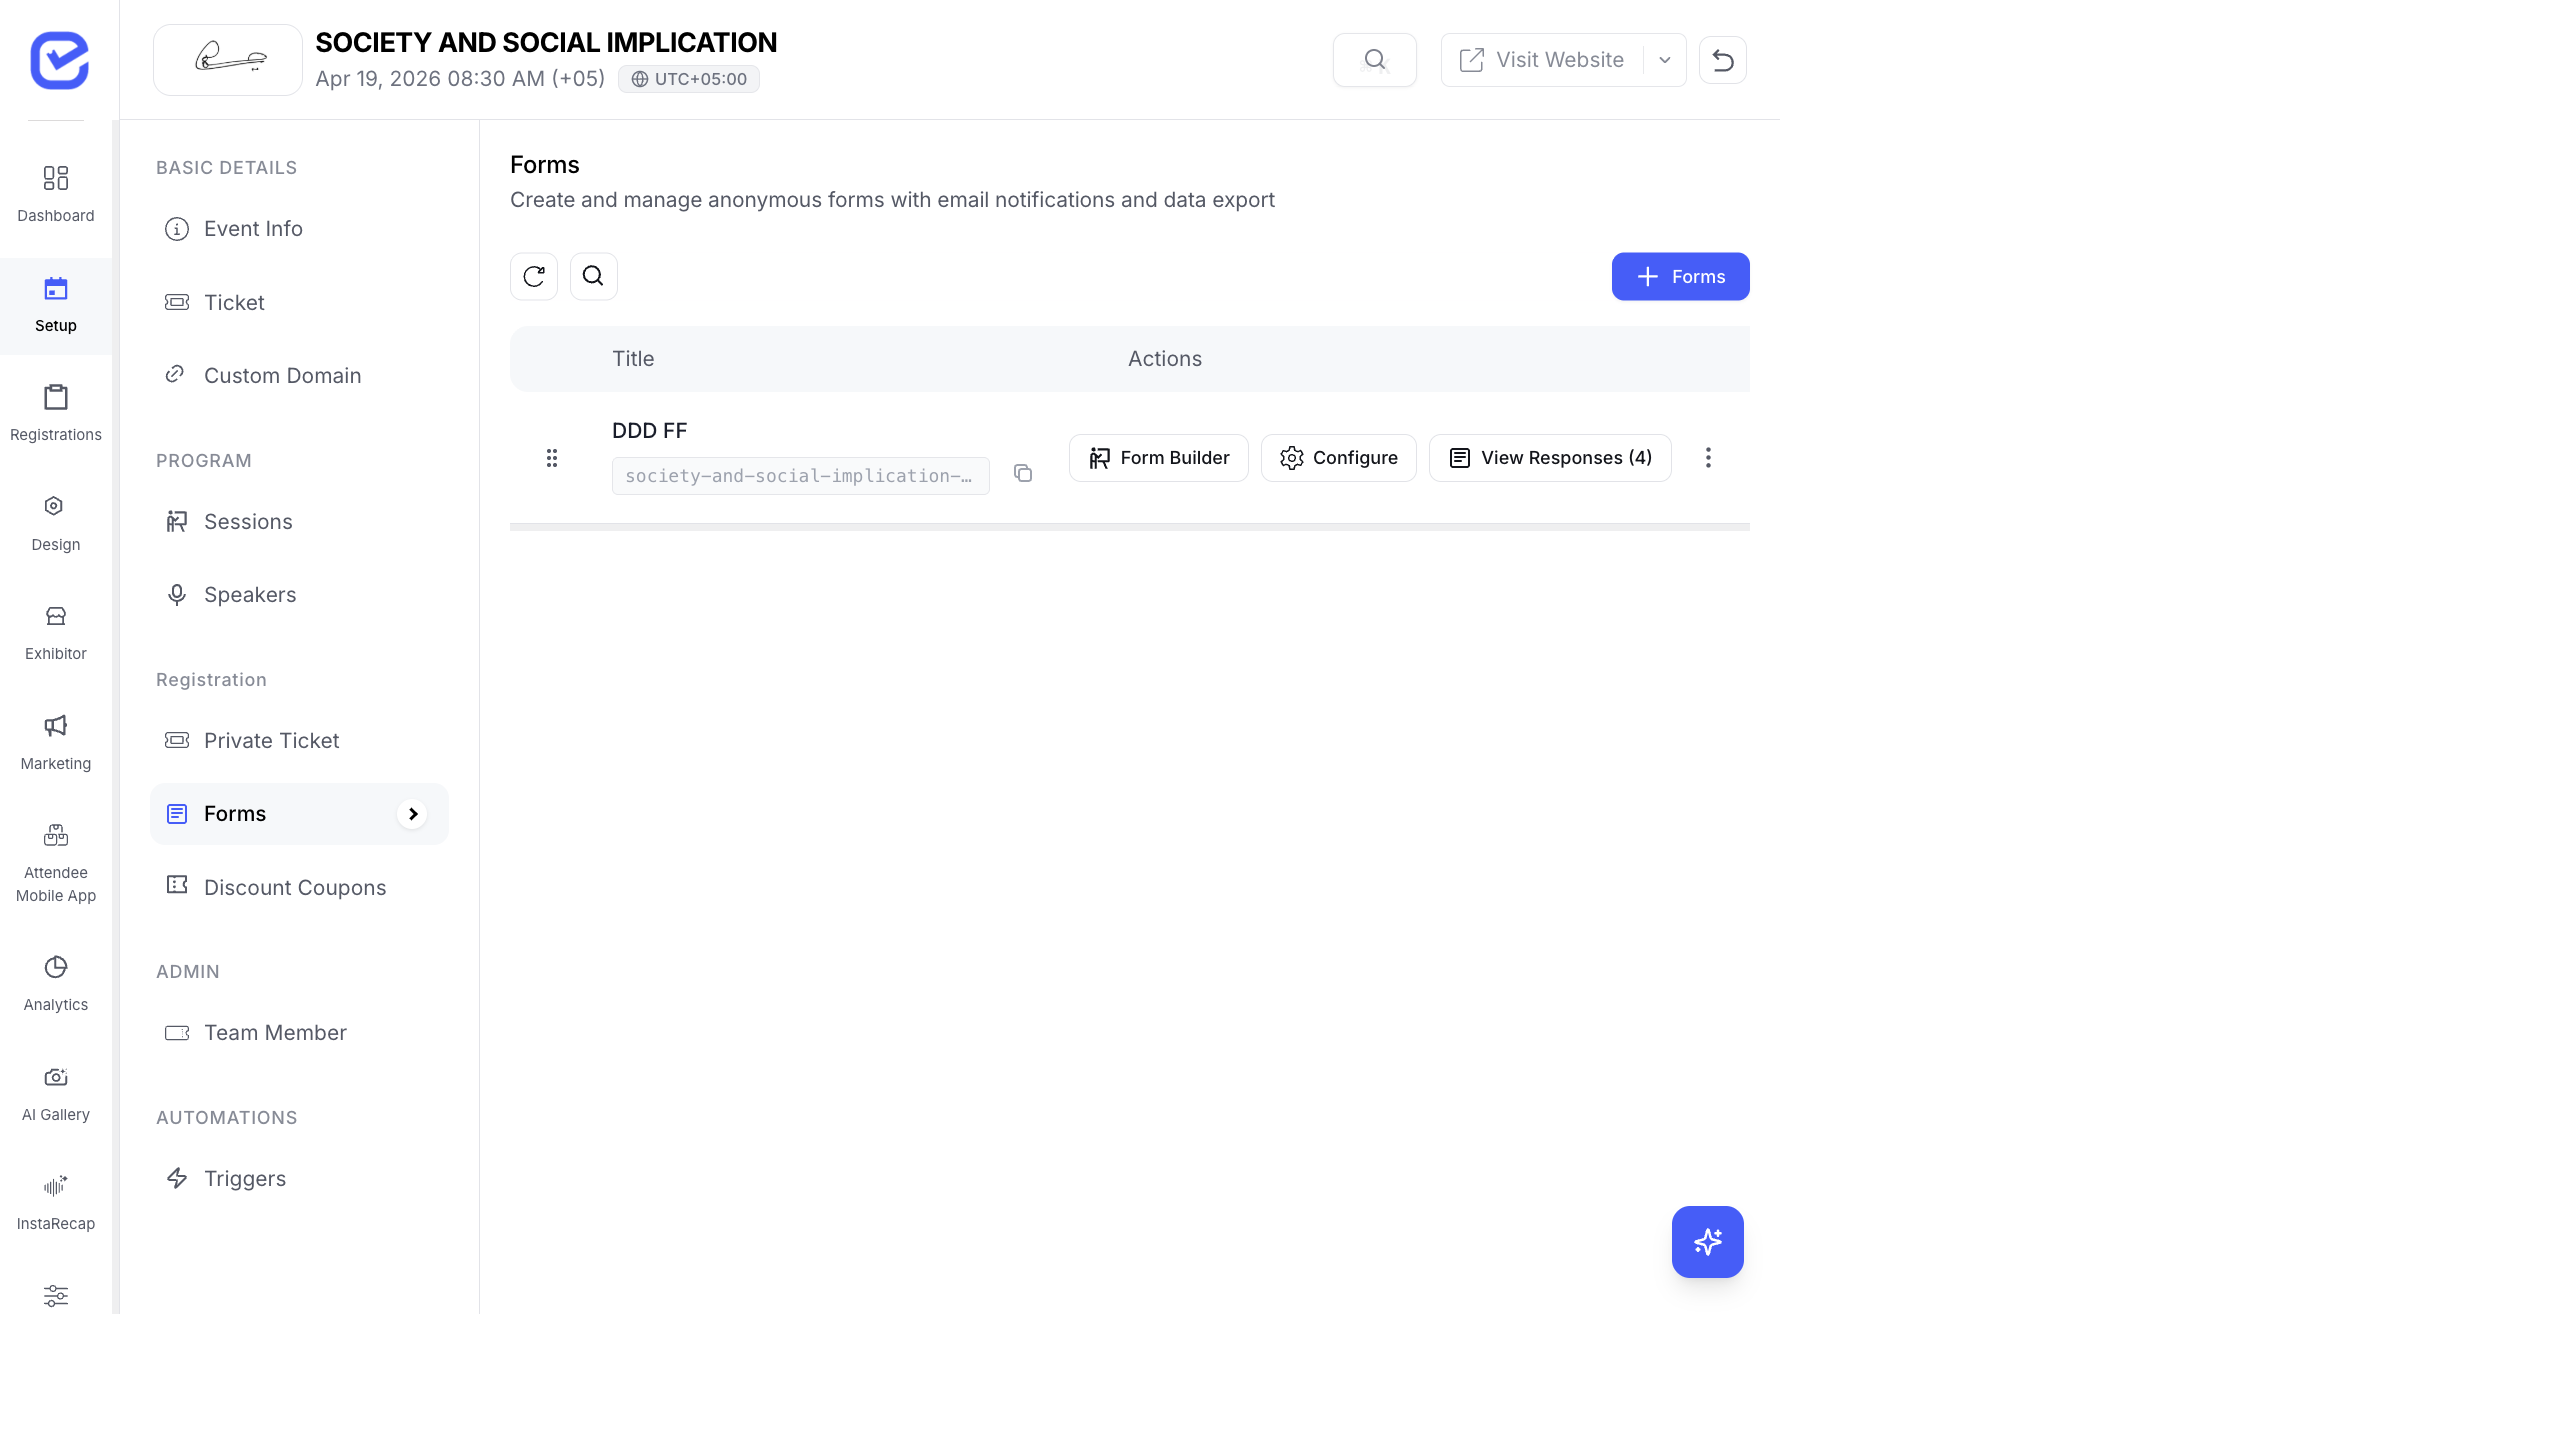
- Go to Setup → Forms.
- Click + Forms to create a new form, or click Form Builder on an existing form.
- The drag-and-drop form editor opens.
Available Field Types
Section titled “Available Field Types”The Form Builder supports these field types, which you can drag from the sidebar onto your form:
| Field Type | Description | Example Use |
|---|---|---|
| Text | Single-line text input | Name, Company, Job Title |
| Email address with validation | Work email, Personal email | |
| Phone | Phone number with country code | Mobile, WhatsApp number |
| Number | Numeric input | Age, Team size |
| Select | Dropdown with single choice | Country, T-shirt size |
| Multi-Select | Dropdown with multiple choices | Dietary requirements, Interests |
| Date | Date picker | Date of birth, Arrival date |
| Time | Time picker | Preferred session time |
| File | File upload | ID proof, Photo |
| Checkbox | Single yes/no toggle | Agree to terms, Opt-in for updates |
Add and Configure a Field
Section titled “Add and Configure a Field”- Click a field type from the left panel or drag it onto the form canvas.
- Click on the field to open its settings.
- Configure the field properties:
- Label Required — the field name shown to attendees (e.g., “Company Name”)
- Placeholder — hint text inside the empty field
- Required — toggle to make the field mandatory
- Column Layout — choose full-width or half-width (two fields side by side)
- For Select and Multi-Select fields, add your options in the Options list.
- Drag fields to reorder them on the form.
Default Fields
Section titled “Default Fields”Every ticket form automatically includes these fields that cannot be removed:
- Full Name Required
- Email Required
- Phone
You can add any number of custom fields after these defaults.
Form Preview
Section titled “Form Preview”The Form Builder includes a live preview panel on the right side. As you add and configure fields, the preview updates in real time showing exactly how the form will appear to attendees.
The preview supports two modes:
- Desktop view — standard browser layout
- Mobile view — iPhone mockup showing the mobile experience
Standalone Form Settings
Section titled “Standalone Form Settings”For standalone forms (not attached to a ticket), click Configure to access additional settings:
- General — form title, description, and URL slug
- Submissions — enable/disable submissions, set submission limits
- Approval — require approval before submissions are accepted
- Security — enable CAPTCHA to prevent spam
- Notifications — configure email notifications for new submissions
View Form Responses
Section titled “View Form Responses”To see data collected through your forms:
- For ticket forms: Go to Registrations in the left sidebar and select the ticket tab.
- For standalone forms: Go to Setup → Forms and click View Responses.
- You can filter, search, and export responses as CSV.
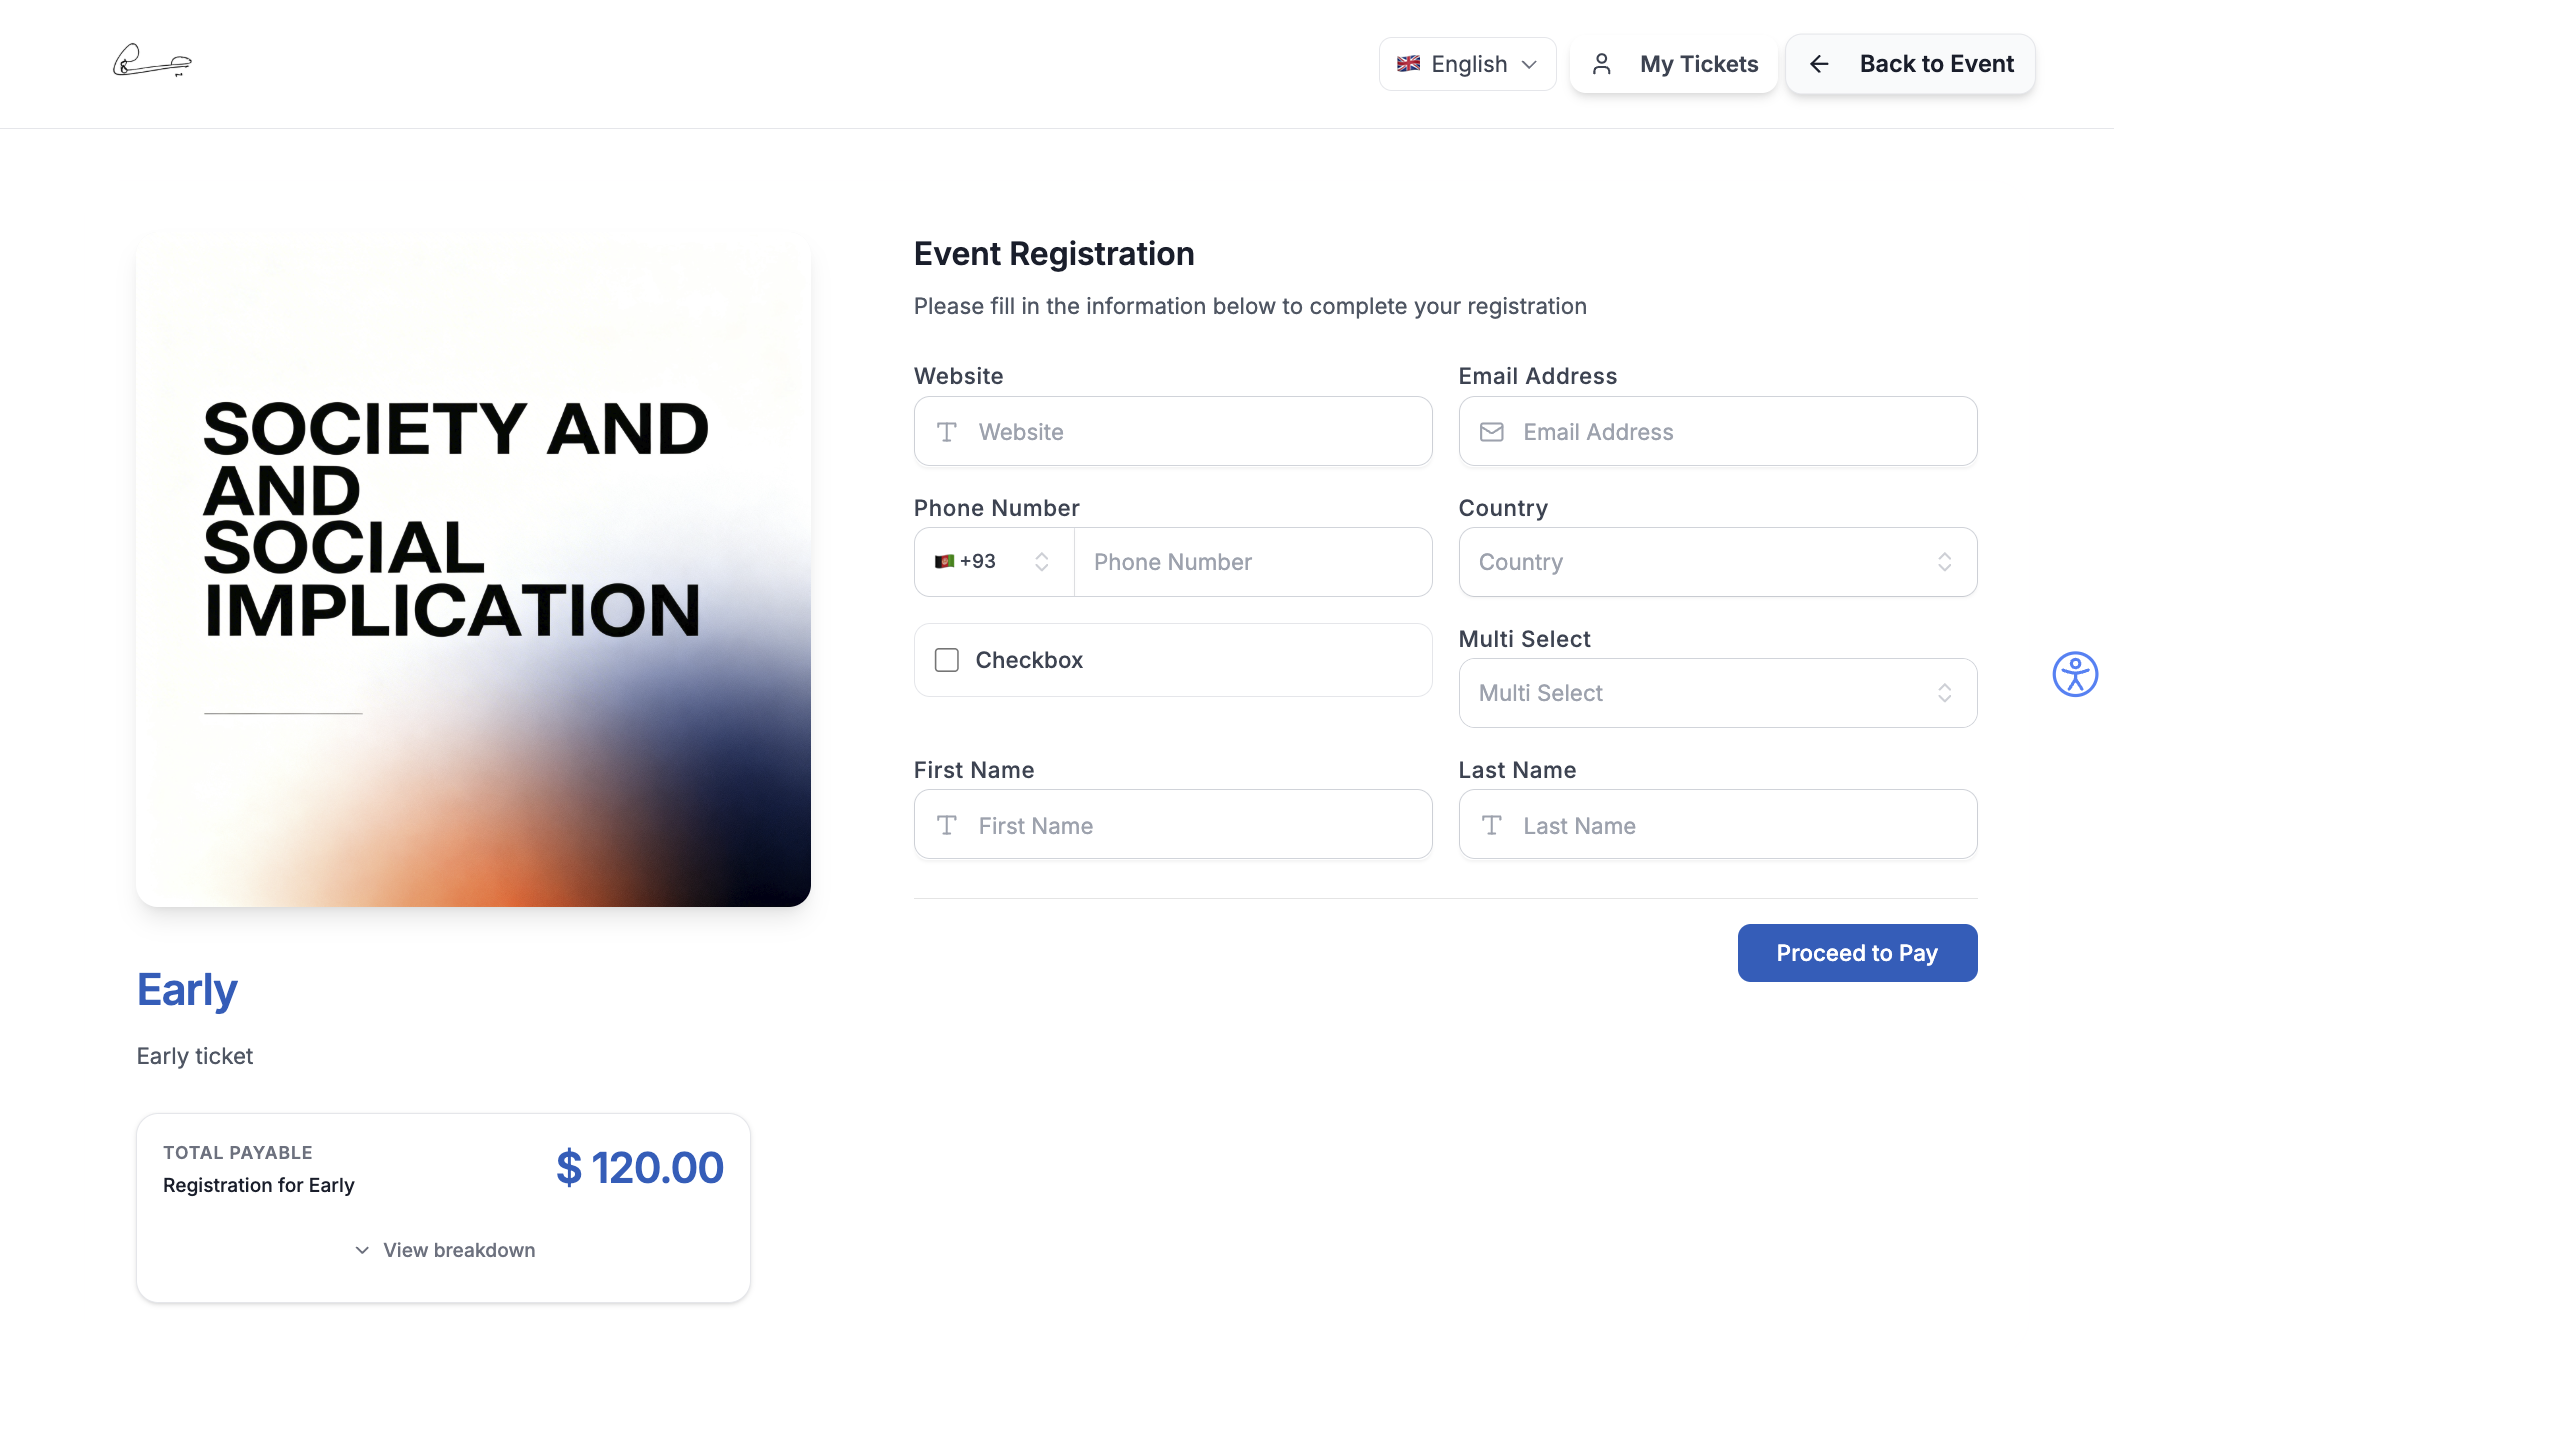
How Forms Appear to Attendees
Section titled “How Forms Appear to Attendees”On the event website, your form fields render as a clean registration form with:
- Dynamic field rendering based on the field type you configured
- Required field validation with inline error messages
- AI Voice Form Fill — attendees can use the microphone button to fill in form fields by speaking (uses speech recognition)
- File upload support for document-type fields
- Conditional logic (show/hide fields based on previous answers)
See The Registration Experience for the full attendee registration journey.