Timeline View & Agenda Display
The Timeline view gives organizers a bird’s-eye view of their entire event schedule. Use it to spot conflicts, balance track loads, and fine-tune your agenda layout.
Open Timeline View
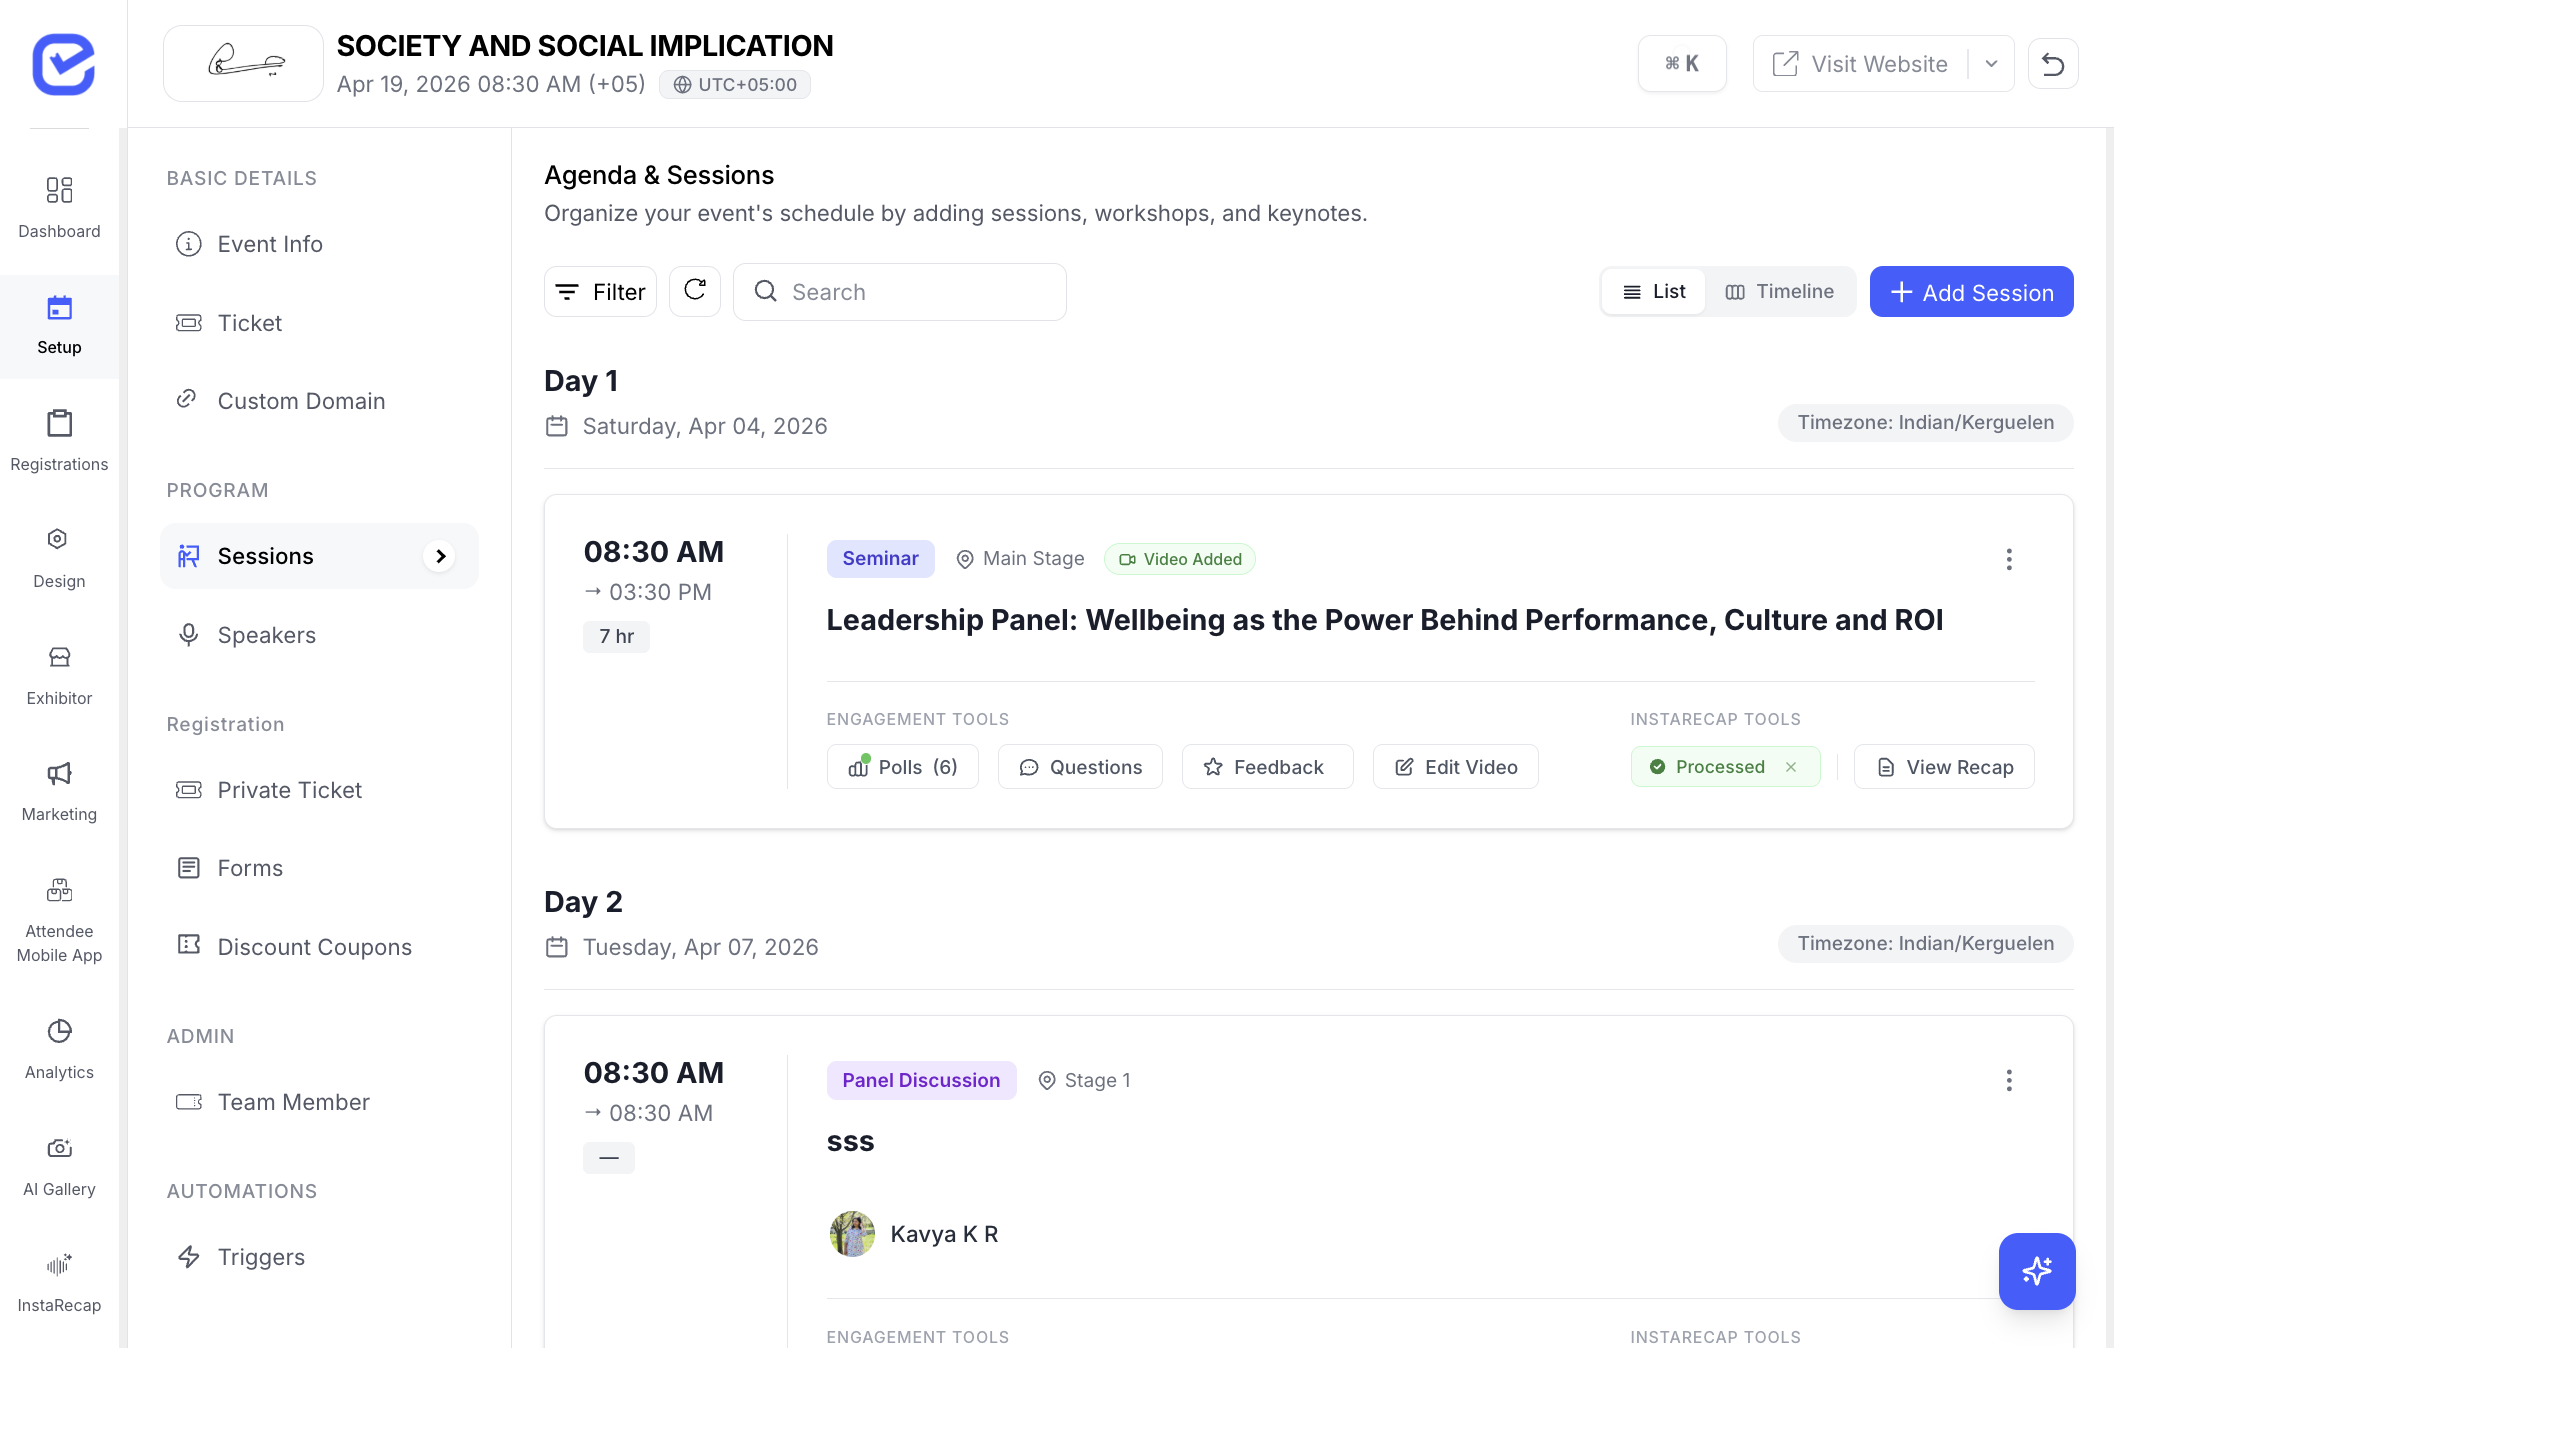
Section titled “Open Timeline View”- Go to Setup → Sessions.
- Click the Timeline toggle at the top of the page (next to the List toggle).
The view switches to a horizontal Gantt-style chart.
Understanding the Timeline
Section titled “Understanding the Timeline”The timeline chart displays:
- Rows — one row per stage/track (vertical axis)
- Columns — time slots in hourly increments (horizontal axis)
- Blocks — colored session blocks positioned by start and end time
Color Coding
Section titled “Color Coding”Each session type has a distinct color:
| Type | Visual |
|---|---|
| Seminar | Green block |
| Panel Discussion | Teal block |
| Workshop | Orange block |
| Keynote | Blue block |
| Networking | Grey block |
| Break | Light grey block |
This makes it easy to see the mix of content across your agenda at a glance.
Multi-Day Navigation
Section titled “Multi-Day Navigation”For multi-day events, the timeline shows day tabs:
- Day 1 — Saturday, Apr 04, 2026
- Day 2 — Tuesday, Apr 07, 2026
- Day 3 — Wednesday, Apr 08, 2026
Click a tab to view that day’s schedule. Each day shows only the sessions scheduled for that date.
Drag and Drop
Section titled “Drag and Drop”Move sessions directly on the timeline:
- Click and hold a session block.
- Drag it to a new time slot or a different stage row.
- Release — the session snaps to the nearest 5-minute interval.
- The session’s start and end times are automatically updated.
Spotting Conflicts
Section titled “Spotting Conflicts”The timeline makes scheduling conflicts immediately visible:
- Overlapping blocks on the same stage row indicate two sessions competing for the same room at the same time.
- Gaps between sessions show open time slots — useful for inserting breaks or networking time.
- Dense stages with back-to-back sessions may need speaker transition time.
Current Time Indicator
Section titled “Current Time Indicator”During live events, the timeline shows a vertical line at the current time. This helps you quickly see:
- Which sessions are currently in progress
- Which sessions are coming up next
- Which sessions have already ended
Agenda on the Event Website
Section titled “Agenda on the Event Website”The session schedule appears on your event website through the Sessions Widget:
Configure the Agenda Widget
Section titled “Configure the Agenda Widget”- Go to Design → Page Builder.
- Add a Sessions Widget to a page.
- Choose the display style:
- List view — vertical list grouped by day
- Grid view — card grid layout
- Timeline view — horizontal timeline (similar to the admin view)
- Enable filters so attendees can filter by track, type, or speaker.
- Publish.
What Attendees See
Section titled “What Attendees See”On the public event website, attendees can:
- Browse the full agenda by day
- Filter sessions by stage/track and type
- View session details: title, description, time, stage, speakers
- Click into a session to see speaker bios and engagement options
- Build a personal schedule by bookmarking sessions (mobile app)
Export the Agenda
Section titled “Export the Agenda”Export your event agenda for print or sharing:
- PDF — formatted schedule suitable for printing
- CSV — spreadsheet of all sessions with dates, times, stages, types, and speakers
Go to Setup → Sessions and use the Export button to download.