Issuing & Distributing Certificates
After designing your certificate, the next step is getting it to your attendees. EventHex supports PDF export, email distribution, and self-service download from the attendee portal.
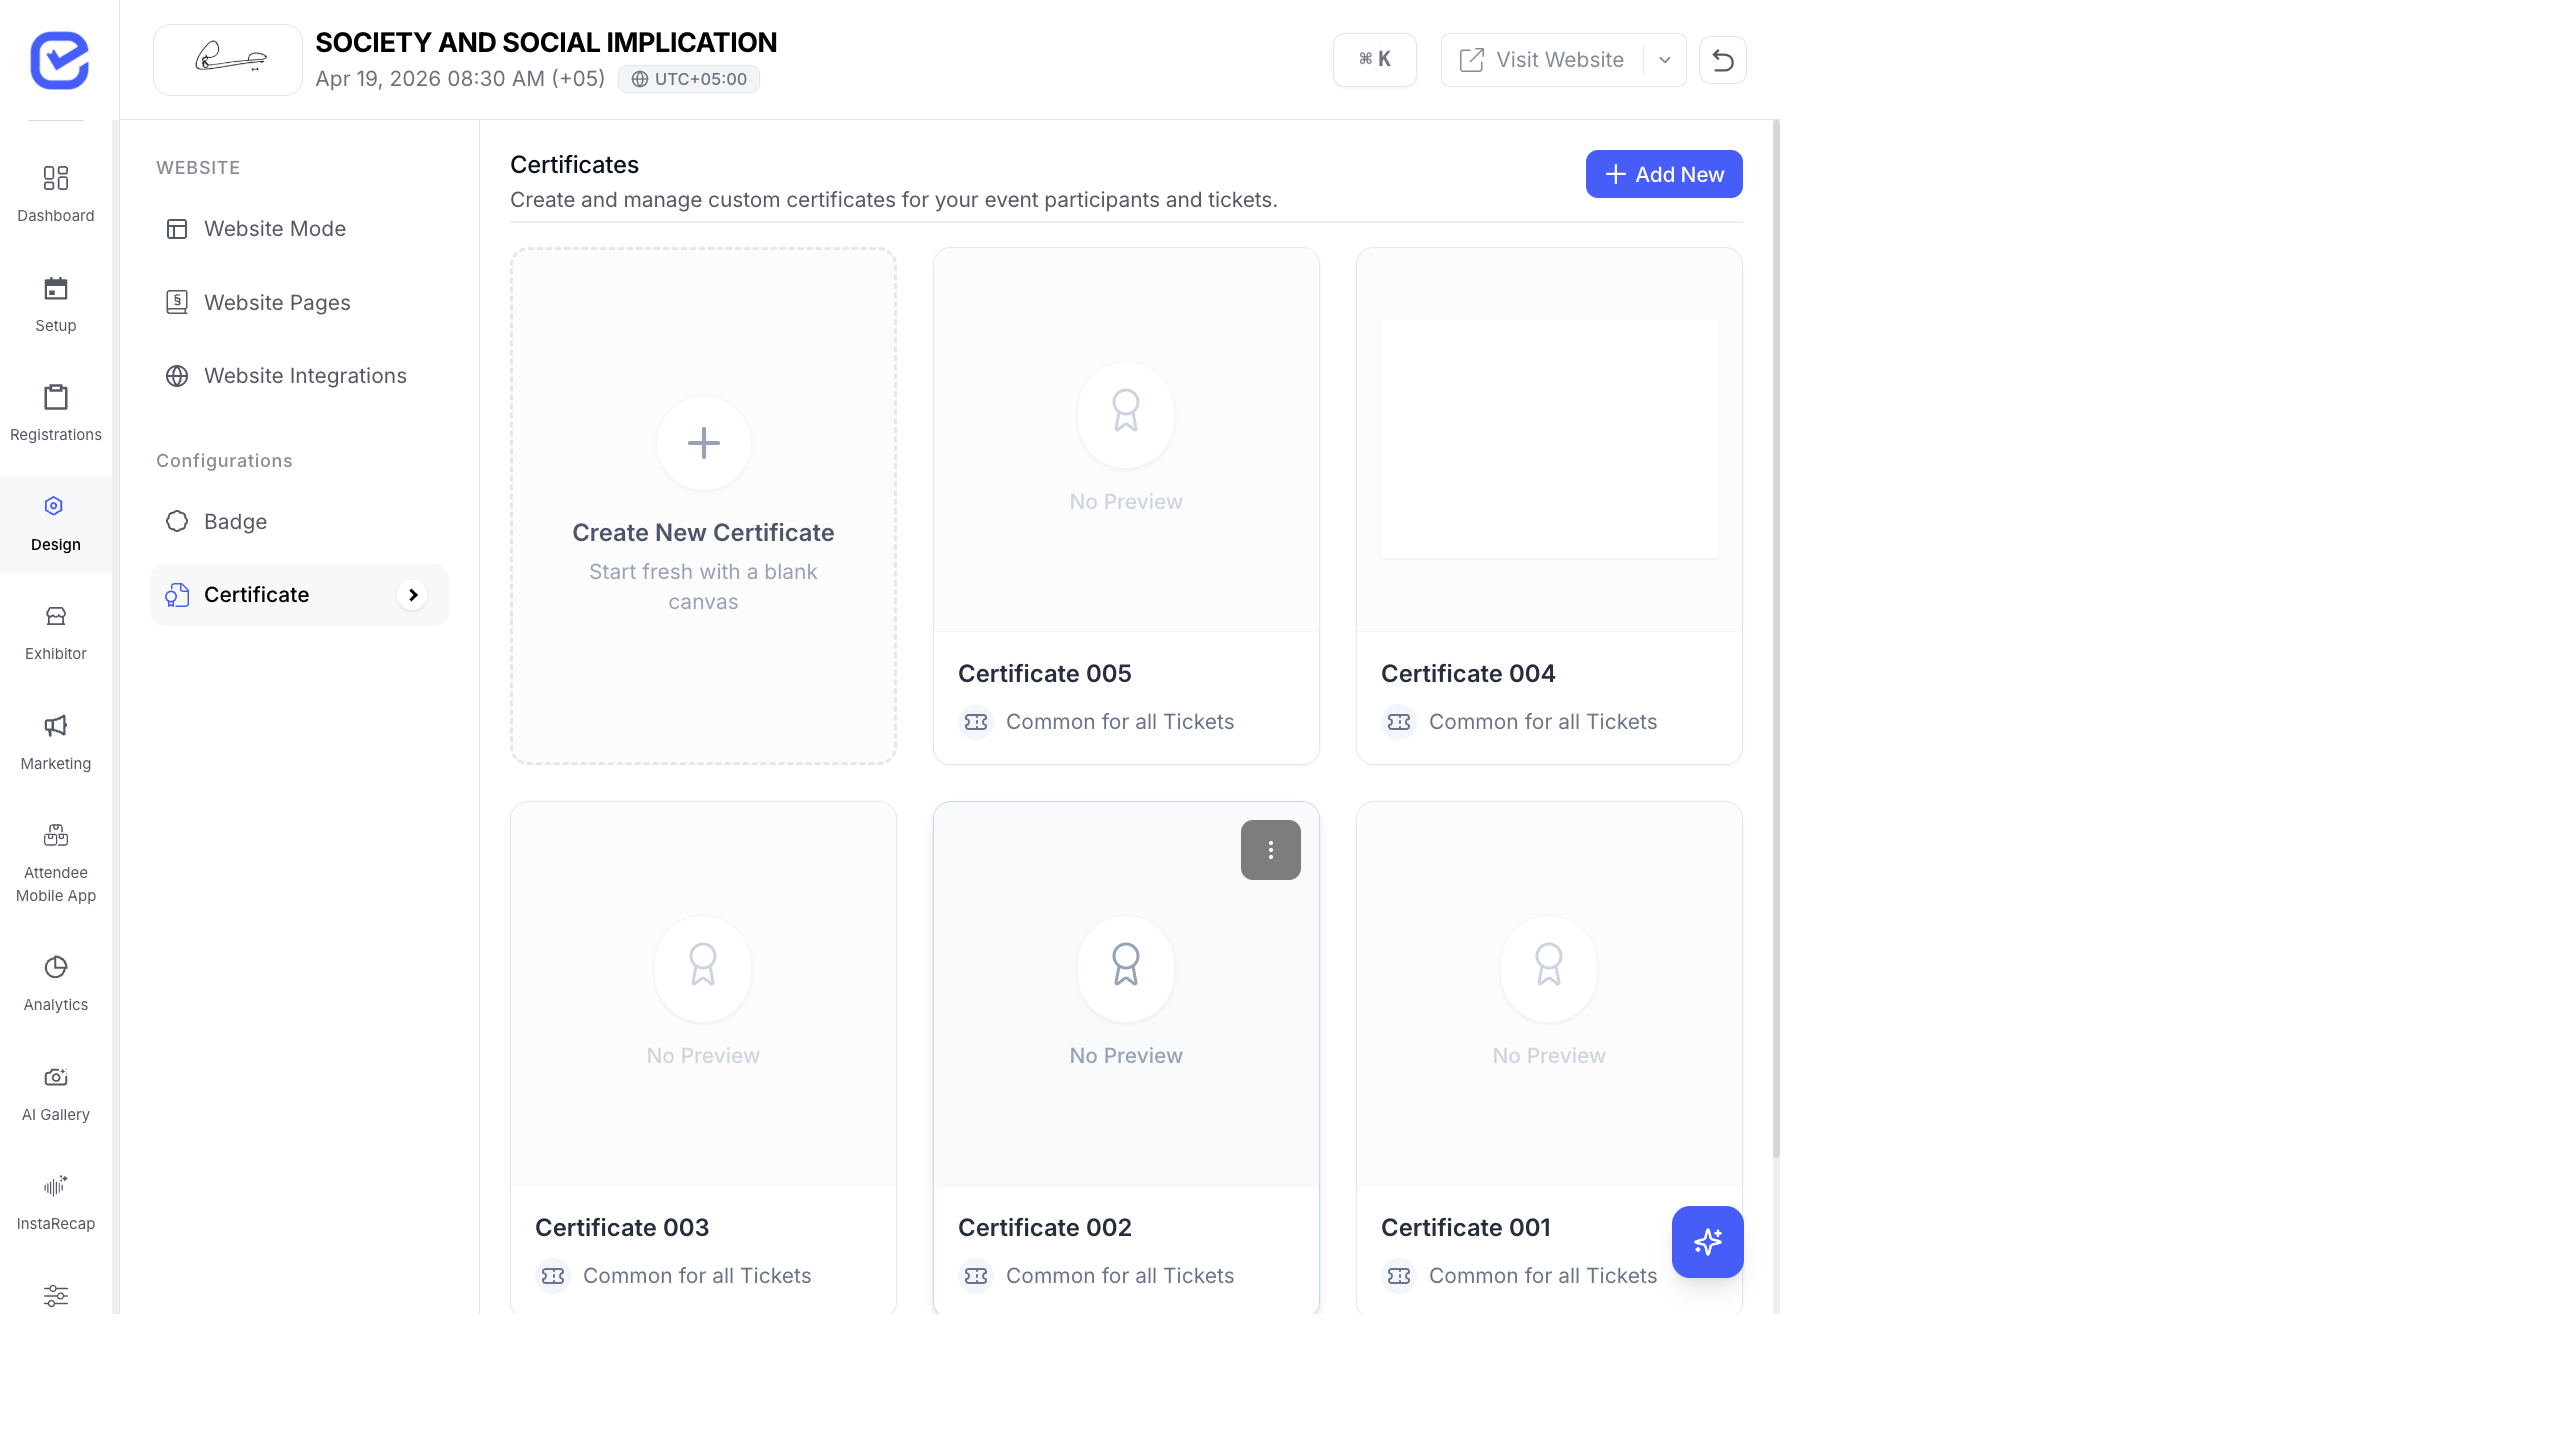
Generate Certificates
Section titled “Generate Certificates”- Go to Design → Certificate.
- Select the certificate design you want to generate.
- Click Export PDF.
- Choose the scope:
- All Attendees — generate certificates for every registered attendee
- Specific Ticket — generate only for attendees of a particular ticket type
- Individual — generate for a single attendee
- The system generates a PDF with one certificate per page.
- Download the PDF.
Distribution Methods
Section titled “Distribution Methods”1. Email Certificates
Section titled “1. Email Certificates”Send certificates directly to attendees via email:
- Go to Marketing → Campaigns.
- Create a new Email Campaign.
- Select your audience (registered attendees who attended).
- In the email template, include the certificate as an attachment or a download link.
- Send the campaign.
2. Attendee Self-Download
Section titled “2. Attendee Self-Download”Attendees can download their own certificate from the event website:
- Go to Design → Certificate.
- Ensure the certificate is connected to the relevant ticket (via the Connect to Ticket tab).
- Attendees log in to the event website or mobile app.
- They navigate to My Tickets and find the Download Certificate option.
- The certificate generates on-demand with their personal data.
3. Manual Download and Distribution
Section titled “3. Manual Download and Distribution”For smaller events or custom distribution:
- Export all certificates as a single PDF.
- Use a PDF splitter tool to separate into individual files.
- Rename files by attendee name.
- Distribute via email, USB drive, or other channels.
Certificate Types by Use Case
Section titled “Certificate Types by Use Case”| Certificate Type | When to Use | What to Include |
|---|---|---|
| Participation | Any attendee who registered and attended | Event name, attendee name, dates, “Certificate of Participation” |
| Completion | Workshops or training events | Event name, attendee name, course title, hours, “Certificate of Completion” |
| Achievement | Competitions, hackathons | Event name, attendee name, placement/award, “Certificate of Achievement” |
| Speaking | For speakers and panelists | Event name, speaker name, session title, “Certificate of Appreciation” |
Certificate Verification
Section titled “Certificate Verification”To make certificates verifiable (preventing forgery):
- Add a QR Code element to the certificate. The QR code can link to a verification page on your event website.
- Include a Ticket Number — the unique ticket number serves as a certificate ID. Anyone can verify it against your records.
When to Issue Certificates
Section titled “When to Issue Certificates”| Timing | Scenario |
|---|---|
| During the event | Workshops that end each day — issue certificates at the session end |
| Immediately after | Short events (1 day) — send certificates the next business day |
| 1–3 days after | Multi-day events — verify attendance data first, then generate and send |
| After review | Academic events — certificates may require approval or grade verification |
Best Practices
Section titled “Best Practices”- Verify attendance — only issue certificates to checked-in attendees. Export the check-in list and filter your certificate recipients.
- Include dates — always show the event dates on the certificate for credibility.
- Use high-resolution logos — blurry logos on certificates look unprofessional. Upload logos at least 300 DPI.
- Test with real data — generate a test certificate with a real attendee’s name before bulk export to catch formatting issues.
- Keep records — save the exported PDFs as backup. Attendees may request replacement certificates months later.
Attendee Self-Download
Section titled “Attendee Self-Download”Attendees can download their certificates without contacting the organizer:
- My Certificates page — available at
/my-certificateson the event website. Attendees verify their identity with a mobile OTP and can download their certificate as a PDF. - Attendee Mobile App — certificates are accessible from the profile section in the Event App.
See My Tickets & My Certificates for the full attendee self-service experience.